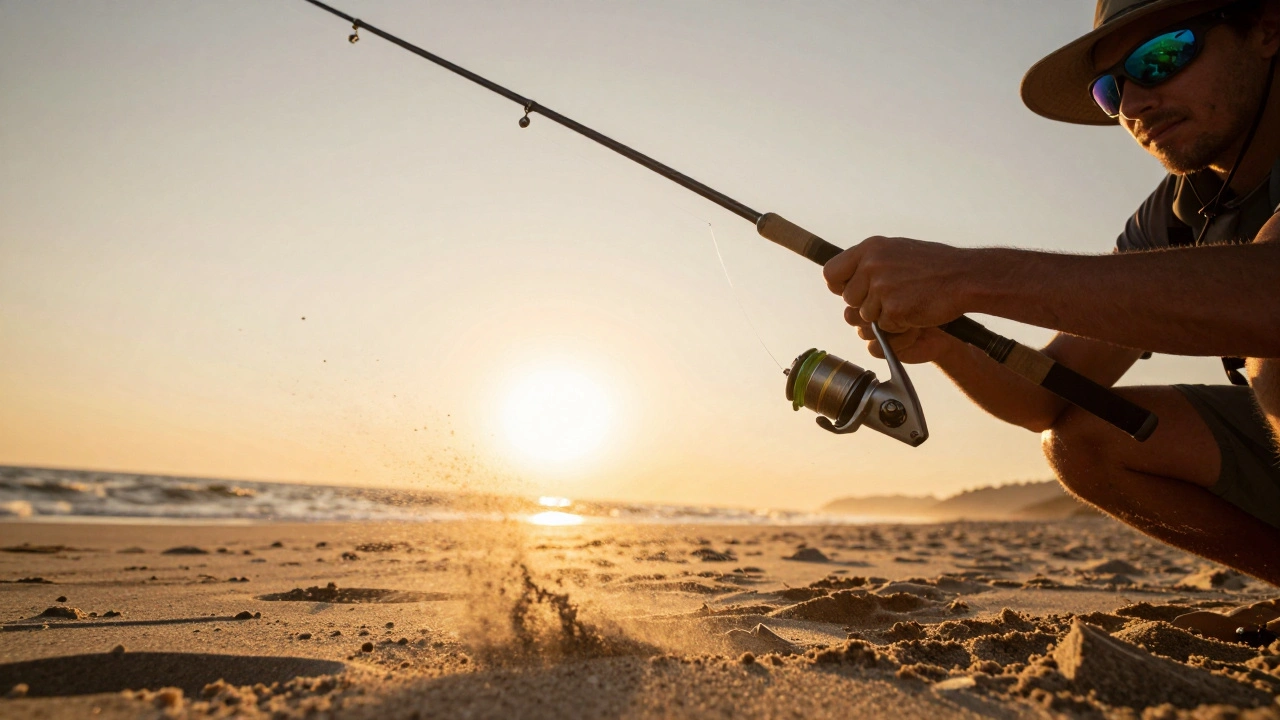
You cast your bait out into the deep channel. The current is strong, and you need that extra distance to reach the structure where the snapper or amberjack are hiding. You launch your kite, feeling the tension build as it climbs higher. Now comes the critical moment: connecting your heavy-duty fishing line to the kite line without losing control of your rig. If you just tie a knot, you risk tangles, weak points, and potential loss of expensive gear. This is where rigging release clips become your best friend.
Kite fishing isn't just about flying a toy; it's a precision sport that combines aerodynamics with angling physics. The release clip is the mechanical heart of this system. It allows you to attach your fishing line securely while giving you the ability to detach instantly if the kite gets too high, tangled, or if you need to retrieve quickly. Getting this connection right means the difference between a successful haul and a frustrating day at the beach.
Understanding the Mechanics of a Release Clip
A release clip, often called a trigger mechanism or a quick-release swivel, serves two primary functions in kite fishing. First, it provides a secure anchor point for your fishing line. Second, it offers an emergency exit strategy. When the wind picks up unexpectedly, or if the kite lines cross and create a dangerous loop, you need to be able to drop the load immediately.
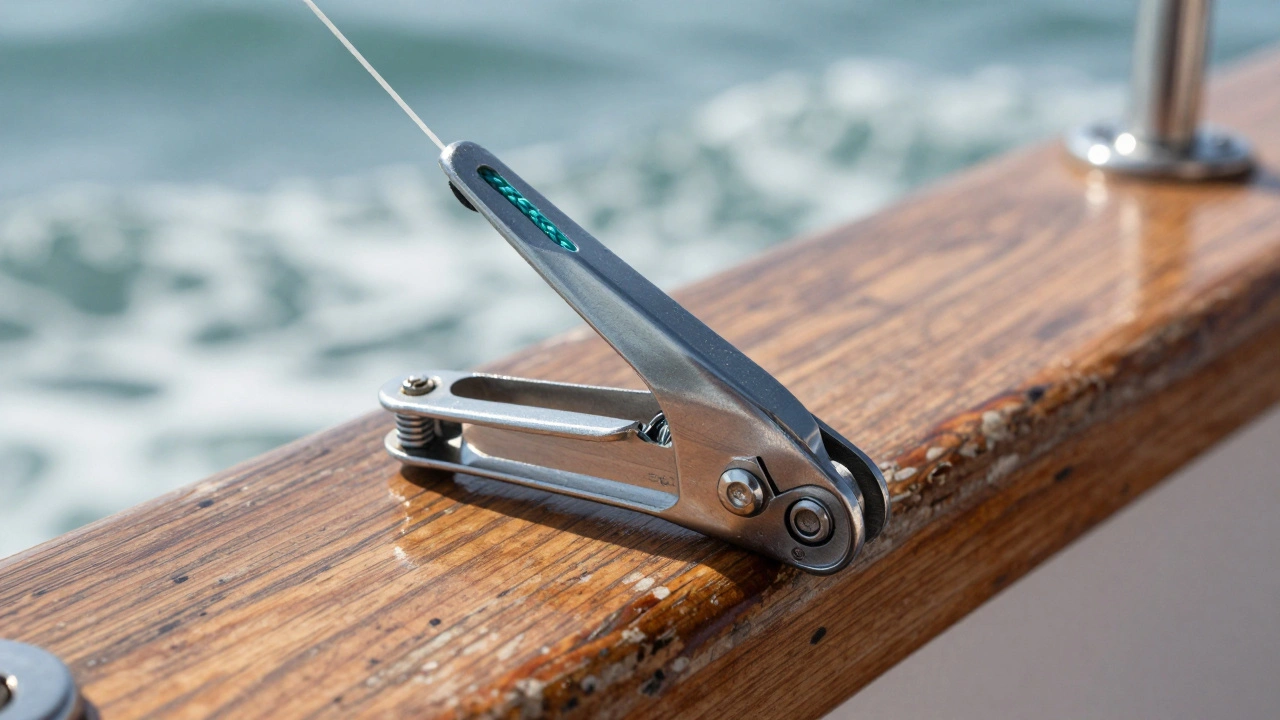
The most common type used in modern setups is the spring-loaded lever release. These clips typically feature a stainless steel body to resist saltwater corrosion. They have a main ring where the fishing line attaches via a snap or directly through a loop, and a secondary attachment point for the kite line itself. The "release" part is usually a small lever or button that, when pressed, opens the gate of the clip, allowing the fishing line to slip free from the kite line connection.
Why not just use a regular carabiner? Carabiners are great for climbing, but they lack the specific geometry needed for fishing. A fishing release clip is designed to sit flat against the line to reduce wind resistance and prevent snagging on debris. It also has a smoother internal surface to allow the fishing line to slide off cleanly when released, whereas a standard carabiner might catch and jerk the rod, potentially breaking the line or hurting your wrist.
Gathering Your Gear Before You Start
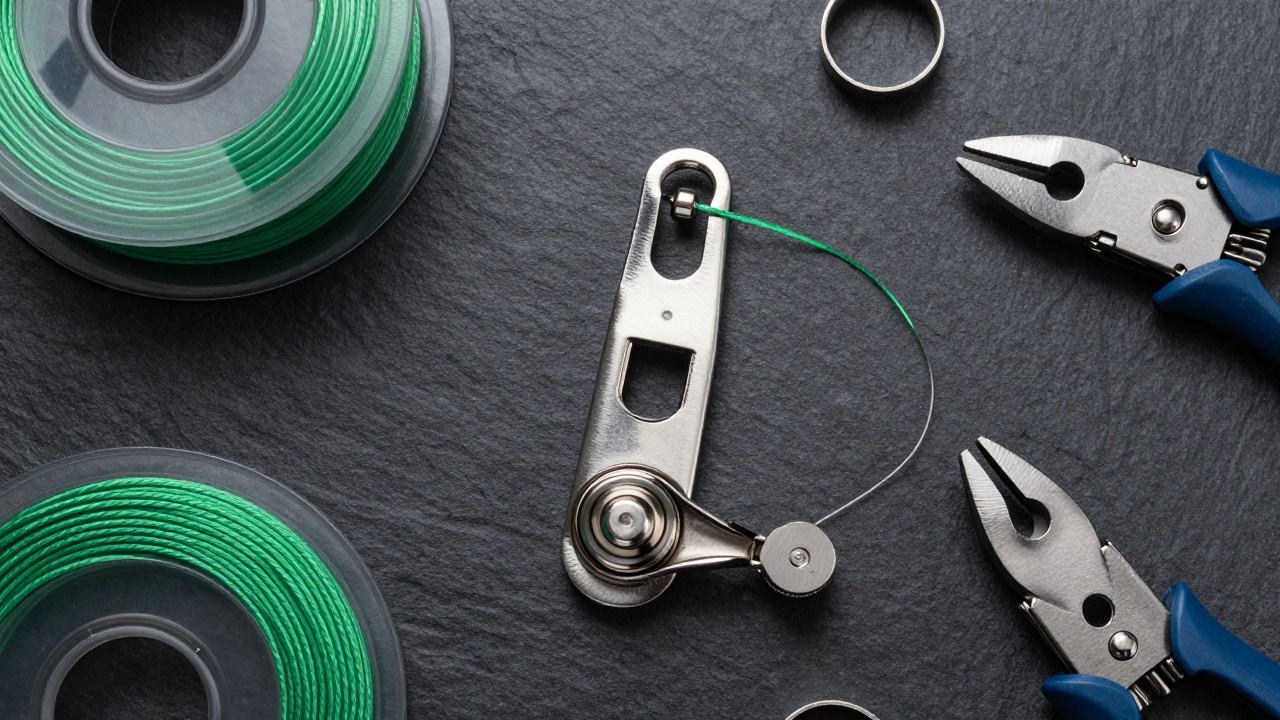
Before you even think about tying knots, make sure you have the right components. Using mismatched gear can lead to failure under pressure. Here is what you need:
- The Release Clip: Choose one rated for at least 50-100 lbs of pull strength, depending on your target species. Stainless steel is mandatory for saltwater.
- Fishing Line: Braided line is preferred for its low stretch and high strength-to-diameter ratio. Monofilament works but stretches more, which can affect bite detection.
- Kite Line: Usually a thin, high-strength Dyneema or Spectra line. This line connects the kite to the release clip.
- Swivels: Ball bearing swivels help prevent line twist, which is common when the kite rotates in the wind.
- Line Clamps or Crimps: If you are using braided line, you may need crimp sleeves to create secure loops.
Check your release clip before every session. Look for cracks in the plastic housing (if applicable) or rust spots on the metal. A failed release clip mid-launch can send your kite flying away or cause your fishing line to snap back dangerously.
Step-by-Step: Attaching the Fishing Line to the Release Clip
The goal here is to create a connection that holds firm during a fight but releases smoothly when triggered. Follow these steps carefully:
- Prepare the Fishing Line End: Take the end of your fishing line and tie a strong loop knot, such as a Palomar knot or a Double Uni Knot. This loop should be large enough to pass through the gate of the release clip but small enough to stay secure. Alternatively, you can attach a small barrel swivel to the end of your line using a clinch knot.
- Attach the Swivel (Optional but Recommended): If you added a swivel, clip the swivel’s eyelet onto the main hook of the release clip. The swivel acts as a buffer, absorbing rotation from the kite so your fishing line doesn’t twist up.
- Secure the Connection: If you are using a loop directly on the line, thread the loop through the release clip’s gate. Ensure the gate closes completely over the loop. Give it a gentle tug to confirm it is locked. You should hear a distinct "click" if the mechanism is functioning correctly.
- Test the Release Mechanism: With the fishing line attached, press the release lever. The gate should open, and the line/swivel should fall away easily. If it sticks, apply a tiny amount of silicone lubricant to the moving parts. Never use oil or grease, as these attract sand and grit, which will jam the mechanism.
This setup ensures that your fishing line is isolated from the direct pull of the kite line. The release clip takes the brunt of the aerodynamic forces, protecting your delicate fishing knot and leader.
Connecting the Release Clip to the Kite Line
Now that your fishing side is ready, you need to connect the other end of the release clip to the kite line. This connection must be incredibly strong because it bears the full weight of the wind pressure.
There are two common methods for this:
Method 1: The Figure-Eight Loop
Tie a figure-eight loop knot near the end of your kite line. This knot is known for its reliability and ease of inspection. Pass this loop through the secondary attachment point on the release clip. Pull tight until the knot sits snugly against the clip. Trim any excess line close to the knot to prevent tangling.
Method 2: The Alpine Butterfly Knot
If you need a loop in the middle of the kite line (for example, if you are using a bridled kite), the Alpine Butterfly is ideal. It maintains strength even under shock loads. Attach this loop to the release clip in the same manner as the figure-eight.
Always inspect this knot after every flight. UV exposure and abrasion can weaken Dyneema lines over time. If you see fraying, cut the damaged section and re-tie the knot.
Troubleshooting Common Rigging Issues
Even with perfect technique, things can go wrong. Here are some frequent problems anglers face and how to fix them.
| Problem | Likely Cause | Solution |
|---|---|---|
| Release clip jams | Sand, salt crust, or dried lubricant | Rinse with fresh water daily. Disassemble and clean with a soft brush. Re-lubricate with dry silicone spray. |
| Fishing line slips off accidentally | Gate not fully closed or worn-out spring | Ensure the gate clicks shut. Replace the clip if the spring feels weak or loose. |
| Kite line twists around fishing line | Missing swivel or poor balance | Add a ball-bearing swivel between the clip and the fishing line. Check that the kite is balanced correctly. |
| Clip breaks under load | Exceeded weight rating or manufacturing defect | Use a clip with a higher pound-test rating. Inspect for stress fractures before each use. |
One subtle issue is "line memory." Braided fishing line tends to coil up, especially if stored tightly. When you attach it to the release clip, these coils can interfere with the gate closing properly. Always shake out your line and let it straighten before rigging.
Safety Considerations for Kite Anglers
Kite fishing involves significant kinetic energy. A kite pulling hard in a gust of wind can generate hundreds of pounds of force. Never stand directly behind the kite when launching or retrieving. Keep a safe distance and always wear polarized sunglasses to protect your eyes from snapping lines.
When using the release clip, be aware of who is standing nearby. If you trigger the release, the fishing line will whip back toward you. Ensure your hands are clear of the path of the line. Also, never look directly down the line when checking tension, as a sudden break can cause serious injury.
If you are fishing in crowded areas, consider using a longer kite line. This keeps the kite further away from other people and reduces the risk of entanglement. Always inform your fishing partner about the status of your rig-whether the clip is engaged or released-before making any adjustments.
Maintenance Tips for Longevity
Your gear is only as good as its maintenance routine. Saltwater is corrosive, and sand is abrasive. After every trip, rinse your release clip, swivels, and lines with fresh water. Pay special attention to the moving parts of the release mechanism. Use a cotton swab to remove any hidden grit.
Store your equipment in a dry place. Avoid leaving it in a hot car trunk, as heat can degrade the materials of the kite and the plastic components of the clip. Periodically check the integrity of your knots. Even the best knots can loosen over time due to vibration and flexing.
Invest in quality tools. A pair of sharp line cutters makes trimming knots clean and precise. A small screwdriver set can help you disassemble complex release clips for deep cleaning. These small investments save money in the long run by extending the life of your gear.
Advanced Techniques for Experienced Anglers
Once you master the basic rigging, you can explore advanced setups. Some anglers use dual-line kites for better control. In this case, you might attach two release clips, one for each line, converging at a central point where the fishing line attaches. This requires careful balancing to ensure both lines share the load equally.
Another technique is using a "dropper loop" system. Instead of attaching the fishing line directly to the release clip, you tie a series of dropper loops along the kite line. Each loop has its own release clip and fishing line. This allows you to fish multiple depths simultaneously. However, this increases complexity and the risk of tangles, so it is recommended only for experienced users.
Experiment with different types of release clips. Some models offer adjustable tension settings, allowing you to fine-tune how much force is required to trigger the release. This can be useful in varying wind conditions. Test these adjustments in a controlled environment before heading out to sea.
What is the best knot to attach fishing line to a release clip?
The Palomar knot is widely considered the best choice because it creates a strong, reliable loop that fits securely in the clip's gate. Alternatively, attaching a barrel swivel with a clinch knot and then clipping the swivel onto the release mechanism adds durability and prevents line twist.
Can I use a standard carabiner instead of a fishing release clip?
While possible, it is not recommended. Standard carabiners are bulkier, create more wind resistance, and lack the smooth release mechanism needed for quick detachment. Fishing-specific release clips are designed to minimize drag and allow the line to slip off cleanly without jerking.
How do I prevent my release clip from getting stuck with salt?
Rinse all metal parts with fresh water immediately after use. Dry them thoroughly and apply a light coating of dry silicone lubricant. Avoid petroleum-based greases, as they attract sand and dirt, which can jam the mechanism.
What happens if the release clip fails while the kite is flying?
If the clip fails, the fishing line may detach unexpectedly, causing the kite to surge upward or sideways. This can lead to line tangles or loss of control. Always inspect your clip before each launch and have a backup plan, such as keeping a spare clip handy.
Is braided line better than monofilament for kite fishing?
Yes, braided line is generally superior for kite fishing due to its low stretch and high strength. Low stretch improves bite sensitivity, and the thinner diameter reduces wind resistance. Monofilament stretches more, which can dampen signals and increase drag.