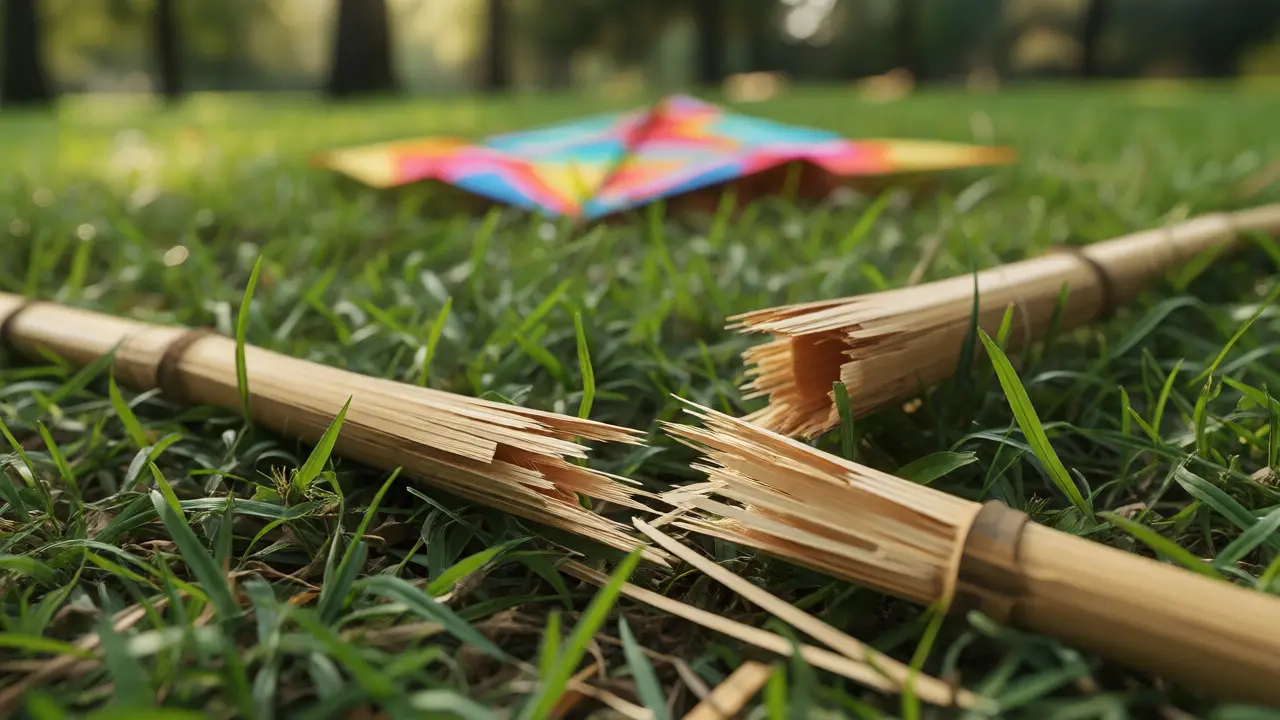
You’re standing in the park, wind picking up, and then you hear it. That sickening crack. Your kite’s spine just snapped right at the connector, or maybe a spreader popped out mid-flight. Now your beautiful diamond or delta is lying in the grass, looking like a broken toy. Before you toss it in the trash, pause. Most kite damage isn’t fatal. It’s structural, and structures can be rebuilt.
Kite repair is less about high-tech engineering and more about understanding stress points. The spine takes compression; the spreaders take tension. When these fail, it’s usually because the connection point gave way, not the spar itself. This guide walks you through fixing those critical joints using the two most common methods: mechanical connectors and epoxy bonding. We’ll cover which method suits your kite type, how to prep surfaces so glue actually sticks, and the specific resin types that won’t make your kite brittle in the cold.
Diagnosing the Damage: Spine vs. Spreader Failure
First, figure out what broke. It changes your repair strategy entirely. If the kite spine (the vertical backbone) has snapped, you are dealing with a compression failure. The wood or carbon fiber buckled under load. If a spreader (the horizontal crossbar) came loose or broke, you have a tension failure. The line pulled the tip apart, or the connector slipped off the end.
Check the break site closely. Is it clean? Did splinters fly everywhere? A clean break in carbon fiber means the fibers failed simultaneously-often due to impact. A jagged break in bamboo suggests dry rot or age. If the break is near the center of the spar, you might need a sleeve repair. If it’s at the very tip or base where it meets the sail, it’s a connector issue. Never try to fix a crushed or frayed spar tip with just glue; the surface area is too small, and the structural integrity is gone. You’ll need to cut back to solid material first.
Choosing Your Connector Strategy
Not all kites use the same hardware. Older traditional kites often rely on simple wooden dowels and string lashings. Modern stunt kites use metal or plastic ferrules. Sport kites might use snap-fit plastic collars. Your repair needs to match the original design intent.
| Connector Type | Best For | Durability | Ease of Repair |
|---|---|---|---|
| Plastic Ferrule/Collar | Beginner Delta/Diamond kites | Low-Medium (brittle in cold) | High (Snap-in place) |
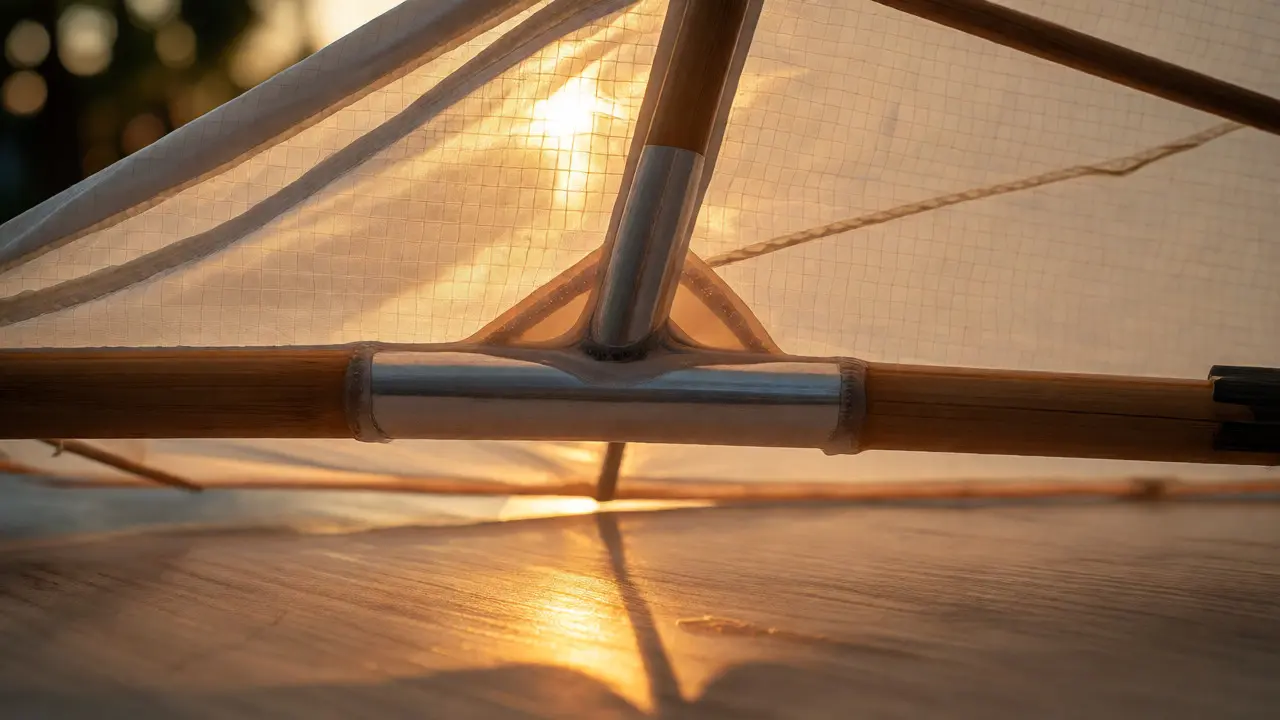
| Metal Sleeve (Aluminum) | Stunt Kites / High Performance | High (If glued correctly) | Medium (Requires precise fit) |
| Wooden Dowel & Lashing | Traditional Box/Sled Kites | Medium (Depends on knot tightness) | Low (Time-consuming) |
| Carbon Fiber Tube | Custom Builds / Heavy Load | Very High | Medium (Needs sanding/clamping) |
If your original connector is intact but loose, don’t replace it yet. Try tightening it. For plastic collars, a tiny drop of super glue inside the collar before reinserting the spar can stop slippage. For metal sleeves, if they’ve become loose due to wear, wrap the spar end with a single layer of masking tape before inserting it into the sleeve. This adds thickness without adding weight. Only go full replacement if the connector is cracked or missing.
The Epoxy Debate: Why Super Glue Often Fails
Here is where most DIY repairs go wrong. People grab cyanoacrylate (super glue) because it’s fast. Bad move. Super glue is rigid and brittle. Kites flex. When the wind hits, the spine bends slightly. Rigid glue cracks immediately under this micro-movement. It also fails when exposed to moisture and UV light over time.
You need an adhesive that retains some flexibility while providing high shear strength. Epoxy is the gold standard here, specifically slow-cure marine-grade epoxy. Unlike instant glues, epoxy creates a chemical bond that penetrates porous materials like bamboo and fiberglass. It cures hard but maintains enough elasticity to handle vibration and flex.
For smaller, lighter kites, a flexible polyurethane glue (like Gorilla Glue Original) can work in a pinch, but it expands as it cures. You must clamp it tightly, or it will push your parts out of alignment. For anything larger than a hand-sized diamond kite, stick to epoxy. Look for "5-minute" or "15-minute" working time formulas. Ten minutes is usually the sweet spot-it gives you time to align the spar perfectly before the mix sets.
Step-by-Step: Reattaching a Broken Spine
Let’s say your bamboo spine snapped halfway down. Here is the exact process to make it stronger than new.
- Cut Back: Use a sharp hobby knife or fine saw to cut away the damaged ends. You want fresh, clean wood. Do not try to glue splintered ends together; they won’t hold.
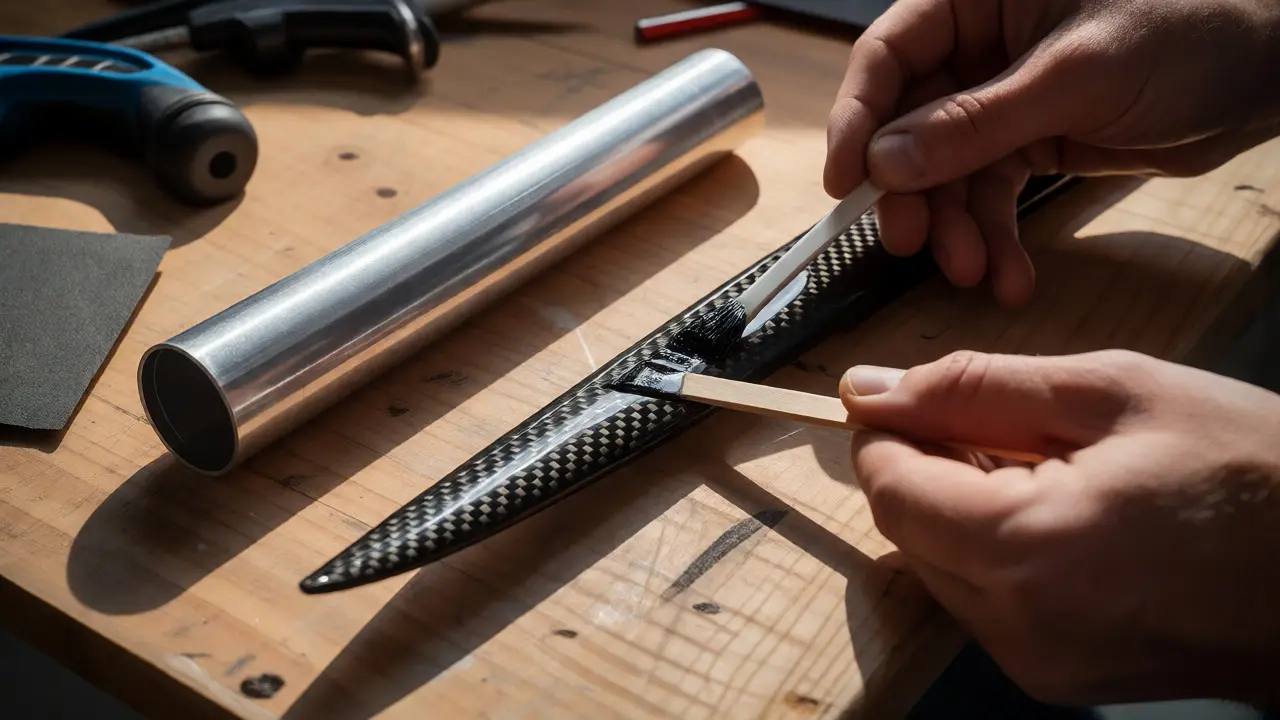
- Prepare the Sleeve: Find a piece of hollow tubing that fits snugly over both spar ends. Aluminum tubing from a hardware store works great. Carbon fiber rods are even better for weight savings. Cut the tube to length-it should overlap each side by at least 1 inch.
- Roughen Surfaces: Sand the outside of the spar ends and the inside of the tube with 120-grit sandpaper. Epoxy hates smooth, glossy surfaces. Scuffing them up gives the glue something to bite into.
- Mix Epoxy: Mix your two-part epoxy thoroughly. Under-mixed epoxy stays sticky forever. Over-mixed introduces air bubbles. Stir for at least one minute until uniform in color.
- Apply and Assemble: Coat the inside of the tube and the outside of the spar ends generously. Insert the spars into the tube. Twist slightly to ensure even coverage.
- Align and Clamp: This is critical. Lay the kite flat on a table. Sight down the spine to ensure it is straight. Any curve now will cause the kite to turn in flight. Use rubber bands or clamps to hold the tube in place. Wipe away excess epoxy with a rag dampened with acetone before it cures.
- Cure Time: Let it sit undisturbed for at least 4 hours. Ideally, wait overnight. Rushing this step leads to weak bonds.
Fixing Loose Spreaders and Tip Connectors
Spreaders pop out because the tips wear down or the sail pulls unevenly. If the spreader tip is still intact but slipping out of the grommet or connector, you don’t need epoxy. You need friction.
Wrap the tip of the spreader with dental floss or thin thread. Dip the wrapped tip in diluted white glue (PVA). Let it dry completely. This builds up the diameter of the tip just enough to create a tight, friction-fit seal inside the connector. It’s reversible, lightweight, and holds surprisingly well.
If the spreader tip itself is cracked, cut it back to solid material. Then, attach a new tip. For plastic spreaders, melt a small amount of ABS plastic onto the tip using a soldering iron set to low heat. For carbon fiber, glue a small aluminum ferrule onto the end using epoxy. Ensure the new tip is round and smooth; sharp edges tear the sail fabric.
Pro Tip: The "Wicking" Technique
If you have a hairline crack starting to form in a spar but it hasn’t fully separated, don’t ignore it. Mix epoxy with a solvent (like denatured alcohol) in a 1:1 ratio to make it runny. Apply this thin mixture along the crack. Capillary action will pull the glue deep into the fissure. This seals the crack before it propagates. It’s preventive maintenance that extends kite life significantly.
Avoiding Common Repair Mistakes
Weight is the enemy of performance. Every gram you add with bulky epoxy beads or heavy metal sleeves makes the kite sluggish. Keep fillets (the ridge of glue around a joint) minimal. They should be smooth transitions, not lumps.
Another mistake is ignoring symmetry. If you reinforce one side of the spine, check the other. Uneven stiffness causes the kite to lean or spin unexpectedly. Always test balance after repair. Hold the kite by the flying lines. It should hang level. If it tilts, adjust the bridle or add a tiny weight to the opposite side.
Finally, consider weather conditions. Epoxy cures differently in cold versus hot weather. In temperatures below 50°F (10°C), cure times double. Don’t expect a strong bond in 30 minutes if it’s freezing outside. Bring the kite indoors to cure if possible.
Frequently Asked Questions
Can I use hot glue to fix my kite?
Hot glue is generally poor for structural repairs. It becomes brittle in cold weather and softens in direct sunlight, causing failures. It also lacks the gap-filling strength needed for spar connections. Use it only for temporary fixes or attaching non-structural decorations, never for spines or spreaders.
What type of epoxy is best for kite spines?
Use a slow-cure, marine-grade epoxy. Brands like West System or generic marine epoxies found in hardware stores are ideal. Avoid "fast-setting" 5-minute epoxies for large kites as they may not penetrate porous bamboo deeply enough. Flexible epoxies are preferred for stunt kites that undergo high stress.
How do I remove old epoxy from a spar?
Mechanical removal is safest. Use a rotary tool with a sanding drum or coarse sandpaper to grind away the bulk of the old epoxy. Be careful not to gouge the underlying spar. Chemical strippers can work but may weaken certain plastics or composite materials. Always test a small area first.
Why did my repaired kite fail again so quickly?
This usually happens due to poor surface preparation. If the old glue wasn't sanded off, or if oils from your skin contaminated the spar, the new epoxy couldn't bond properly. Another common cause is curing under stress-if you moved the kite before the epoxy fully hardened, the bond breaks internally.
Is carbon fiber harder to repair than bamboo?
Yes, but mostly because it doesn't show warning signs. Bamboo splinters visibly before failing. Carbon fiber delaminates internally. Repairs require precise alignment because carbon is stiffer. However, once bonded correctly with epoxy, carbon repairs are often stronger than the original factory joint because you can add external reinforcement sleeves easily.