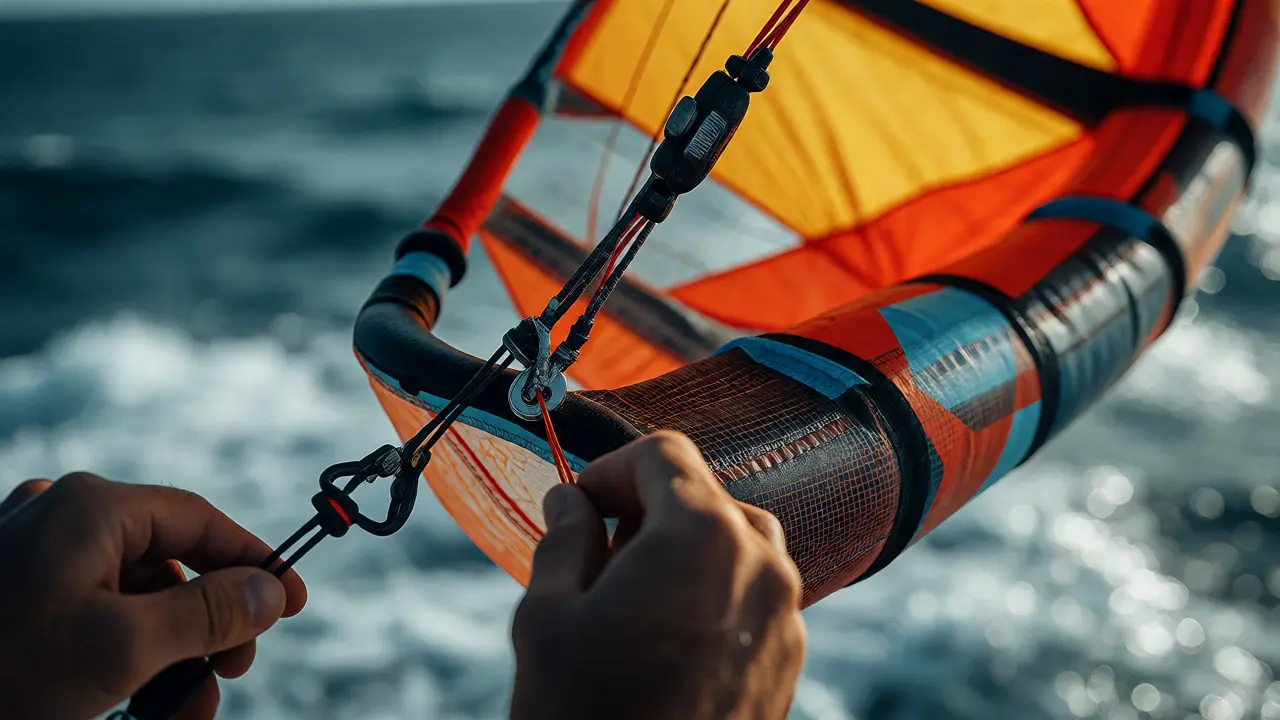
You’re out on the water, wind is picking up, and suddenly your kite feels like it’s trying to launch itself into the stratosphere. Or maybe it’s diving hard, pulling you off balance every time a gust hits. Sound familiar? That’s poor gust response. It’s not just about having the right kite size; it’s about how that kite reacts to sudden changes in wind speed. If you want smoother rides and less fatigue, you need to understand how to tune your kite’s behavior using three main levers: the bridle, the canopy flex, and damping.
Most riders grab a smaller kite when it gets windy, but that’s often overkill. A well-tuned larger kite can handle gusts better than an ill-tuned smaller one because it maintains stability through inertia and structural integrity. Let’s break down exactly how to adjust these components so your kite stops fighting you and starts working with the wind.
Understanding Gust Response Mechanics
Before you start tweaking lines, you need to know what’s actually happening physically. When a gust hits, the apparent wind speed increases instantly. This causes a spike in lift force. If your kite isn’t tuned to absorb or redirect this energy, it will either surge forward (over-power) or stall backward (under-power). The goal of tuning is to manage this energy transfer smoothly.
Gust Response is defined as the dynamic reaction of a kite to rapid changes in wind velocity, characterized by its stability, power delivery, and recovery speed. Think of it like suspension on a car. You don’t want the wheels to lock up when you hit a bump, and you don’t want the chassis to bounce endlessly. You want controlled absorption. In kiting, this control comes from geometry and material properties.
The Bridle: Your Primary Control Center
The Bridle is a system of lines connecting the leading edge and strut attachment points to the flying lines, determining the angle of attack. It’s the most accessible tuning tool for most riders. Most modern kites use a single-line or multi-line bridle system where adjusting the pigtail length changes the angle of attack (AoA).
Here’s the golden rule: Shorter pigtail = Lower AoA = Less Power, Faster Turn. Longer pigtail = Higher AoA = More Power, Slower Turn.
When you’re dealing with strong, gusty winds, you generally want to reduce the AoA slightly. Why? Because a lower angle of attack makes the kite less sensitive to sudden increases in wind speed. It slices through the gust rather than catching it like a parachute. Conversely, if you’re in light, lulls-prone conditions, a higher AoA helps the kite stay powered up during dips in wind speed.
- Over-powered scenario: Kite pulls hard, jumps around, hard to depower. Action: Shorten the pigtail by 1-2 cm.
- Under-powered scenario: Kite falls back, stalls in turns, lacks pull. Action: Lengthen the pigtail by 1-2 cm.
- Turning too fast: Kite loops unexpectedly in gusts. Action: Shorten pigtail or check line lengths.
Don’t make massive adjustments. Start with small increments. Most manufacturers provide a range of settings marked on the pigtails. Use them. They aren’t suggestions; they are calibrated starting points based on thousands of hours of testing.
Canopy Flex and Material Tension
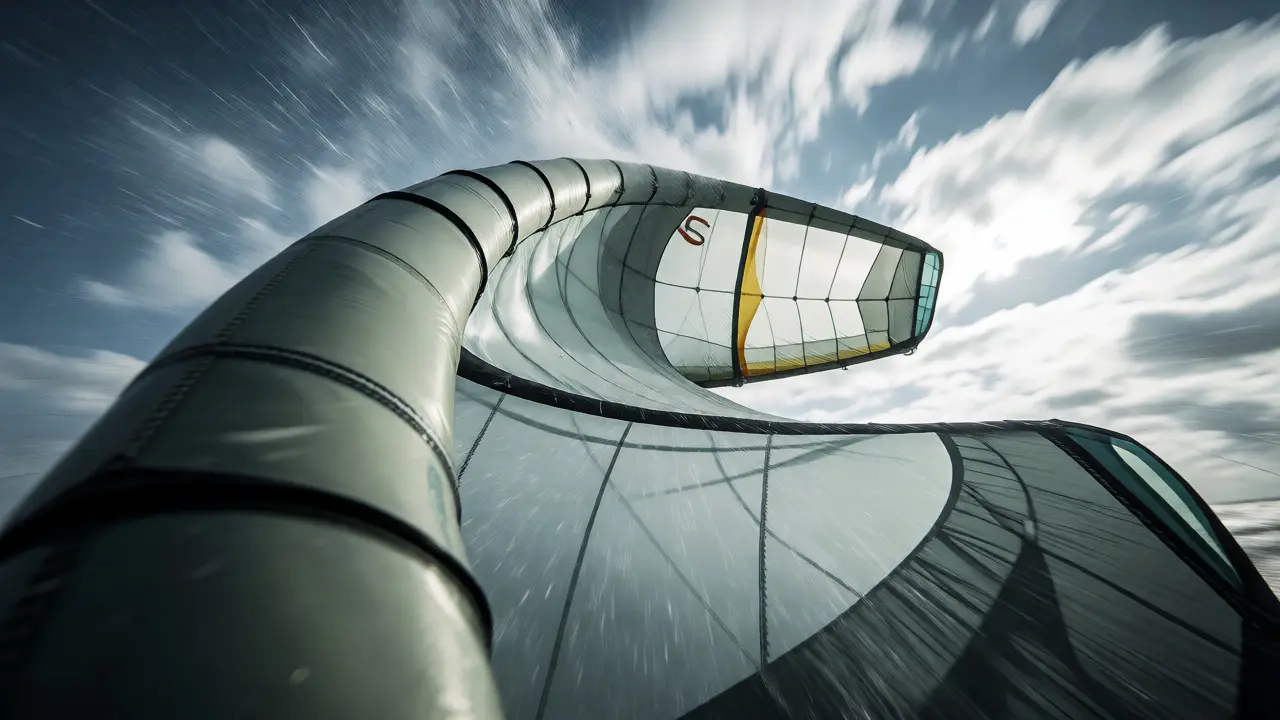
If the bridle sets the angle, the Canopy Flex determines how much the fabric deforms under load, affecting power delivery smoothness and gust absorption. This is largely dictated by the material used (e.g., Teijin TechnoForce vs. standard ripstop) and the tension of the leading edge bladder.
A stiffer canopy reacts faster. It holds its shape rigidly, meaning power comes on quickly and abruptly. This is great for freestyle tricks where you need instant pop, but terrible for gusty conditions. The sudden power spike can throw you off balance.
A more flexible canopy absorbs some of the gust energy by deforming slightly before snapping back. This creates a "softer" power curve. It feels more progressive. You might notice older kites or those designed for wave riding often have slightly softer bladders or different strut constructions compared to high-performance freestyle machines.
You can’t easily change the material, but you can influence flex through inflation pressure. Over-inflating the leading edge makes the structure rigid. Under-inflating it allows more deformation. In heavy gusts, try reducing your pump pressure by 5-10%. This softens the frame, allowing the kite to bend slightly under load, which dissipates energy rather than transferring it directly to your bar.
Damping: The Hidden Factor
Damping is the resistance to motion. In kites, it’s primarily achieved through air drag within the internal chambers and the friction of the lines. While you can’t add shock absorbers, you can optimize how the kite sheds energy.
Damping in kite physics refers to the dissipation of kinetic energy from oscillations, preventing the kite from bouncing uncontrollably after a gust. Poorly damped kites will "wobble" or oscillate vertically after a gust passes. This is annoying and dangerous.
How do you improve damping?
- Line Management: Ensure your flying lines are equal in length. Uneven lines cause asymmetric loading, leading to erratic movement. Check your line connectors for wear; frayed lines create unpredictable drag.
- Kite Position: Keep the kite away from the "power zone" (directly overhead) when not actively steering. Flying at 45 degrees reduces the direct vertical pull component, making gusts feel less jarring.
- Bar Pressure: Some riders use heavier bars or specific bar weights to dampen feedback. A lighter bar transmits every vibration; a heavier bar filters out high-frequency jitter, giving you a smoother feel.
Comparing Tuning Strategies
Not all adjustments work the same way. Here’s how they stack up against each other when facing different wind scenarios.
| Tuning Method | Primary Effect | Best For | Risk if Misadjusted |
|---|---|---|---|
| Bridle Adjustment | Changes Angle of Attack (AoA) | Fine-tuning power and turn speed | Kite becomes unstable or stalls completely |
| Inflation Pressure | Alters Canopy Flex/Rigidity | Smoothing out power spikes | Kite loses shape, collapses, or bursts |
| Line Length | Adjusts Steering Sensitivity | Compensating for rider weight/style | Poor turning radius, delayed response |
| Depower Trim | Shifts Neutral Point | Quick adjustments on the fly | Limited range, affects safety release |
Step-by-Step Tuning Process
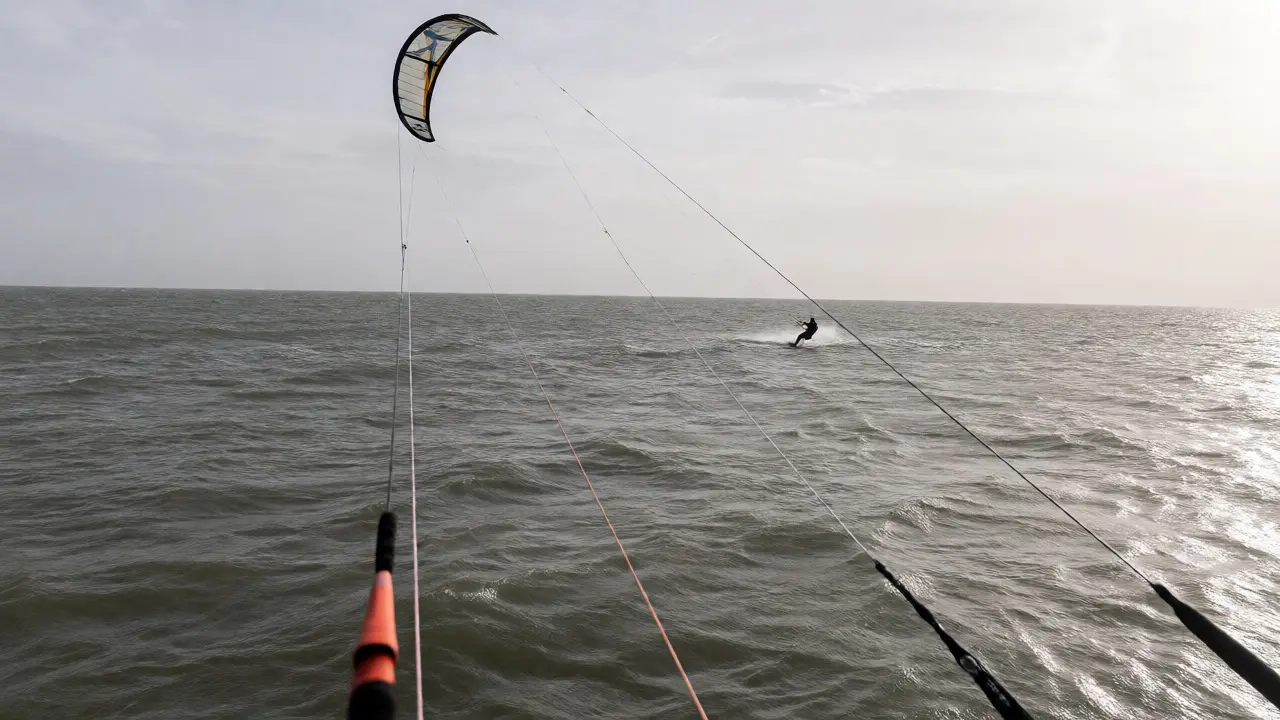
Ready to tweak? Don’t just guess. Follow this logical sequence to isolate variables.
First, establish a baseline. Fly your kite in steady, moderate wind without any modifications. Note how it behaves. Does it drift back? Does it surge forward? This is your reference point.
Next, address the bridle. If you suspect over-power issues, shorten the pigtail setting by one step. Go out again. Did the kite feel calmer? Did it hold its position better in gusts? If yes, you’re on the right track. If it started stalling in turns, you went too far. Revert half a step.
Then, look at inflation. If the kite feels harsh and jerky, try lowering the pressure slightly. Use a pressure gauge if you have one-most manufacturers recommend between 6-8 PSI, but 5.5 PSI might feel smoother in choppy air. Be careful not to go too low, or the kite won’t maintain its profile.
Finally, check your lines. Use a line checker tool. Even a 1cm difference can cause noticeable asymmetry. Replace any lines that show signs of stretching or UV damage. Old lines stretch unevenly, ruining your tuning no matter what else you do.
Common Pitfalls and Fixes
One major mistake is chasing the tail. Riders often adjust the bridle because the kite feels wrong, but the real issue is their own technique. If you’re constantly pulling the bar in, you’re artificially increasing AoA. Try keeping your hands neutral and let the kite fly. If it still misbehaves, then tune.
Another pitfall is ignoring wind gradient. Near the shore, wind is slower and more turbulent due to obstacles. Out deep, it’s cleaner. A kite tuned perfectly for offshore breeze might be overpowered near the beach. Consider carrying two setups if you ride in varied locations, or learn to read the local microclimate.
Also, beware of mixing brands. Using a bar from Brand A with a kite from Brand B can introduce subtle mismatches in line stretch and connector geometry. While often compatible, it’s best to stick with matched systems for precise tuning unless you’re experienced enough to compensate.
Advanced Tips for Specific Conditions
For wave riding, you want a kite that sits back in the window and powers up slowly. Longer bridles and softer inflation help here. You want the kite to hang there while you carve, not shoot across the sky.
For freestyle, you want snap. Shorter bridles and firmer inflation give you immediate response for kiteloops and raley slides. But in gusty freestyle sessions, you might compromise slightly on rigidity for stability.
For foil kites, the rules change. Foils rely entirely on air pressure to maintain shape. Their "bridle" is fixed, and flex is inherent to the cell design. Tuning foils involves adjusting pilot tube pressure and sometimes adding/removing ballast. Gust response in foils is managed by active steering and body weight shifting more than mechanical tweaks.
How do I know if my bridle is set correctly?
If your kite flies steadily in the middle of the window without drifting forward or falling back when the bar is neutral, it's likely correct. If it surges forward, shorten the pigtail. If it falls back, lengthen it. Always test in consistent wind.
Does lowering inflation pressure really help with gusts?
Yes, moderately. Lower pressure allows the leading edge to flex slightly under load, absorbing some energy instead of transmitting it directly to the bar. However, going too low compromises structural integrity and may cause collapse.
What is the most common cause of poor gust response?
Uneven line lengths are a frequent culprit. Even small differences in front vs. rear line stretch can cause the kite to turn unpredictably in gusts. Regularly check and replace stretched lines.
Can I tune my kite for both light and heavy wind?
You can find a compromise setting, but optimal performance usually requires swapping kites or significant re-tuning. Modern kites have wide ranges, but extreme conditions benefit from dedicated setups or quick-change pigtails.
Do different kite shapes react differently to gusts?
Absolutely. Bow kites have wider wind ranges and depower easily, handling gusts via sheeting. Delta kites offer more stability but less depower range. C-kites provide direct feel but require precise tuning to avoid instability in gusts.