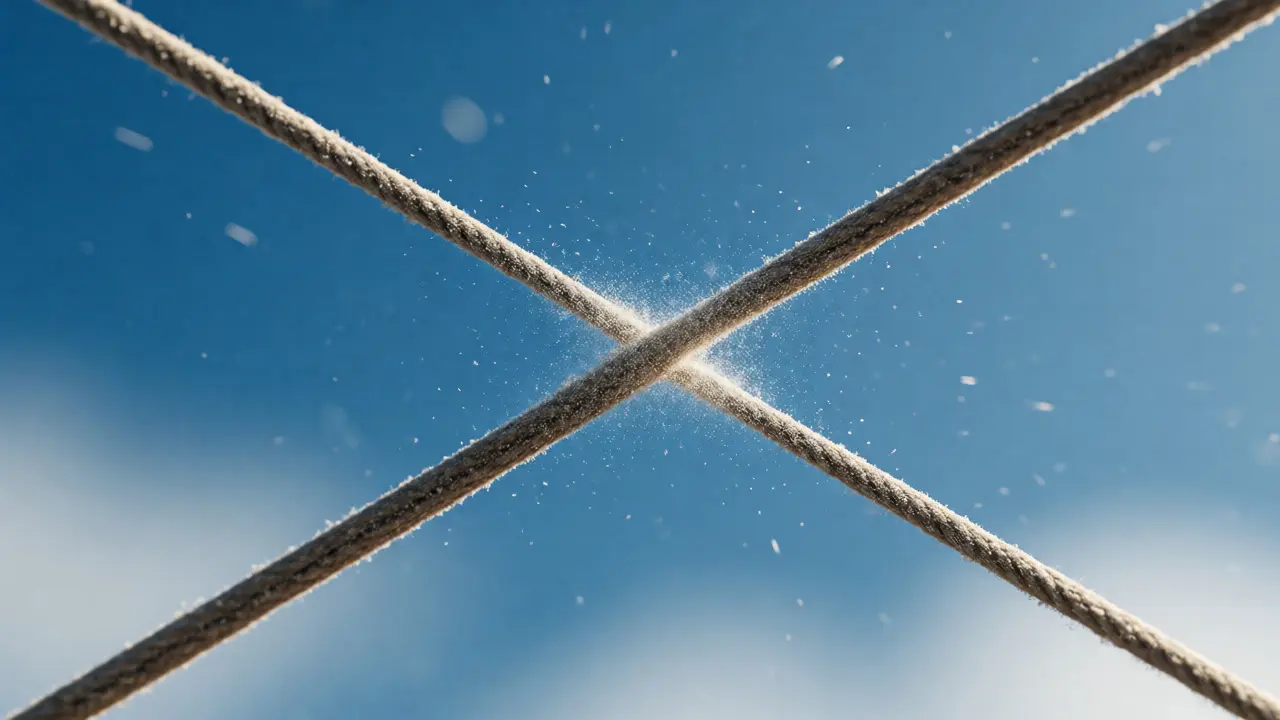
Ever watched a kite fight and wondered how one flyer suddenly drops another from the sky? It looks like magic, but it’s pure physics and muscle memory. The moment that decides victory is called the "cut"-when your line slices through an opponent's line, sending their kite drifting away. But here’s the truth most beginners miss: you don’t learn to cut by just flying more kites. You learn it by drilling specific hand movements until they become second nature.
If you’ve ever tangled your lines or missed a clear opportunity because your hands were too slow, this guide is for you. We’re skipping the theory about wind patterns and focusing strictly on the mechanics of the cut. By the end of this article, you’ll have a concrete routine to sharpen your reflexes, improve your line tension, and execute clean cuts without crashing your own gear.
Understanding the Mechanics of the Cut
Before you grab a spool, you need to understand what actually happens during a cut. It isn’t just about pulling hard. A successful cut relies on three factors: line tension, the angle of intersection, and speed differential. Think of it like scissors. If two blades move in parallel, they never touch. They must cross at an angle with enough force to shear against each other.
In kite fighting, your line is one blade; the opponent’s line is the other. When you pull your kite up sharply while moving laterally, you create a "bite." This bite increases friction and pressure on the point where the lines intersect. If your line has abrasive coating (like glass powder or metal dust) and you maintain high tension, the friction generates heat and wear, eventually snapping the weaker line.
| Variable | Role in Cutting | Control Method |
|---|---|---|
| Tension | Creates pressure between lines | Body posture and spool brake |
| Angle | Determines contact point duration | Kite steering (left/right turns) |
| Speed | Generates frictional heat | Rapid line release/retraction |
| Abrasion | Physical material removal | Line preparation (coating) |
The Dry Land Drill: Building Muscle Memory
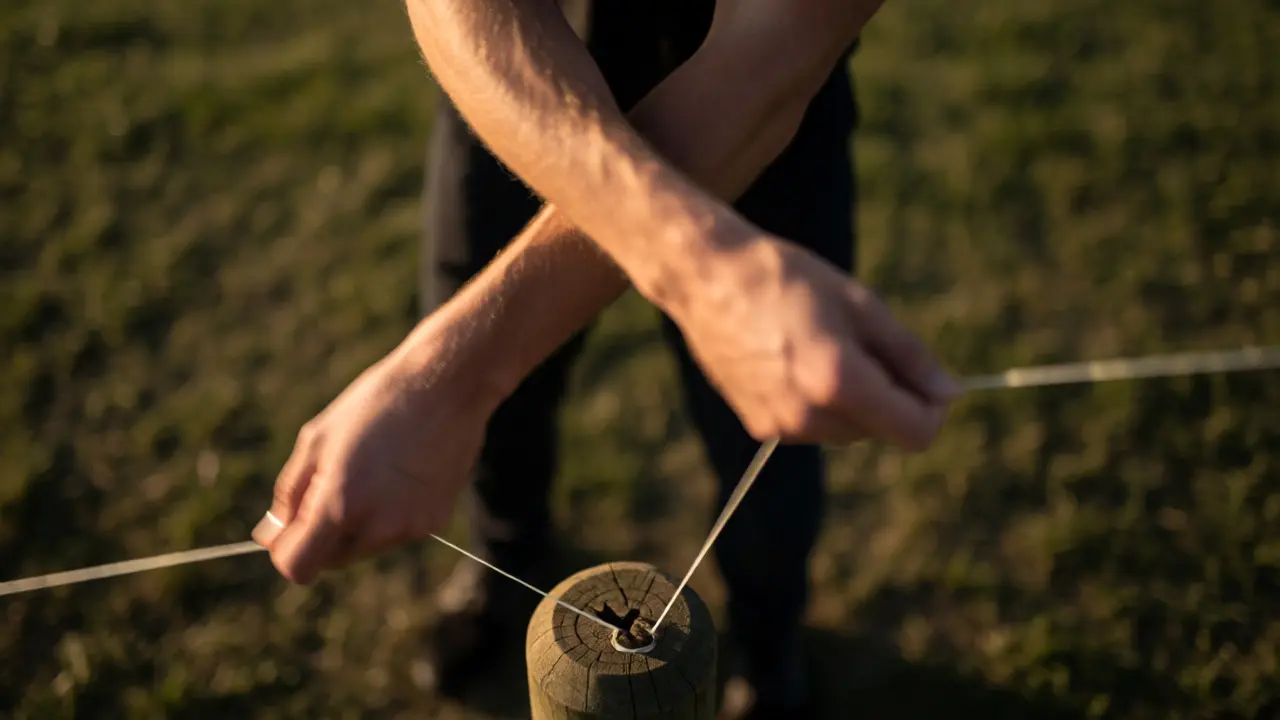
You cannot practice cutting effectively if you are constantly worried about keeping your kite aloft. Start on the ground. This isolates the hand-eye coordination required for the cut. Find a partner or use a fixed anchor point (like a heavy post or tree).
- Setup: Tie two identical strings to a secure anchor. Hold one end in each hand, standing about six feet apart.
- The Cross: Swing your right hand across your body to cross your string over the left one. Then switch. Do this rhythmically.
- The Pull: While crossing, simulate a sharp downward tug. Feel the resistance.
- The Release: Immediately slacken the line after the pull to reset position.
Do this for ten minutes daily. Your goal is to make the "cross-pull-release" motion automatic. In a real fight, you won't have time to think about which way to move your wrist. This drill builds the neural pathways needed for rapid response.
Single-Kite Control Drills
Once your hands know the rhythm, introduce the kite. But do not start with a full-scale fighter. Use a smaller, lighter kite (around 15-20 inches) for these sessions. Large kites have too much inertia; small ones respond instantly to your inputs, giving you immediate feedback.
The Figure-Eight Precision Test
Fly your kite in a stable figure-eight pattern. Keep the loops consistent in size and height. Now, add a constraint: keep your line taut at all times. If the line goes slack, you failed. This teaches you to manage spool control actively rather than passively letting the wind dictate tension.
The Sudden Stop Maneuver
Fly straight up until the kite reaches its zenith. Suddenly pull down hard on one side of the line to dive the kite sharply toward the ground, then immediately correct it back up. Repeat this "dive-and-recover" sequence. This mimics the aggressive vertical movement used to trap an opponent’s line under yours.
Simulated Combat: The Two-Kite Session
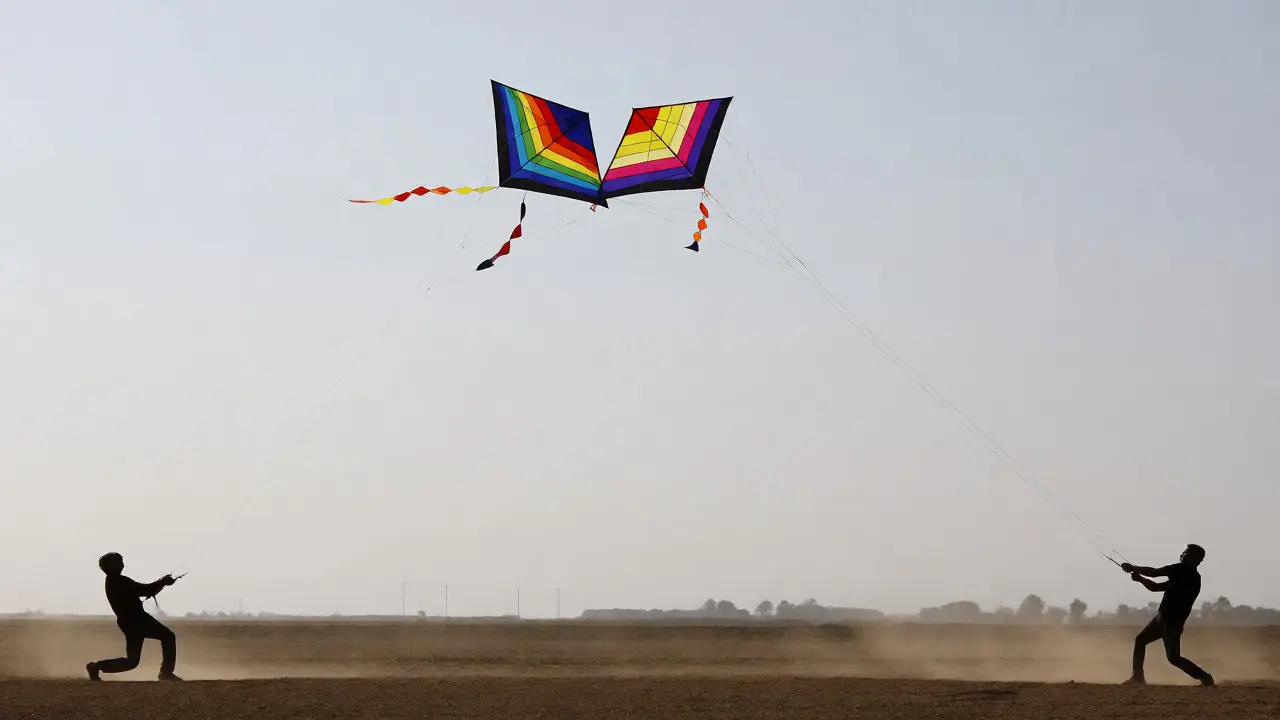
Now you’re ready for actual interaction. Grab a friend with a similar skill level. Both of you should fly standard diamond or delta fighters. The goal here is not to win, but to practice contact.
Start by flying side-by-side. Gradually steer your kites closer until the lines touch. Don’t try to cut yet. Just feel the vibration when the lines brush against each other. Notice how the kites react. Does your kite wobble? Does theirs dip?
Next, escalate to light pressure. Gently push your line against theirs. Try to slide your line along theirs without breaking contact. This is called "riding the line." It helps you understand the angle required to maintain contact without tangling. If you get tangled, pause, untangle, and analyze why. Did you cross too aggressively? Did you lose tension?
Advanced Technique: The Hook and Slide
Most beginners try to chop down on the opponent’s line. Pros often use a "hook" technique. Instead of a direct collision, you aim slightly above and behind the opponent’s line, then drag your line backward and downward. This creates a longer contact patch.
- Position your kite higher than the target.
- Steer your kite so your line crosses over theirs from above.
- Pull your line sharply toward your body (inward), dragging your line across theirs.
- Release tension immediately to avoid snagging.
This method requires precise spatial awareness. You aren’t just reacting to where the kite is; you’re predicting where the line will be in half a second. Practice visualizing the line as a physical object occupying space, not just a thin thread.
Safety and Gear Maintenance During Practice
Cutting generates heat and friction. Your line wears out faster than you think. Inspect your main line before every session. Look for fuzzy spots or discoloration. A weak spot will snap during a high-tension drill, potentially whipping the broken end into your face or eyes.
Always wear gloves. Even in mild weather, glass-coated string can slice skin like a razor wire. Leather gardening gloves work well for beginners. As you advance, specialized finger guards protect your index and middle fingers, which bear the brunt of the tension.
Troubleshooting Common Cutting Errors
If you’re struggling to land cuts, check these common mistakes:
- Too much slack: If your line is loose, it acts like a whip rather than a blade. Maintain constant, moderate tension.
- Static positioning: Flying stationary makes you an easy target. Constant lateral movement prevents opponents from locking onto your line.
- Ignoring wind shifts: Gusts change line angles unpredictably. Adjust your stance to compensate for sudden wind changes.
Remember, consistency beats power. A gentle, sustained rub often cuts better than a violent jerk that causes a tangle. Patience is part of the technique.
What type of string is best for practicing cuts?
For practice, use cotton or nylon string coated with glass powder or aluminum oxide. Avoid steel wire initially, as it can damage your kite frame and is harder to control. Cotton provides a good balance of grip and flexibility, allowing you to feel the friction without excessive danger.
How long should a practice session last?
Limit intense cutting drills to 20-30 minutes. Hand fatigue leads to sloppy technique and increased risk of injury. After 30 minutes, switch to free-flying exercises to rest your muscles while maintaining airtime skills.
Can I practice cutting alone?
Yes, but it’s limited. You can practice line management and tension control solo. However, true cutting requires a second line to interact with. Solo drills focus on reflexes and spool handling, while partner sessions address timing and spatial awareness.
Why does my kite crash when I try to cut?
Crashing usually results from over-correction. When you pull hard to cut, your kite loses stability. Practice recovering quickly after a maneuver. Focus on smooth inputs rather than jerky pulls. If the kite dips, gently lift it back up instead of yanking the line.
Is there a specific knot for connecting the line to the kite?
The double lark’s head knot is widely recommended for its security and ease of adjustment. Ensure the knot sits flush against the bridge attachment point to prevent slipping. A loose knot absorbs energy meant for cutting, reducing efficiency.