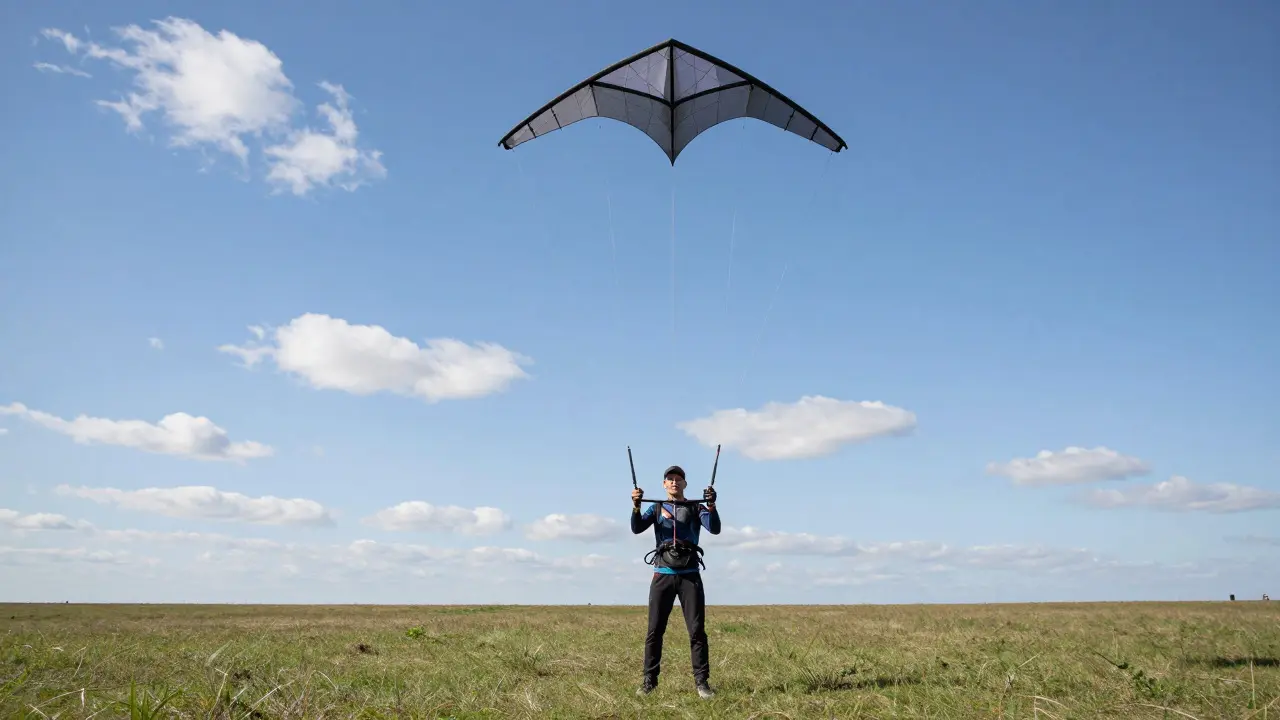
Ever watched a stunt kite dancer execute a perfect Lazy Susan is a continuous 360-degree rotation around the center point of the flight area without drifting forward or backward? It looks effortless, but it’s one of the most deceptively difficult maneuvers in aerial acrobatics. Most flyers get stuck because they try to force the turn with too much line tension or uneven input. The secret isn’t power; it’s balance. If you’ve been struggling to keep your kite centered while spinning, this guide breaks down exactly how to find that sweet spot where the kite rotates smoothly on its own axis.
Why the Center Pivot Matters
To understand the trick, you first need to understand the geometry of the flight zone. In stunt kite flying, your position relative to the kite determines its behavior. When you stand directly under the kite, you are at the Center Pivot is the geometric midpoint between the two control lines where lateral forces cancel out. This is the only position where a full rotation can happen without the kite gaining altitude or dropping low. If you drift even ten feet to the left, the right line becomes shorter than the left, creating an asymmetric pull that sends the kite spiraling outward instead of rotating in place.
Think of it like trying to spin a top on a table. If you push it from the side, it wobbles and moves across the surface. If you apply torque precisely through the center, it spins cleanly. Your body is the base of that top. Keeping your feet planted and your shoulders square to the wind is non-negotiable for maintaining this central alignment during the maneuver.
The Physics of Rotation: Torque vs. Tension
A common mistake beginners make is pulling hard on both lines simultaneously to "speed up" the spin. This actually kills the maneuver. The Stunt Kite is a dual-line delta wing designed for aerodynamic lift and precise directional control via differential line tension relies on subtle differences in line tension to change direction. For a Lazy Susan, you aren't pulling; you're guiding. The wind provides the lift, and your hands provide the rotational vector.
When you initiate the spin, you create a momentary imbalance. By releasing one line slightly more than the other, you induce a yaw (turning) motion. Once the kite starts turning, aerodynamic drag on the leading edge helps maintain the circular path. If you over-tighten the lines, you increase drag excessively, causing the kite to stall or drop. If you let go too much, it loses energy and stops mid-turn. The goal is to find the minimum tension required to sustain the orbit.
Step-by-Step Execution Guide
Ready to try it? Here is the exact sequence to perform a clean Lazy Susan. Practice these steps in a calm wind range of 8 to 15 mph, as gusty conditions will disrupt the delicate balance needed for center-pivot work.
- Establish Position: Stand facing into the wind. Hold your control bars at chest height, arms relaxed. Ensure your kite is hovering directly above your head. If it’s drifting, adjust your stance until it stays put.
- Initiate the Turn: Choose a direction (clockwise or counter-clockwise). Let the bar on the opposite side drop about six inches lower than the other. Do not pull; just relax your grip on the outer line. The kite should begin to swing around you.
- Follow the Arc: As the kite moves, rotate your body slowly to face the new direction of travel. Keep your eyes on the kite, not your feet. Your arms should move in a wide, smooth circle, mirroring the kite’s path.
- Maintain the Orbit: Once the kite reaches the back of the circle (behind you), tighten your core muscles. This stabilizes your center of gravity. Continue the circular arm motion without adding extra pull. Let the wind do the work.
- Exit the Spin: To stop, simply equalize the tension on both lines. Bring your bars back to horizontal chest height. The kite will naturally rise and stabilize in front of you.
Common Pitfalls and How to Fix Them
Even experienced flyers run into issues. Here are the three most frequent problems and their solutions:
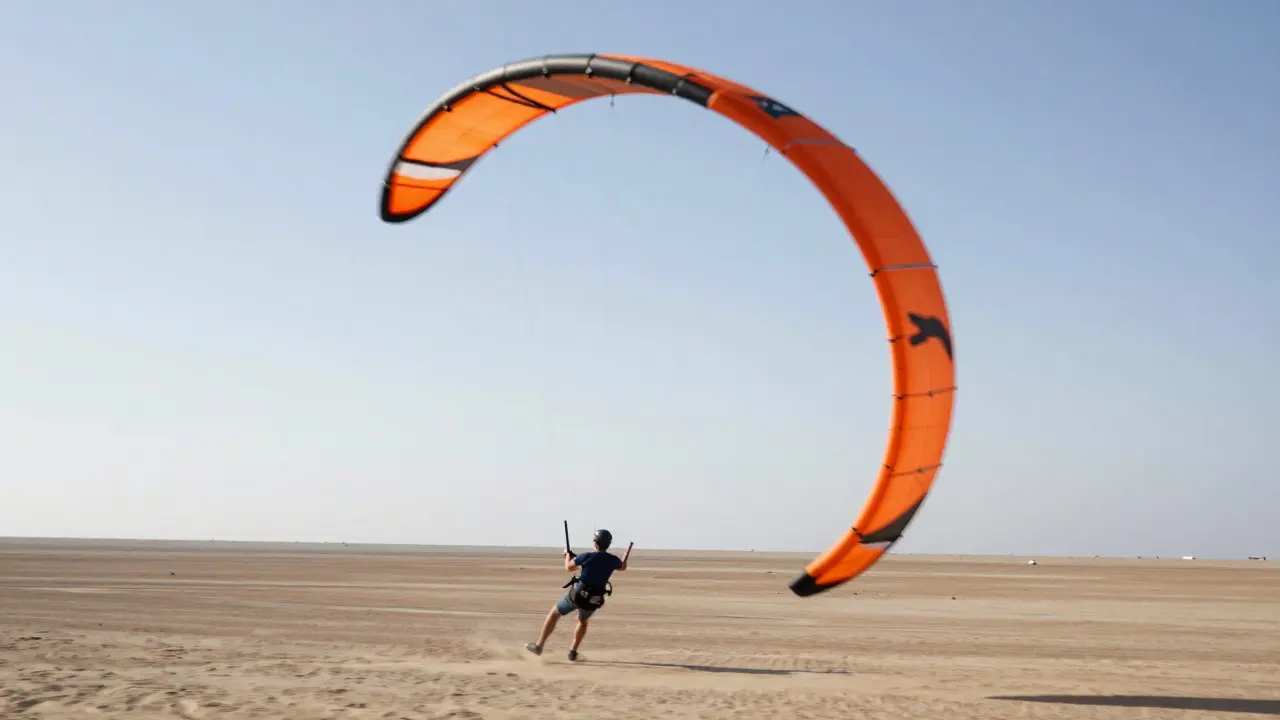
- The Spiral Out: This happens when the kite gains altitude and moves away from you. Fix: You’re likely standing too far back. Move closer to the center of the flight zone or reduce the initial release of the outer line.
- The Stall Drop: The kite suddenly loses lift and dives. Fix: You’re pulling too hard on the inner line. Relax your grip and trust the wind speed. Ensure your kite is sized correctly for the current wind conditions; a kite that is too large for the wind will be unstable.
- Body Drift: You start walking forward or backward during the turn. Fix: Plant your feet firmly. Imagine there is a pole through your spine. Your upper body can rotate, but your hips must stay stationary.
Equipment Considerations for Smooth Spins
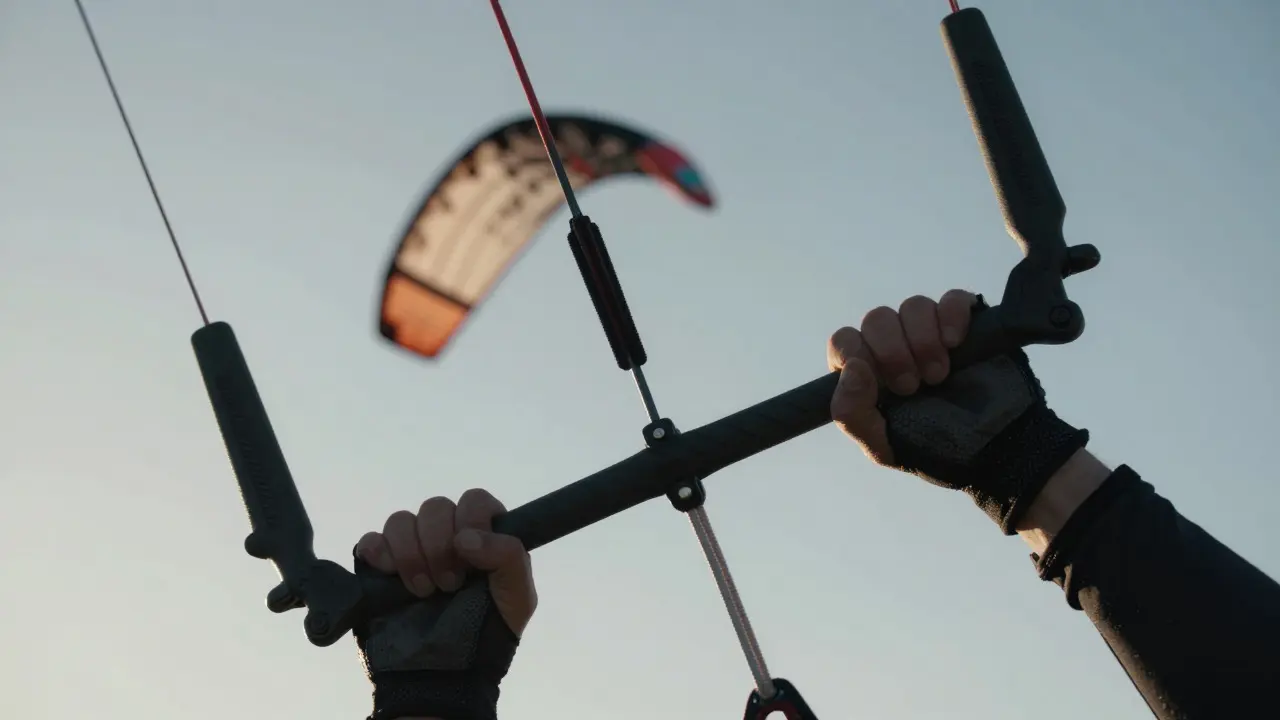
Your gear plays a bigger role than you might think. A standard Control Line is a high-strength polyester or Dyneema cord used to transmit pilot inputs to the kite's bridle points matters significantly. Thin, lightweight lines (like 40-pound test Dyneema) have less air resistance and allow for faster, smoother responses. Heavy cotton or thick nylon lines add drag that can dampen the rotation, making the Lazy Susan feel sluggish.
Additionally, check your kite’s bridle configuration. Some stunt kites come with adjustable bridles. Tightening the bridle slightly increases the kite’s responsiveness to line changes, which can help with initiating the spin faster. However, if it’s too tight, the kite may become twitchy. Experiment with small adjustments before attempting complex rotations.
| Issue | Likely Cause | Solution |
|---|---|---|
| Kite spirals outward | Asymmetric line tension / Pilot off-center | Re-center stance; release outer line more gradually |
| Kite stalls and drops | Excessive inner line tension / Wind too light | Relax inner hand; wait for stronger breeze |
| Spin is slow/jerky | Heavy control lines / Poor bridle setup | Switch to lighter lines; tighten bridle slightly |
| Pilot walks forward | Loss of balance / Core instability | Engage core muscles; plant feet firmly |
Progressing Beyond the Basic Spin
Once you can hold a steady Lazy Susan for three to five seconds, you can start adding variations. Try combining the spin with a loop by tightening the inner line just as the kite passes behind you. This creates a figure-eight pattern. Another advanced variation is the "Double Susan," where you complete two full rotations before exiting. These require precise timing and a deeper understanding of how line tension affects angular momentum. But don’t rush it. Master the single, clean rotation first. It’s the foundation for all other aerial maneuvers involving center-pivot work.
Frequently Asked Questions
What wind speed is best for practicing the Lazy Susan?
A steady wind between 8 and 15 mph is ideal. Below 8 mph, the kite may lack the lift to sustain the rotation. Above 15 mph, the increased drag makes it harder to control the precise center pivot, often causing the kite to spiral out of control.
Can I do a Lazy Susan with a single-line kite?
No. The Lazy Susan requires differential control on two independent lines to create the necessary torque for a controlled 360-degree rotation. Single-line kites rely on steering by tilting the bow, which doesn't allow for the same level of precision in center-pivot maneuvers.
Why does my kite always drop after half a turn?
This usually indicates that you are pulling too hard on the inner line during the second half of the rotation. As the kite swings behind you, gravity and centrifugal force act differently. Relax your inner hand completely and let the kite coast through the back of the circle using its own momentum.
Do I need special safety gear for stunt kite tricks?
Yes. Always wear protective eyewear to guard against debris kicked up by the wind. Use gloves to prevent rope burns from the control lines, especially if you use thin, high-strength materials. Ensure you have a clear flight zone free of people, trees, and power lines to avoid collisions during loss of control.
How long does it take to learn the Lazy Susan?
For most beginners, it takes anywhere from two to four weeks of consistent practice to achieve a stable, repeatable Lazy Susan. Consistency is key. Practicing for 15 minutes daily is more effective than a single two-hour session. Focus on small, controlled movements rather than trying to force the full rotation immediately.