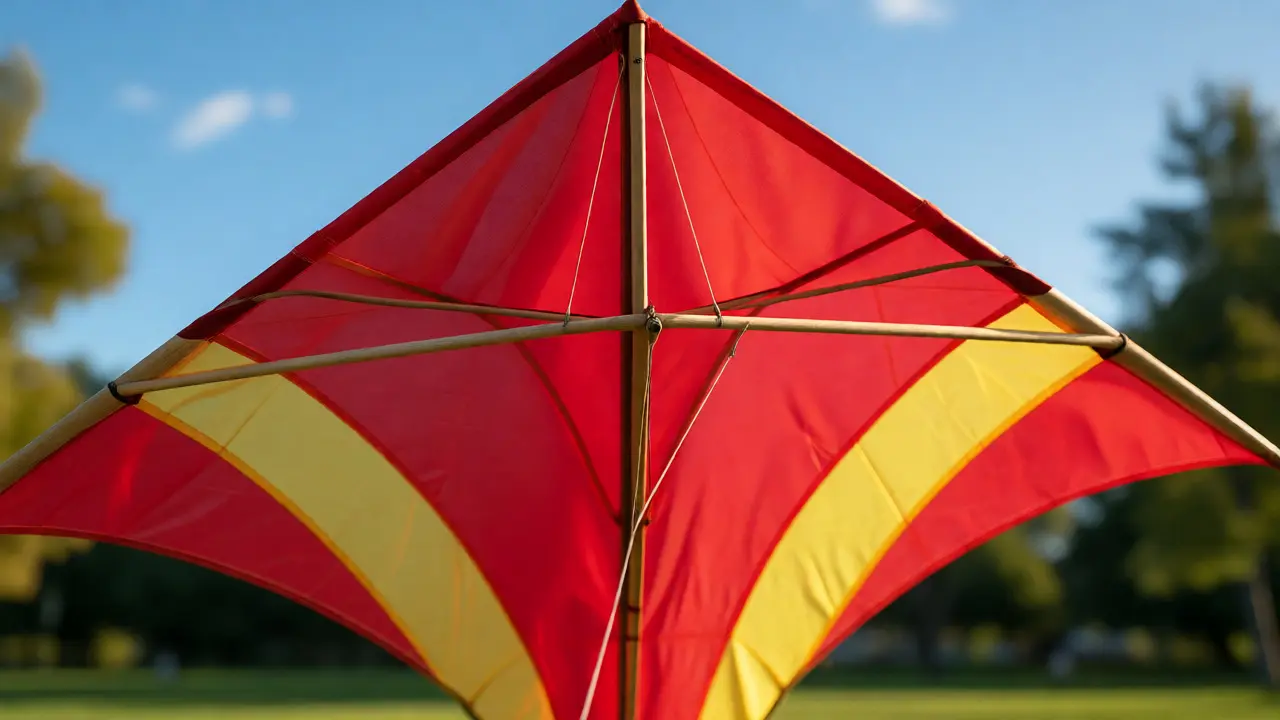
You’ve bought your first kite, rushed to the park, and watched it do what kites often do when they’re unhappy: spin wildly, dive-bomb into the grass, or just hang there like a sad plastic bag. It’s frustrating, but here is the secret most beginners miss: a stable kite isn’t about fighting the wind; it’s about balancing forces. If your kite is struggling, you don’t need better luck-you need to understand three things: the role of the tail, the importance of symmetry, and how to read the wind.
Why Your Kite Spins (And How to Stop It)
Kites are essentially unstable platforms floating in a moving fluid. Unlike a bird that can adjust its wings mid-flight, a static kite relies on fixed geometry. When the wind hits the kite, it creates lift (upward force) and drag (backward force). For the kite to stay steady, these forces must align perfectly with the tension from your line. If the center of pressure (where the wind pushes hardest) shifts behind or ahead of the center of gravity (the kite’s weight), the kite rotates. This rotation usually manifests as spinning left, right, or tumbling end-over-end.
The fix starts with checking your setup. Before you even launch, hold the kite up and look at it. Is one spar longer than the other? Is the fabric sagging on one side? Even a slight asymmetry can cause a continuous turn. Beginners often overlook this because they assume new equipment is perfect. It’s not. Manufacturing tolerances exist. A simple visual inspection can save you twenty minutes of frustration.
The Magic of the Tail
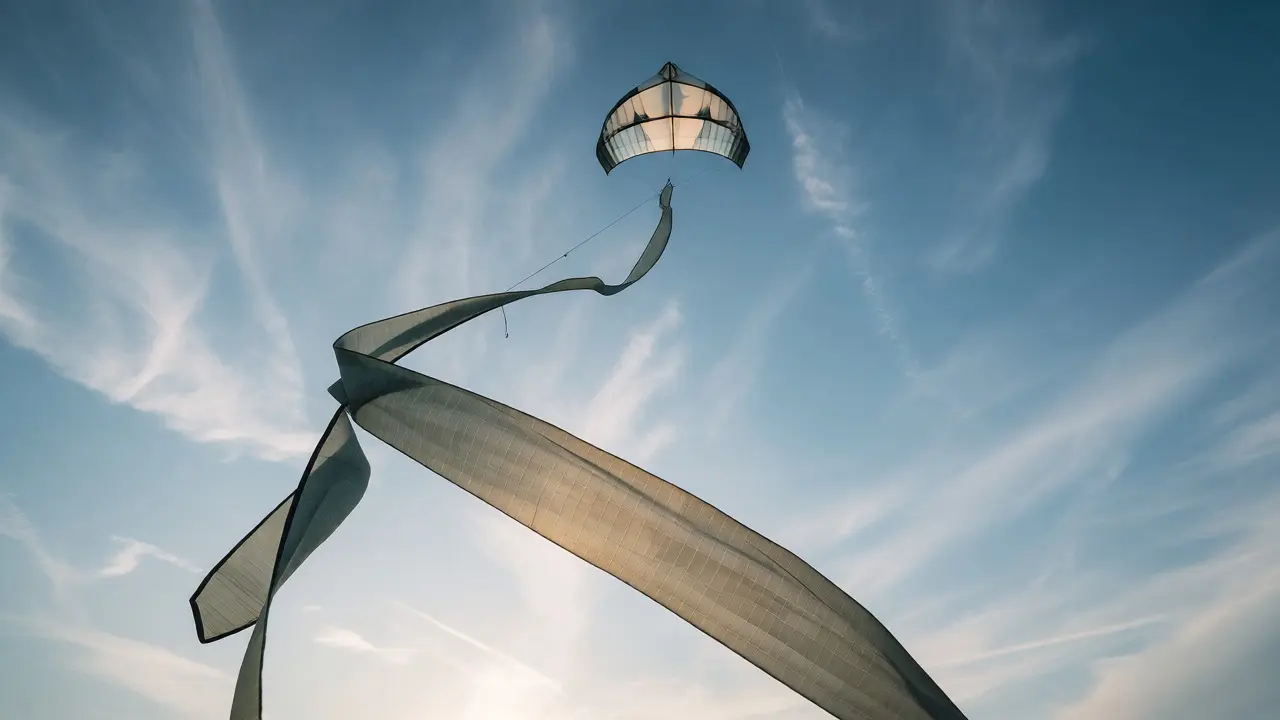
If your kite spins uncontrollably, the tail is likely your best friend. But not all tails are created equal. The primary job of a kite tail is to add drag below the kite’s center of gravity. This drag acts like a weather vane’s arrow, pulling the bottom of the kite downwind and keeping the nose pointed into the wind. Without a tail, many diamond and delta kites lack this stabilizing force.
Here is a rule of thumb for beginners: start with a long tail. If you have a standard diamond kite, aim for a tail that is at least five times the length of the kite’s spine. Yes, it sounds excessive. But short tails often fail to provide enough drag to counteract gusts. You can always trim it later if the kite feels sluggish. Use lightweight material like ripstop nylon or thin plastic ribbon. Heavy cotton ribbons absorb moisture and weigh the kite down, making it hard to launch in light winds.
| Kite Type | Recommended Tail Length | Purpose |
|---|---|---|
| Diamond (Standard) | 5x to 7x spine length | Prevents spinning in variable winds |
| Delta | 3x to 4x height | Adds stability without too much drag |
| Sled | None or very short | Sleds are self-stabilizing via airflow pockets |
| Box Kite | 1x to 2x height | Maintains orientation during high-speed flight |
Finding the Right Wind Window
You can have the perfect tail and a symmetrical kite, but if you fly in the wrong wind, you’ll still struggle. Most beginner kites operate best in wind speeds between 8 and 15 mph. Below 8 mph, you won’t generate enough lift to overcome the kite’s weight. Above 15 mph, the forces become too violent for a simple single-line kite to handle without specialized bridle adjustments.
How do you judge this without an anemometer? Look at the trees. If leaves are constantly rustling and small branches are moving, you’re in the sweet spot. If flags are hanging limp, wait. If large branches are thrashing around, consider switching to a smaller kite or waiting for calmer conditions. Flying in strong wind with a large beginner kite is a recipe for broken spars and tangled lines.
Launching Like a Pro
Most launches fail because the pilot tries to launch solo in poor wind. The easiest method involves two people. One person holds the kite at arm’s length, facing away from the flyer, with the kite held horizontally. The flyer stands 20-30 feet downwind. On command, the holder releases the kite while the flyer gives a sharp tug on the line. This initial tension catches the wind immediately.
If you’re alone, find a hill or a building edge where the wind is funneled upward. Hold the kite upwind, release the line slowly, and let the rising air lift it. Avoid launching in flat, open fields with no wind gradient unless you have a helper. Remember, never pull hard on the line until the kite has gained altitude. Pulling too early causes the kite to dive into the ground.
Bridle Adjustment: The Hidden Control Lever
Once your kite is airborne, it might still behave strangely. Maybe it flies sideways or refuses to climb. This is often a bridle issue. The bridle is the string system attached to the front of the kite where your flying line connects. Moving this connection point changes the angle of attack-the angle at which the kite meets the wind.
Think of it like tilting a spoon in running water. If the kite dives repeatedly, the nose is pointing too far down. Move the bridle attachment point closer to the nose (shorten the top leg of the bridle). This raises the nose, increasing lift. If the kite backs off (moves backward toward you) and loses altitude, the nose is pointing too high. Move the attachment point toward the tail (lengthen the top leg). Small adjustments-quarter-inch moves-are usually enough. Don’t make big jumps.

Common Mistakes That Kill Stability
- Ignoring Line Twist: Twisted lines create uneven tension. If your line looks like a corkscrew, untwist it before flying. Twists can cause the kite to yaw (turn left/right) unexpectedly.
- Flying Near Obstacles: Trees and buildings create turbulence. Wind bouncing off a wall creates eddies that confuse the kite’s airflow. Fly in open spaces at least 100 yards from any structure.
- Using Wet Materials: A damp tail or kite skin adds weight unpredictably. Dry your gear thoroughly after flying near water or in humid conditions.
- Over-Correcting: When the kite drifts left, don’t yank the line right. Gently ease the tension or walk forward slightly. Aggressive corrections destabilize the kite further.
Advanced Tip: Weight Distribution
If you’re handy, you can tune your kite’s balance. Some kites benefit from a tiny weight added to the bottom corners of the frame. This lowers the center of gravity, making the kite more resistant to tipping over. Conversely, adding weight to the nose can help in very light winds by helping the kite pierce through dead air. However, for most beginners, sticking to the manufacturer’s design is safer. Only modify weights if you’ve exhausted tail and bridle adjustments.
Why does my kite keep crashing?
Kites crash primarily due to insufficient wind speed or incorrect bridle settings. If the wind is too weak, the kite cannot generate enough lift to support its own weight. If the bridle is set incorrectly, the kite may stall (lose lift) or dive. Check your wind speed first; if it's below 8 mph, try a lighter kite. Then, adjust the bridle to raise the nose slightly.
Do I really need a tail on my kite?
For most beginner kites like diamonds and deltas, yes. A tail provides passive stability by adding drag below the center of gravity, preventing the kite from spinning. Some modern sled kites are designed to fly without tails, but they require precise wind conditions. If your kite spins, add a tail immediately.
How long should my kite tail be?
A good starting point is five times the length of the kite’s vertical spine. For example, if your kite is 3 feet tall, use a 15-foot tail. If the kite feels heavy and struggles to rise, shorten the tail. If it spins wildly, lengthen it. Always test incrementally.
What wind speed is best for beginner kites?
The ideal range is 8 to 15 mph. In this range, there is enough consistent airflow to lift standard recreational kites without overwhelming them. Winds below 8 mph require very light kites, while winds above 15 mph can damage fragile frames and make control difficult for novices.
Can I fly a kite in the rain?
You can, but it’s risky. Water increases the weight of the kite and tail, potentially causing crashes. More importantly, wet paper or non-ripstop fabrics lose structural integrity and tear easily. Nylon kites fare better, but dry them completely before storage to prevent mold and mildew.