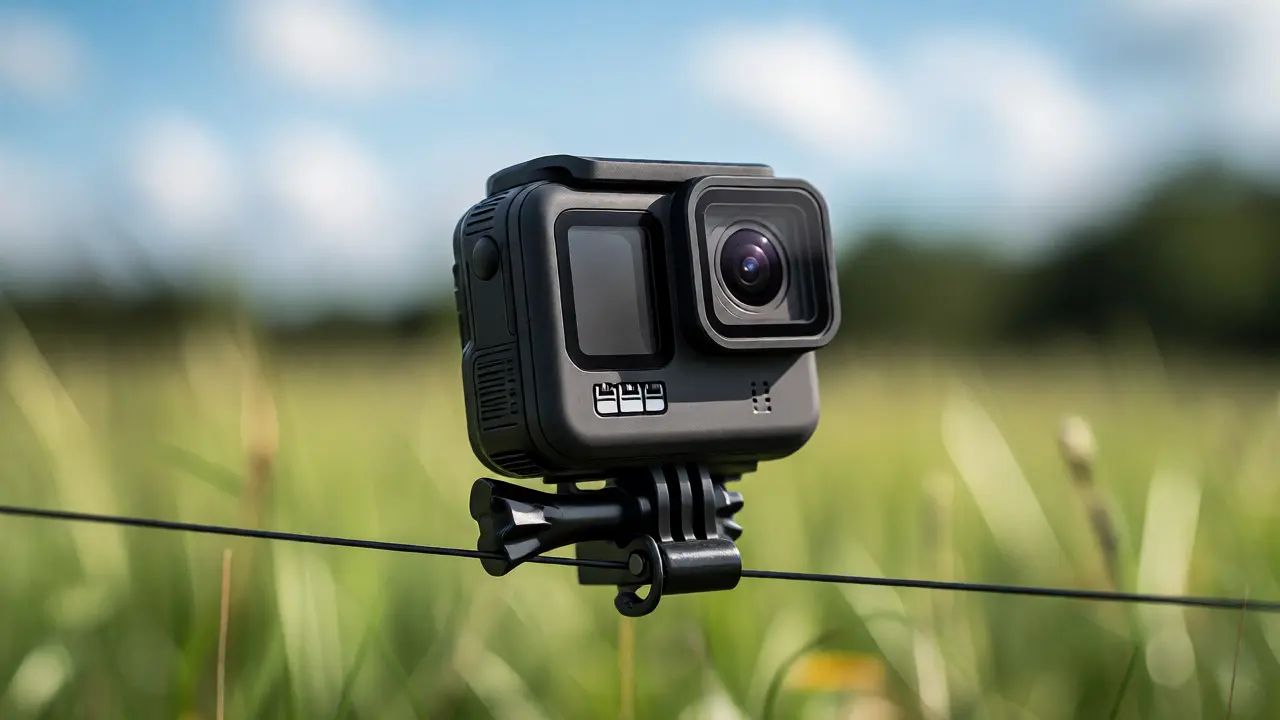
You’ve got the kite. You’ve got the line. But staring at your shelf of cameras, you’re stuck. Your DSLR is too heavy to lift off the ground. Your smartphone drops frames when the wind hits 15 mph. And that cheap webcam? It’s going to look like a blurry mess in the sky.
Kite aerial photography isn’t just about flying; it’s about balancing weight against image quality. If you pick the wrong gear, you’ll spend more time fighting gravity than capturing shots. This guide cuts through the noise to help you choose the right camera for your specific setup, whether you’re a weekend hobbyist or aiming for professional-grade aerials.
Why Weight Matters More Than Megapixels
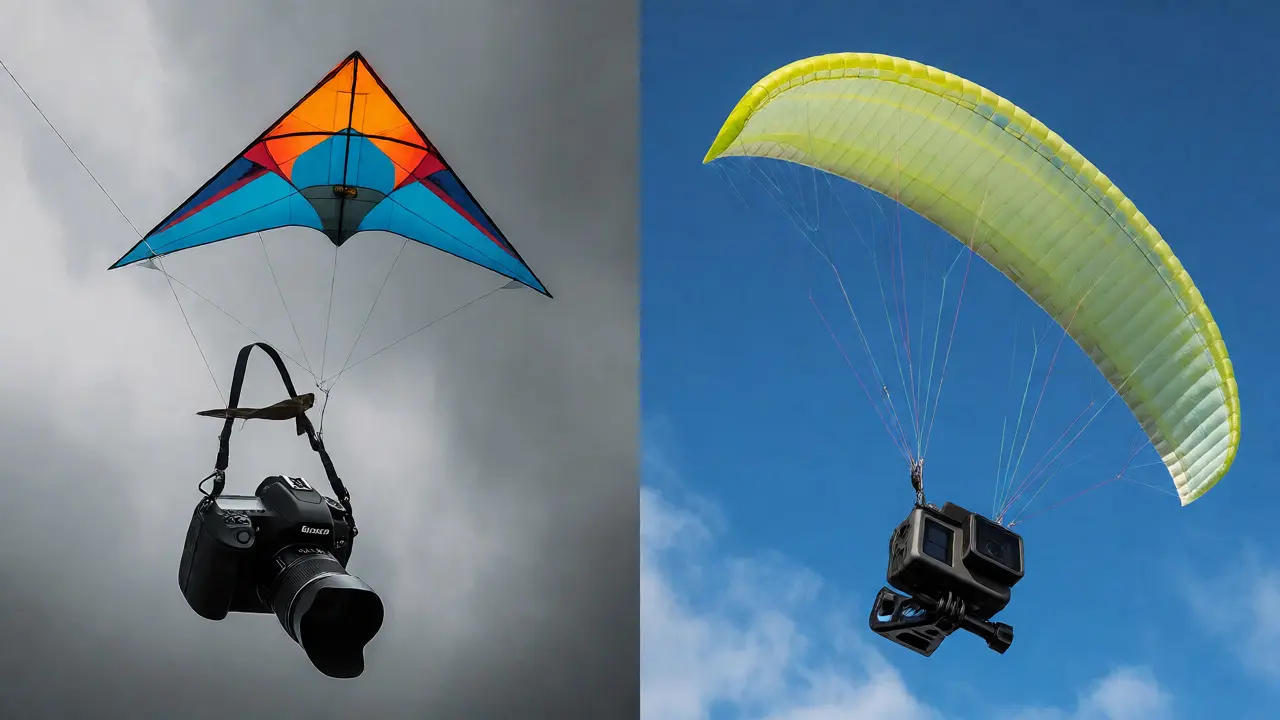
Let’s get one thing straight: in kite aerial photography (KAP), grams are your enemy. Every ounce you add requires a bigger kite, stronger line, and more skill to keep steady. A standard GoPro Hero 13 Black weighs roughly 154 grams with its housing. That’s manageable on a medium-sized delta kite. Toss a mirrorless Sony Alpha 7 IV onto that same rig, and you’re looking at over 650 grams plus lens. Your kite won’t just struggle; it might not fly at all without a massive upgrade to your lifting system.
Most beginners make the mistake of assuming "better camera" means "better photo." In KAP, "better camera" means "camera that flies well." A sharp 12-megapixel image from a lightweight action cam beats a noisy, motion-blurred 40-megapixel shot from a heavy full-frame sensor every single time. The goal is stability. If your camera shakes because the wind is dragging a heavy body around, no amount of post-processing will save you.
Action Cameras: The Default Choice for Most Flyers
If you’re new to this, start here. Action cameras are built for vibration resistance, wide angles, and light weight. They are the workhorses of the KAP community for good reason.
| Model | Weight (with housing) | Stabilization | Best For |
|---|---|---|---|
| GoPro Hero 13 Black | ~154g | Hypersmooth 6.0 | Versatile use, high-res video/photo |
| DJI Osmo Action 5 Pro | ~145g | RockSteady 3.0 | Better low-light performance |
| Insta360 Ace Pro | ~180g | FlowState | AI-powered editing features |
The GoPro Hero 13 Black remains the industry standard for a reason. Its HyperSmooth stabilization is incredible at counteracting the jitters caused by kite lines vibrating in the wind. Plus, the ecosystem of mounts is huge. You can find everything from simple zip-tie brackets to sophisticated gimbals designed specifically for KAP rigs.
However, don’t sleep on the DJI Osmo Action 5 Pro. If you plan on shooting during golden hour or in cloudy Portland skies, DJI’s larger sensor captures significantly less noise than GoPros. Grainy photos are hard to fix; dark photos are easier to brighten. Choose based on your typical lighting conditions.
Mirrorless Systems: When You Need Control
Once you’ve mastered the basics and want higher resolution or manual control over aperture and ISO, you might graduate to a compact mirrorless setup. But you have to be ruthless about weight.
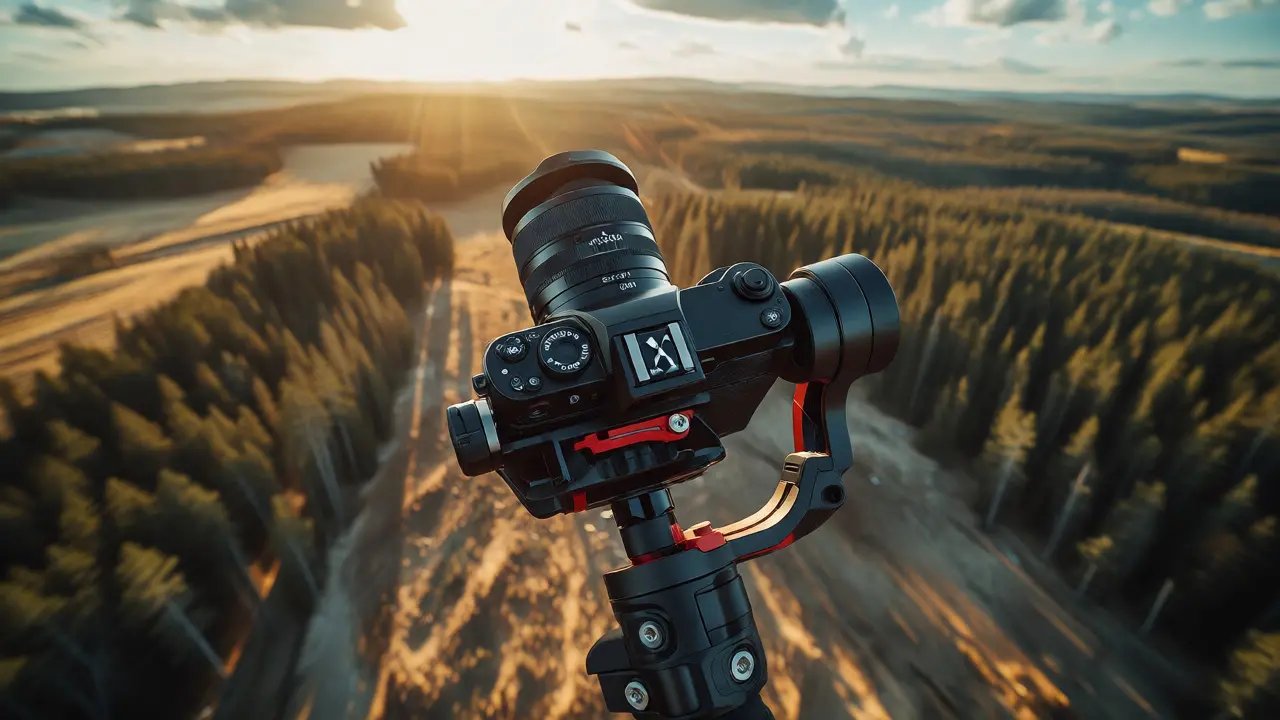
A Fujifilm X-S20 with a prime lens weighs around 490 grams. This is doable, but only if you’re using a large parafoil kite or a box kite with significant lift capacity. The advantage here is dynamic range. Mirrorless sensors handle high-contrast scenes-like a bright sky above a shadowed forest-much better than small-sensor action cams. You get cleaner shadows and retained highlight detail.
But here’s the catch: you lose the built-in stabilization of action cams. You need a stable platform. This usually means investing in a gimbal or a rigid mount with dampeners. If you skip the stabilization, your images will suffer from rolling shutter effects and blur, especially if the wind gusts suddenly. Only go mirrorless if you’re comfortable managing a heavier payload and building a more complex rig.
The Importance of Mounting Hardware
Your camera choice dictates your mounting hardware. You can’t just tape a heavy camera to a string. You need a KAP bridle system that keeps the camera level despite the kite’s angle of attack.
- Simple Zip-Ties: Good for action cams under 200g. Cheap, effective, easy to adjust. Use rubber bands between the camera and the mount to absorb vibration.
- 3D Printed Brackets: Ideal for custom fits. Many designers share free files for popular models like GoPros or Sony ZV-E10s. These provide a rigid connection but transmit more vibration unless you add foam padding.
- Gimbal Stabilizers: Essential for mirrorless setups or smooth video. Brands like DJI offer mini-gimbals that fit small cameras. They add weight (usually 100-200g) but drastically improve footage quality.
Remember, the mount must allow you to change the camera’s pitch (up/down angle). If you can’t adjust the angle while the kite is up, you’ll waste hours landing and re-launching to frame your shot correctly. Look for mounts with adjustable screws or quick-release mechanisms.
Power and Storage Considerations
Batteries die faster in cold, windy conditions. At altitude, temperatures drop, and chemical reactions slow down. A battery that lasts 60 minutes on the ground might last 40 minutes at 100 feet up in September air.
Always carry spare batteries. For action cams, buy third-party high-capacity cells-they often outperform OEM brands in endurance tests. For mirrorless cameras, consider dummy batteries powered by a small external power bank mounted near the reel. This frees you from worrying about mid-flight shutdowns.
Storage speed matters too. Writing 4K video or RAW photos requires fast SD cards. Look for V30 or higher speed ratings. Slow cards cause dropped frames, which ruins the smoothness of your aerial footage. There’s nothing worse than reviewing your flight only to find stuttering video because the card couldn’t keep up.
Decision Matrix: Which Camera Fits Your Project?
Still unsure? Use this quick heuristic to narrow down your options.
| Project Goal | Recommended Camera Type | Key Feature Needed |
|---|---|---|
| Casual Weekend Flights | Action Cam (GoPro/DJI) | Lightweight, Easy Setup |
| High-Res Landscapes | Compact Mirrorless | High Dynamic Range, Manual Controls |
| Video Content Creation | Action Cam with Gimbal | Superior Stabilization |
| Low-Light/Evening Shots | Larger Sensor Mirrorless | Low Noise Performance |
Start light. You can always upgrade to heavier gear once you understand how wind affects your specific kite design. Trying to fly a heavy rig as a beginner leads to frustration and broken equipment. Master the art of keeping a 150g camera steady first, then worry about megapixels later.
Can I use my smartphone for kite aerial photography?
Yes, but it’s tricky. Modern smartphones are light enough for small kites, but they lack robust stabilization and weather sealing. Wind noise can also interfere with audio if you’re recording video, and touchscreens are hard to operate with gloves. Use a dedicated phone mount with a protective case, and expect shorter battery life due to constant GPS and screen usage.
Do I need a remote control for my camera?
Not strictly necessary, but highly recommended. While you can set a timer or interval mode, a Bluetooth remote allows you to trigger shots exactly when the framing is perfect. Some advanced apps let you view a live feed on your phone, turning your kite into a poor-man’s drone. Check compatibility before buying; not all remotes work with all camera models.
How high can I fly a heavy camera?
It depends on the kite size and wind speed. A 600g camera might require a 2-meter wingspan parafoil in 10-15 mph winds. As height increases, wind speeds typically increase, which helps lift, but line drag also increases. Always test your rig at lower altitudes first to ensure stability before letting out the full length of your line.
What is the best lens for kite aerial photography?
For mirrorless cameras, a wide-angle prime lens (e.g., 16mm or 20mm equivalent) is ideal. It provides a broad field of view, making it easier to capture landscapes even if the camera angle isn’t perfectly horizontal. Avoid zoom lenses if possible; they are heavier and introduce optical distortion that can be hard to correct in post-production.
Is 4K video worth it for kite photography?
Only if you plan to crop heavily or stabilize further in post-production. 4K files are large and drain batteries quickly. For most social media content, 2.7K or 1080p is sufficient and saves storage space. Prioritize frame rate (60fps) for smoother motion over resolution if you’re filming moving subjects or panning shots.