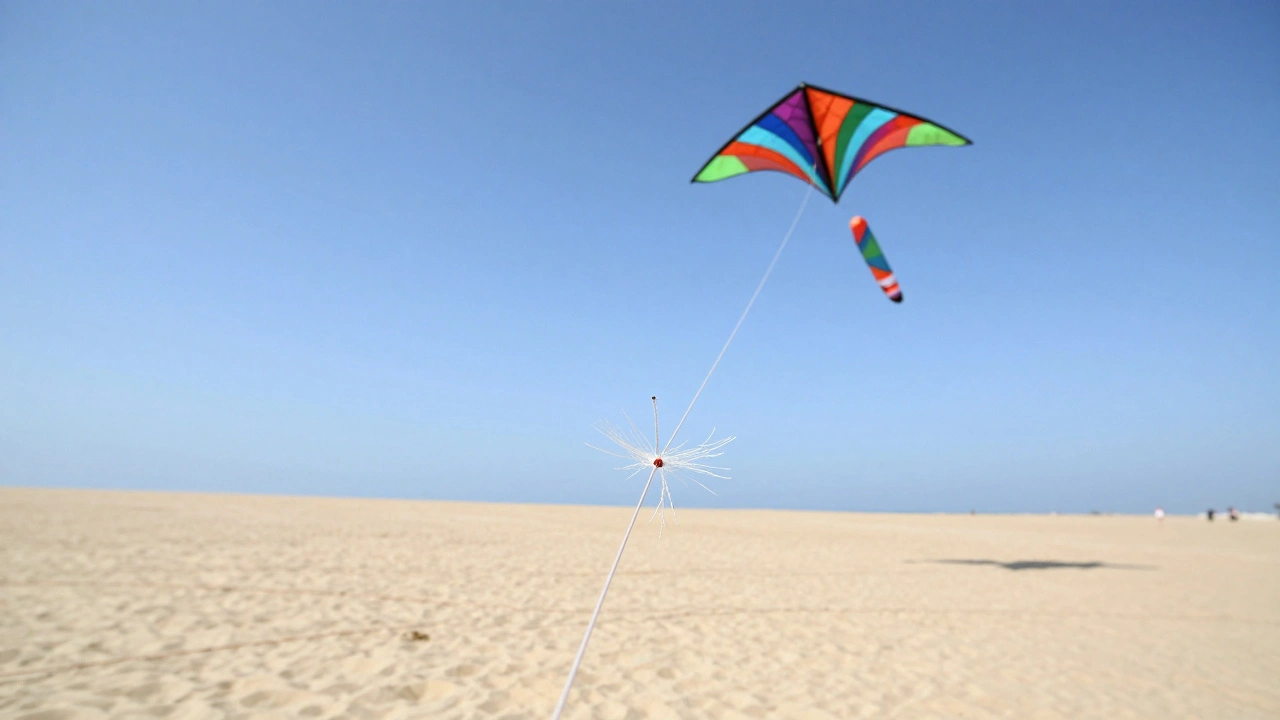
Before you grab the first roll of string you find in the garage, you need to understand that kite flying lines are engineered tools. They have to balance tensile strength, diameter, and stretch. If you're replacing lines on a professional stunt kite, a power kite, or a simple delta kite, the requirements change drastically. Let's get your gear back in the air with the right stuff.
Quick Guide to Line Selection
- Stunt/Sport Kites: Use high-strength, low-stretch materials like Dyneema or Spectra.
- Single-line/Recreational Kites: Braided polyester or nylon work well for casual flying.
- Power/Traction Kites: Heavy-duty Dyneema is mandatory for safety and control.
- Rule of Thumb: Always over-spec your strength by at least 20% above the maximum expected wind load.
Understanding Material Types
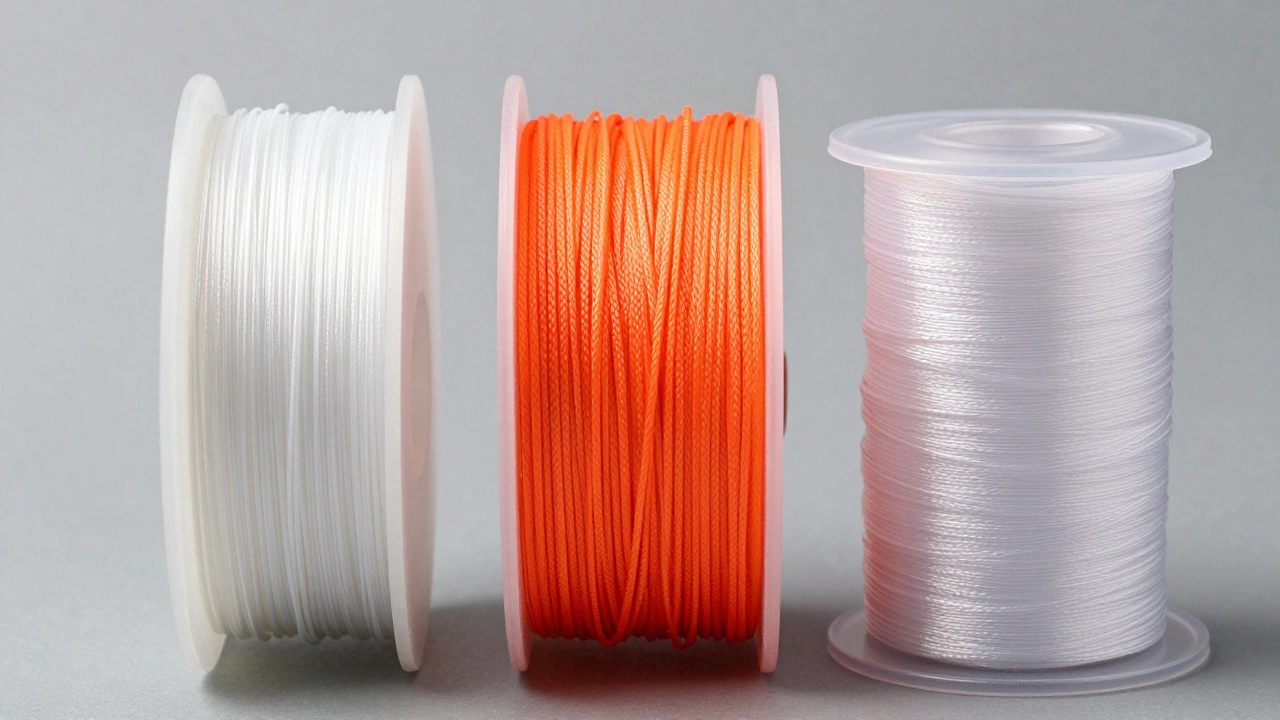
The material you choose determines how the kite communicates with your hands. In the world of kite repair, we mostly deal with three main players.
Dyneema is an ultra-high-molecular-weight polyethylene (UHMWPE) fiber known for having an incredible strength-to-weight ratio. It is virtually stretch-free, which is why it's the gold standard for stunt kites. Because it doesn't stretch, every tiny movement of your steering handles is transmitted instantly to the kite. However, it's slippery, meaning your knots need to be extra secure, or they'll slide right open under tension.
Braided Polyester is a versatile synthetic fiber that offers a balance between durability and flexibility. It's much more affordable than Dyneema and has a bit more "give." While that stretch is bad for high-performance steering, it's actually a benefit for kids' kites because it acts as a shock absorber, preventing the line from snapping during a sudden gust.
Nylon is a strong, elastic polymer that is often used in general-purpose cords. While it's strong, nylon has too much stretch for most serious kiting. If you use nylon on a two-line stunt kite, you'll find that you have to move your arms several feet just to get the kite to turn a few degrees. It's better suited for anchors or very basic single-line kites where precision doesn't matter.
| Material | Stretch Level | Strength | Best Use Case |
|---|---|---|---|
| Dyneema | Near Zero | Extreme | Professional Stunt/Power |
| Polyester | Low to Medium | High | Recreational/Medium Wind |
| Nylon | High | Medium | Basic Single-Line Kites |
Calculating the Right Strength (Tensile Load)
How do you know if a line is "strong enough"? You'll see ratings like "50 lbs" or "200 kg." This is the breaking strength, or the point where the line snaps. A common mistake is choosing a line that exactly matches the kite's maximum rated pull. In the real world, wind isn't a steady stream; it comes in pulses.
For a standard 2-meter stunt kite, you aren't just fighting the wind; you're fighting the centrifugal force of the kite's rotation. When you do a tight loop, the tension on the line can spike to three or four times the static wind load. If your kite is rated for 20 lbs of pull in a 15 mph breeze, a sharp turn could easily put 60 lbs of tension on that line. This is why you want a safety margin. If your calculated load is 50 lbs, aim for a line with a 100 lb breaking strength.
Keep in mind that knots reduce strength. A poorly tied knot can weaken a line by up to 50%. If you're using a Figure-Eight Knot or a Bowline, you're in better shape, but the degradation still happens. Always account for this "knot tax" when picking your line gauge.
Matching Line Diameter to Performance
You might think, "I'll just buy the thickest line possible so it never breaks." This is a trap. The thicker the line, the more "drag" it creates. Drag is the air resistance that pushes the line back toward you, which effectively slows down the kite and makes it feel sluggish.
For high-performance kites, the goal is the smallest diameter possible that still meets your strength requirements. This is why Dyneema is so popular; it's incredibly thin but strong. A 0.5mm Dyneema line can often outperform a 2mm nylon cord. If you use a line that's too thick, you'll notice the kite struggles to reach its maximum height and becomes harder to steer in light winds.
Step-by-Step: Replacing Your Flying Lines
Replacing lines isn't just about tying a knot; it's about ensuring symmetry. If one line is slightly longer than the other, your kite will permanently veer to one side, making it nearly impossible to fly straight.
- Measure Twice: Remove the old lines entirely. Lay them out on a flat surface and measure them exactly. If you're replacing both sides, ensure they are identical to the millimeter.
- Singe the Ends: Since most kite lines are synthetic, they fray immediately when cut. Use a lighter to carefully melt the ends of your new lines to create a clean, sealed edge.
- Attach to the Spars: Secure the lines to the kite's frame (the spars). Use a strong knot like the Anchor Bend. Make sure the knot is tight and doesn't slip.
- Tension Test: Before attaching the handles, pull the lines firmly to ensure the knots are seated.
- Balance Check: Hold the kite up by the center and let the lines hang. If one side looks longer, adjust it now. An imbalanced kite is a frustrating kite.

Common Pitfalls to Avoid
One of the biggest mistakes beginners make is using "fishing line." While some high-end fluorocarbon lines are strong, they are often too stiff and can actually cut into your skin or the kite's fabric if they rub. Stick to lines specifically designed for textiles or aviation.
Another issue is ignoring UV degradation. If you leave your kite lines lying in the sun on the beach for a few hours, the plastic fibers can actually begin to break down. If your lines feel "crunchy" or look faded, they've lost their structural integrity and need to be replaced, even if they haven't snapped yet.
Finally, avoid mixing materials. Don't use a Dyneema line on the left and a Polyester line on the right. Because they have different stretch rates, your kite will be completely unbalanced. One side will react instantly, while the other will lag, causing the kite to spin out of control.
Can I use regular twine or string from a hardware store?
Generally, no. Hardware store twine is usually made of coarse fibers that create massive drag and have very inconsistent breaking strengths. You'll find the kite barely lifts and the line likely snaps at a weak point during a gust.
How do I know when it's time to replace my lines?
Check for "fuzzing" or fraying. If you see small fibers sticking out from the main braid, the line is wearing down. Also, if the line has become stretched out (it looks wavy instead of straight), it's time for a replacement to regain steering precision.
Does line color matter?
Technically, no, but practically, yes. High-visibility colors (neon orange, yellow) help you spot the line against the sky or water, which prevents other people from walking into it and helps you avoid tangles.
What is the best knot for kite lines?
The Figure-Eight knot is excellent for loops, and the Anchor Bend is great for securing lines to spars. If you're using slippery lines like Dyneema, always double-check your knots or use a specialized splicing technique for maximum strength.
Will thicker lines make my kite fly higher?
Actually, the opposite. Thicker lines create more wind resistance (drag), which can pull the kite back and prevent it from reaching its maximum altitude in light winds.
Next Steps and Troubleshooting
If you've replaced your lines and the kite is still veering to one side, don't panic. First, check the tension. If one line is just a tiny bit shorter, you can often fix this by slightly loosening the knot on the opposite side. If the kite feels "mushy" in the air, you probably used a material with too much stretch-consider switching to a braided polyester or Dyneema.
For those looking to level up, look into "splicing." Splicing is a way of weaving the line back into itself instead of using a knot. This preserves nearly 100% of the line's strength and creates a much smoother connection. It takes a bit of practice, but it's the professional way to handle high-performance gear.