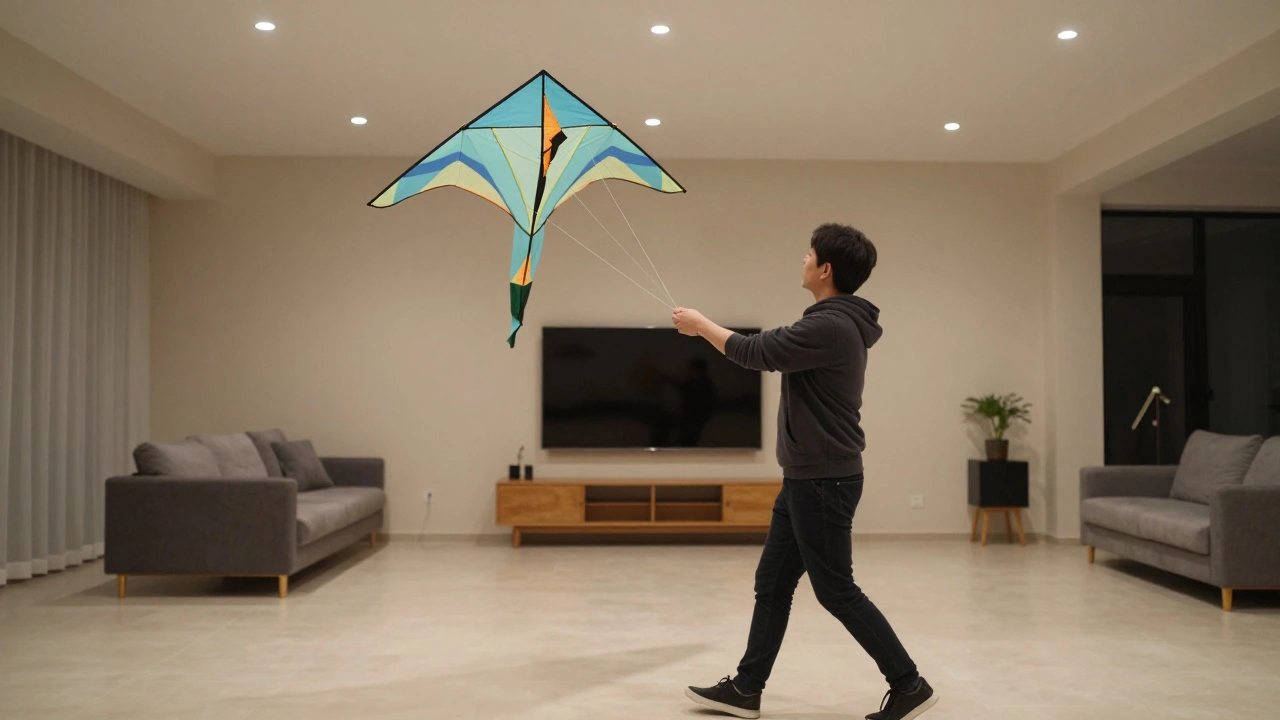
Indoor kiting isn’t just about floating a kite in a room-it’s about creating relative wind so the kite behaves like it’s outdoors. Without natural breeze, you have to generate your own airflow, and that’s where walking and pumping come in. These aren’t just random movements. They’re precise, rhythmic actions that mimic the wind you’d get outside. If you’ve ever tried flying a kite indoors and watched it drop like a stone, you weren’t doing something wrong-you were just not creating enough relative wind.
What Is Relative Wind in Indoor Kiting?
Relative wind is the airflow that moves across the kite’s surface, giving it lift. Outdoors, it’s the wind blowing past the kite. Indoors, it’s you moving. When you walk forward with a kite in hand, the air rushes over the sail. The faster you move, the more lift you create. But walking alone isn’t enough. Most indoor kites are designed to be light and responsive, so they need constant, controlled airflow. That’s where pumping comes in.
Think of it like pedaling a bike uphill. You don’t just push once-you rhythmically push and pull to keep momentum. The same goes for indoor kiting. Walking sets the baseline. Pumping adds the extra boost.
The Walking Technique: Steady Motion Creates Steady Lift
You can’t stand still and expect your kite to fly. Even the lightest indoor kite needs forward motion. Start by holding the kite at waist height, line taut but not tight. Step forward slowly-about one step every two seconds. Keep your arms relaxed. Your goal isn’t to run, but to maintain a smooth, continuous pace.
Why slow? Too fast, and the kite surges, stalls, or dives. Too slow, and it loses lift. The sweet spot is a walking speed of 1.5 to 2 miles per hour. That’s roughly the pace of a casual stroll. Most people walk faster than that without realizing it. Try pacing yourself by counting: ‘one-one-thousand, two-one-thousand’ between steps.
Use your whole body. Shift your weight slightly forward as you step. Don’t just move your legs-lean your torso a little. This helps push air forward more effectively. Keep your eyes on the kite, not your feet. If it starts to sink, increase your pace slightly. If it surges upward, slow down. It’s a feedback loop: movement → wind → lift → control.
The Pumping Technique: Adding Power Without Speed
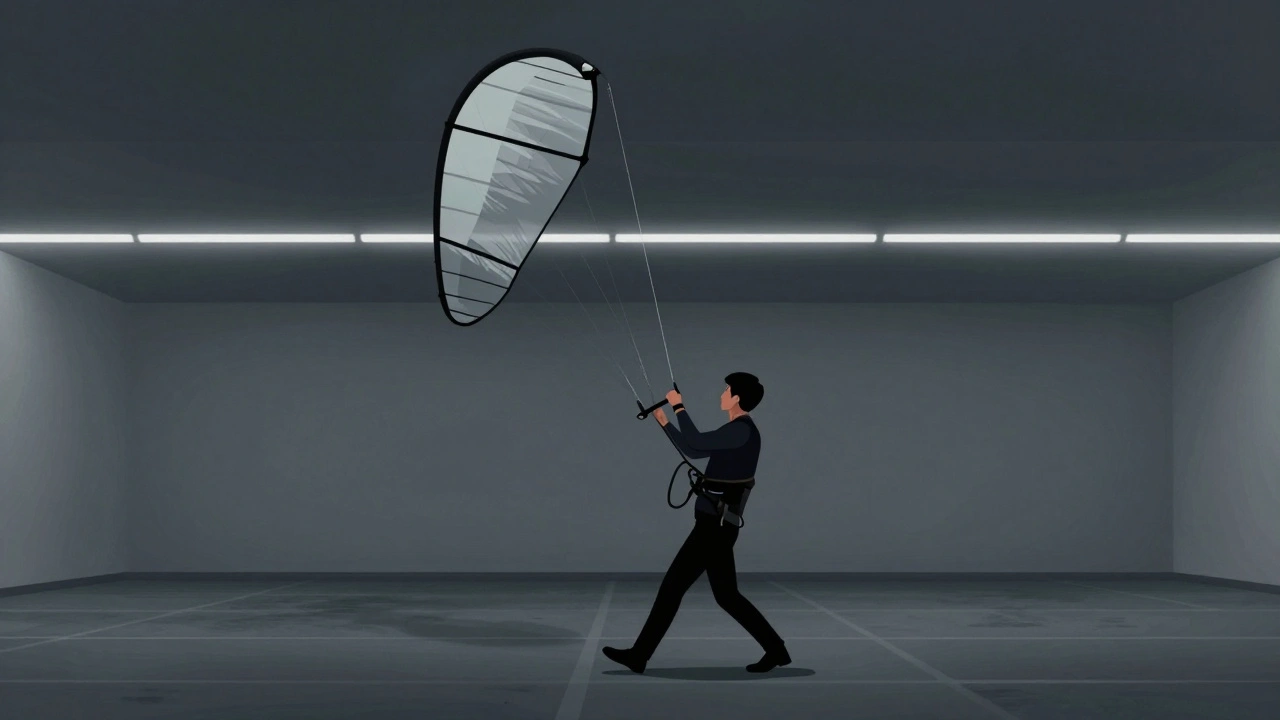
Pumping is the secret sauce. It’s not a tug. It’s not a yank. It’s a controlled, downward motion that mimics gusts of wind. Hold the lines with both hands, slightly wider than shoulder-width. When the kite is directly in front of you, gently pull both hands down about 6 inches-like you’re lowering a window shade. Then, smoothly release back to the starting position.
Timing matters. Do this once every 2 to 3 steps. Too often, and you’ll overwork the kite. Too rarely, and it won’t help. The key is rhythm. Think of it like a heartbeat: walk, walk, pump. Walk, walk, pump.
Why does this work? When you pull down, you create a sudden rush of air over the kite’s top surface. This increases pressure difference-more lift. When you release, the kite glides on the momentum. It’s not about strength. It’s about timing and smoothness. A strong pump can make a light kite climb 10 feet in seconds. A clumsy one can tangle the lines.
Combining Walking and Pumping: The Natural Flow
Neither technique works well alone. Walking gives you baseline motion. Pumping gives you bursts of lift. Together, they create a steady, controllable airflow that keeps the kite in the air like it’s caught in a gentle, invisible current.
Start by walking slowly. Let the kite stabilize. Then, add a pump every third step. Watch how the kite responds. If it dives after a pump, you pulled too hard. If it doesn’t rise, you didn’t move enough. Adjust your step length, your pump depth, and your timing until you find your rhythm.
Try this drill: Walk 10 steps, pump on the 5th and 10th. Then walk 10 more, pump on the 3rd, 6th, and 9th. You’ll feel how different patterns affect lift. Some kites respond better to frequent, light pumps. Others need fewer, deeper ones. Experiment. Your kite will tell you what it wants.
Equipment Matters: Kites Designed for Indoor Use
You can’t use an outdoor kite indoors. Indoor kites are built differently. They’re lighter-often under 20 grams. They have larger surface areas to catch even the slightest airflow. Their frames are flexible, usually made of carbon fiber or ultra-light fiberglass. The lines are thin, smooth, and low-tension.
Popular models like the Indoor Delta is a single-line kite designed for smooth, stable flight in confined spaces. Indy Delta or the Stunt Box is a two-line kite that responds precisely to hand movements and is ideal for learning pumping techniques. Box Kite 2.0 are engineered for this exact purpose. They’re not just small versions of outdoor kites. They’re different animals entirely.
Line length should be 15 to 25 feet. Longer lines create lag, making it harder to control. Shorter lines give you more direct feedback. Use waxed or silicone-coated lines-they slide smoothly and reduce friction.
Where to Fly: Room Size and Airflow
Not every room works. A small bedroom? Too tight. A gym? Too drafty. The ideal space is a large, open area with minimal air disturbance. A high-ceilinged living room, an empty warehouse, or a quiet hallway with no vents or fans nearby is perfect.
Avoid air conditioning vents, open windows, or ceiling fans. Even a slight breeze can throw off your relative wind. If you’re flying in a room with windows, close them. Turn off fans. If you can feel a draft on your skin, your kite will feel it too-and it won’t like it.
Lighting matters too. Bright, even lighting helps you see the kite’s movement. Fluorescent or LED lights work better than dim bulbs. You need to track its position, not guess where it is.

Common Mistakes and How to Fix Them
- Walking too fast → Kite surges and dives. Slow down. Focus on smoothness, not speed.
- Pumping too hard → Lines tangle or kite flips. Use light, controlled motions. Think ‘push and release,’ not ‘yank.’
- Standing still → Kite falls. You must move. Even if it’s just shifting your weight side to side.
- Using outdoor kites → Too heavy, too stiff. They won’t respond. Buy a kite made for indoor use.
- Flies near vents → Unpredictable air. Move to a still room.
Practice Drills to Master the Technique
Here are three simple drills to build muscle memory:
- Stationary Pump - Stand still. Pump down every 3 seconds. Watch how high the kite rises on each pump. Aim for 3 feet of lift per pump. This teaches control without movement.
- Slow Walk + Pump - Walk at 1.5 mph. Pump every 4th step. Keep the kite level. If it drops, increase your pace slightly. If it climbs too high, reduce the pump depth.
- Figure-Eight Walk - Walk in a slow, wide figure-eight pattern. Add a pump at each turn. This trains you to adjust motion and timing simultaneously.
Do each drill for 5 minutes. Repeat daily for a week. You’ll start to feel the kite’s rhythm. It’ll feel less like flying and more like dancing.
Why This Matters: The Joy of Indoor Kiting
Indoor kiting isn’t about competition. It’s about presence. You’re not waiting for wind-you’re creating it. Every step, every pump, is a direct interaction between you and the kite. It’s quiet. It’s focused. It’s meditative.
People who fly indoors often say it feels like controlling air itself. You’re not just moving a toy-you’re shaping the invisible forces around you. That’s why it’s not just a hobby. It’s a skill. And like any skill, it gets better with practice.
Can I use any kite indoors?
No. Most outdoor kites are too heavy and stiff for indoor use. They need strong wind to fly and won’t respond to subtle movements. Indoor kites are specifically designed to be lightweight (under 20 grams), have large surface areas, and flexible frames. Using the wrong kite will frustrate you and damage the lines. Stick to kites labeled for indoor use.
How long should my indoor kite lines be?
For most beginners, 15 to 20 feet is ideal. Longer lines (over 25 feet) create lag, making it harder to control the kite’s movement. Shorter lines (under 10 feet) reduce your ability to generate wind with walking. Waxed or silicone-coated lines reduce friction and improve responsiveness.
Do I need a large room to fly indoors?
You don’t need a huge space, but you need enough room to walk 10-15 feet in any direction without hitting walls or furniture. A 20x20 foot room with a high ceiling works well. Avoid rooms with ceiling fans, HVAC vents, or open windows. Still air is critical for consistent flight.
Why does my kite stall even when I’m walking?
Stalling usually happens when your walking speed is too slow or your pumping is inconsistent. The kite needs continuous airflow. If you stop walking, even for a second, the lift drops. If you pump too hard or too late, you disrupt the airflow. Try walking at a steady 1.5 mph and add a gentle pump every third step. Keep your arms relaxed and eyes on the kite.
Can I fly indoor kites with more than one person?
Yes, but it’s best to start alone. Once you’ve mastered walking and pumping, you can try flying two kites side by side. Each person needs their own space-about 10 feet between them. Coordination is key. One person walking too fast can disrupt the other’s airflow. Practice solo first, then try synchronized flying.