There is a specific kind of frustration that hits when you’re halfway through gluing the spar to a diamond kite, only to realize your workbench is too small to lay it flat. Or worse, you just inhaled a cloud of fiberglass dust because you didn’t think about ventilation. Kitemaking isn't just about drawing shapes on paper; it's a precision engineering hobby that demands a dedicated environment. You don't need a million-dollar facility, but you do need a setup that respects the delicate balance between lightweight materials and rigid structural integrity.
If you live in a place like Portland, Oregon, where rain is frequent and indoor hobbies thrive, turning a corner of your garage or spare room into a functional kitemaking workshop is one of the best investments you can make for your hobby. It’s not just about having a table. It’s about workflow, material preservation, and keeping your lungs happy. Let’s break down exactly what you need to build kites that fly straight and last long, without turning your house into a construction zone.
Defining Your Workspace Dimensions and Layout
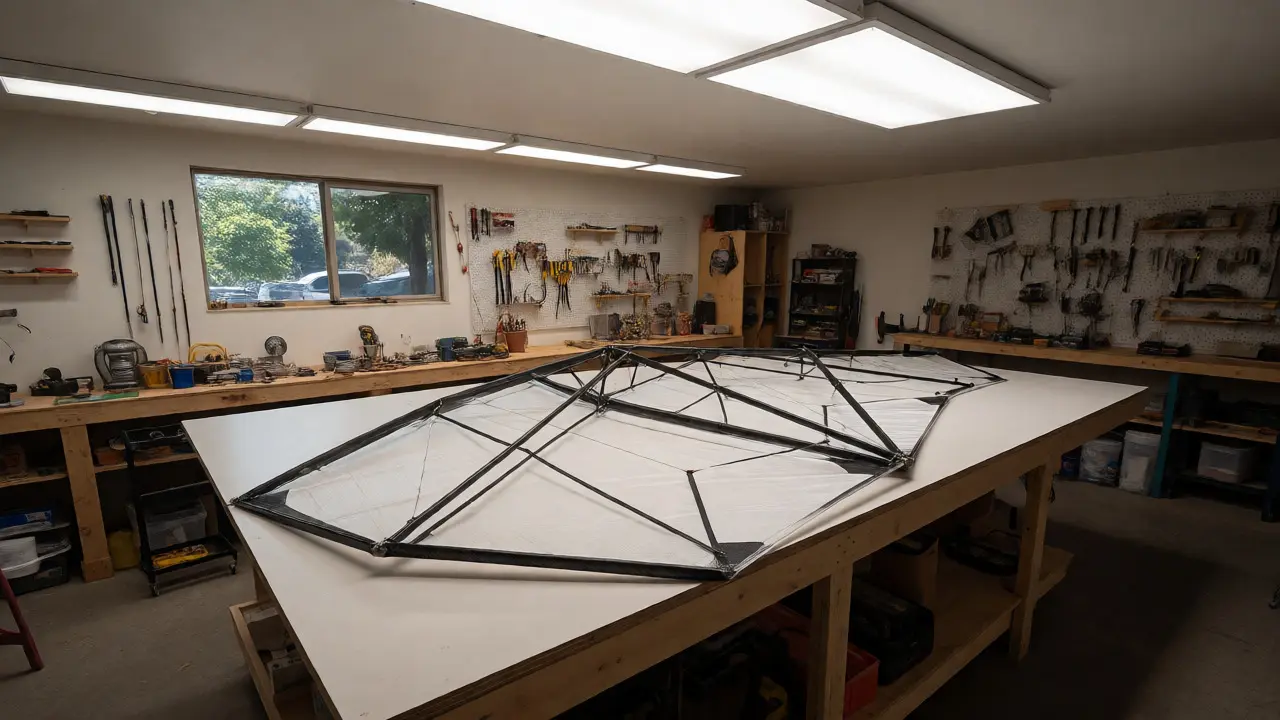
The biggest mistake beginners make is assuming they can build a kite on a standard dining table. You can, but it’s miserable. Kites are large, awkward objects. A standard stunt kite has a wingspan of roughly 80 to 90 inches (about 2 meters). If you try to assemble this on a 4-foot table, you’re constantly reaching, dropping parts, and fighting gravity.
You need clear floor space and a surface that allows the entire kite frame to lie flat without overhangs. Ideally, aim for a workspace that is at least 10 feet by 10 feet. This gives you room to move around the perimeter of the kite while working. If you have limited square footage, consider a wall-mounted fold-down bench. When you’re done, it folds up, freeing the floor for other uses. But remember, when it’s down, you need clearance behind it for your legs and chair.
Lighting is another critical factor often overlooked. You are dealing with fine details: aligning bridle lines, checking for twists in carbon fiber rods, and ensuring glue joints are clean. Natural light is great, but inconsistent. Install overhead LED panels with a high Color Rendering Index (CRI) above 90. This ensures colors look true and shadows are minimal, which helps you spot imperfections in the sail fabric before you cut them.
Essential Tools for Precision Kite Construction
You don’t need a full machine shop, but generic household tools won’t cut it. Kite building tools fall into three categories: cutting, joining, and measuring. Each requires specific attributes to handle materials like ripstop nylon, dacron, and carbon fiber.
- Cutting Instruments: Standard scissors fray synthetic fabrics. Invest in a rotary cutter with a fresh blade and a self-healing cutting mat. For carbon fiber spars, use a specialized tube cutter or a high-quality hacksaw with a fine-tooth blade (32 TPI or higher). Never use wire cutters on carbon fiber; they crush the fibers instead of slicing them, leading to weak points that snap in wind.
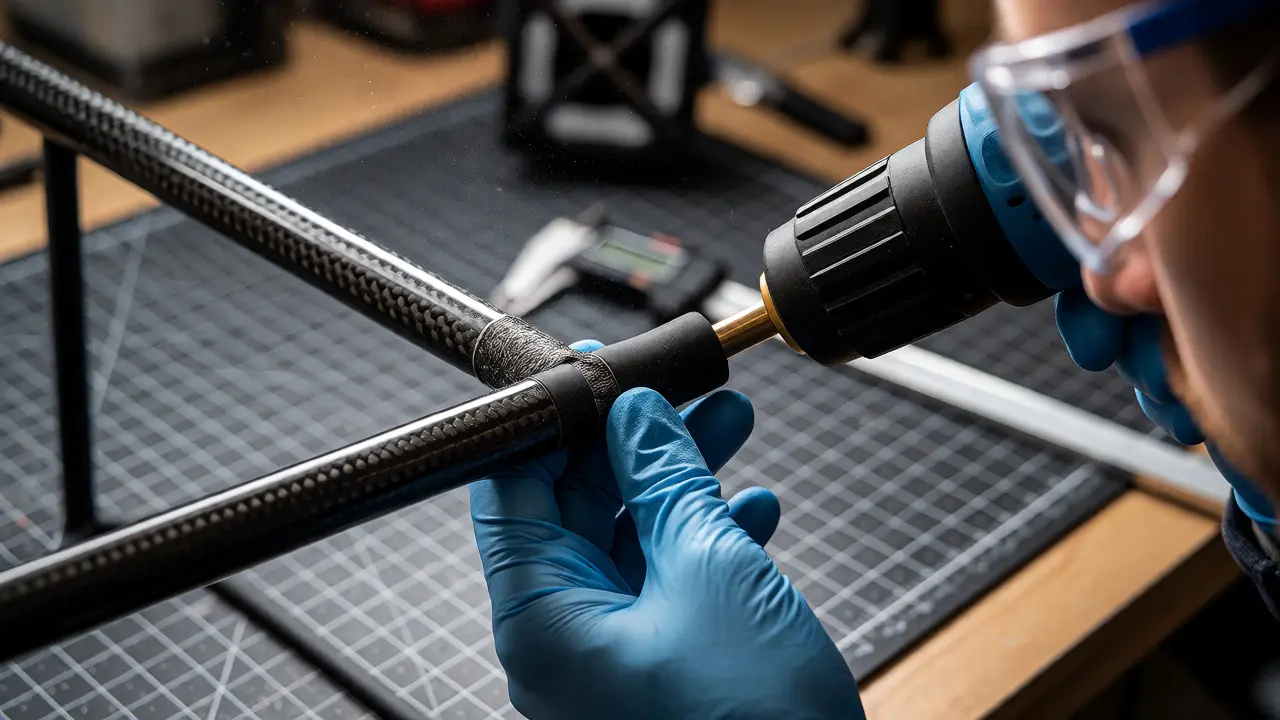
- Joining Equipment: Heat is your friend here. A temperature-controlled heat gun is essential for shrinking heat-shrink tubing over spar connections and sealing cut edges of nylon sails to prevent fraying. Unlike a hair dryer, a heat gun provides consistent, high-temperature airflow necessary to activate adhesives and shrink plastic sleeves properly. Pair this with a low-temp soldering iron if you plan to melt polyester thread for stitching repairs.
- Measuring and Alignment: Accuracy matters. A steel ruler (not plastic, which bends) and a set of digital calipers are non-negotiable. Calipers help you measure spar diameters precisely, ensuring your connectors fit snugly. You also need a laser level or a simple plumb bob to check vertical alignment during assembly, especially for box kites or cellular structures where symmetry determines flight stability.
Material Storage and Organization Systems
Kite materials degrade if stored poorly. Carbon fiber rods can warp if left under heavy weight. Nylon sails can yellow if exposed to direct sunlight for months. Dacron lines lose strength if tangled and knotted repeatedly. Your storage system needs to address these vulnerabilities directly.
For spars, hang them vertically on wall-mounted racks or store them horizontally in long, narrow bins labeled by length and diameter. Avoid leaning them against walls where they might bend over time. For sails, roll them loosely around cardboard tubes rather than folding them. Folds create permanent creases that disrupt airflow and weaken the fabric structure over time. Store rolled sails in opaque bins to block UV rays.
| Material Type | Sensitivity | Storage Solution | Lifespan Impact |
|---|---|---|---|
| Carbon Fiber Rods | Bending, Crushing | Vertical Rack or Long Bins | Prevents micro-fractures |
| Ripstop Nylon | UV Light, Creasing | Opaque Bin, Rolled on Tube | Maintains tensile strength |
| Dacron Line | Tangling, Moisture | Spool Holder, Dry Area | Prevents knot weakening |
| Adhesives/Epoxy | Temperature, Air | Airtight Container, Cool Shelf | Extends shelf life by 6+ months |
Ventilation and Respiratory Safety Protocols
This is the part most DIYers ignore until they start coughing. Cutting carbon fiber creates microscopic glass-like shards. These particles are invisible to the naked eye but dangerous to inhale. They don’t dissolve in your lungs; they stay there. Sanding epoxy resins produces similar fine particulate matter.
Basic dust masks (the blue surgical type) are useless against these particles. You need an N95 or P100 respirator. Better yet, install local exhaust ventilation. A small downdraft table or a fume extractor arm positioned near your sanding station captures dust at the source. If you can’t install a fume extractor, work near an open window with a fan blowing *out*, not in. This creates negative pressure, pulling dust away from your face and out of the room.
Eye protection is equally vital. Carbon fiber splinters can embed in the cornea. Always wear wrap-around safety glasses when sawing or grinding. Consider wearing long sleeves and gloves made of nitrile or leather when handling raw carbon fiber rods to prevent skin irritation from the loose fibers.
Ergonomics and Workflow Efficiency
Building kites involves repetitive motions: measuring, marking, cutting, gluing, and waiting. Poor ergonomics lead to fatigue, which leads to mistakes. A mistake in kite making usually means wasted expensive materials.
Adjust your workbench height so that your elbows are at a 90-degree angle when resting on the surface. If you’re standing, use a stool to take some weight off your legs. Keep frequently used tools within arm’s reach. Use a pegboard for hanging shears, rulers, and clamps. Magnetic strips are perfect for holding metal bits, drill bits, and small screws.
Create "staging zones" on your bench. One zone for raw materials, one for active assembly, and one for curing/drying. Glue takes time to set. If you clutter your assembly zone with drying kites, you risk bumping them and ruining the bond. Clear labeling and designated spaces reduce cognitive load, letting you focus on the craft rather than hunting for tools.
Climate Control and Humidity Management
In humid climates like Portland, moisture is a silent killer for kite performance. Paper-based kites absorb humidity and become heavy. Even synthetic sails can absorb enough moisture to change their tension characteristics. Adhesives behave differently in high humidity; some cure slower, others fail to bond completely.
Monitor your workshop’s relative humidity. Aim for 40-50%. If your space gets damp, run a dehumidifier. This protects both your materials and your tools from rust. Metal blades and clamps corrode quickly in moist air. Wipe down metal tools with a light oil after each session. Store wooden templates or jigs in sealed bags with silica gel packets to prevent warping.
Testing and Tuning Station
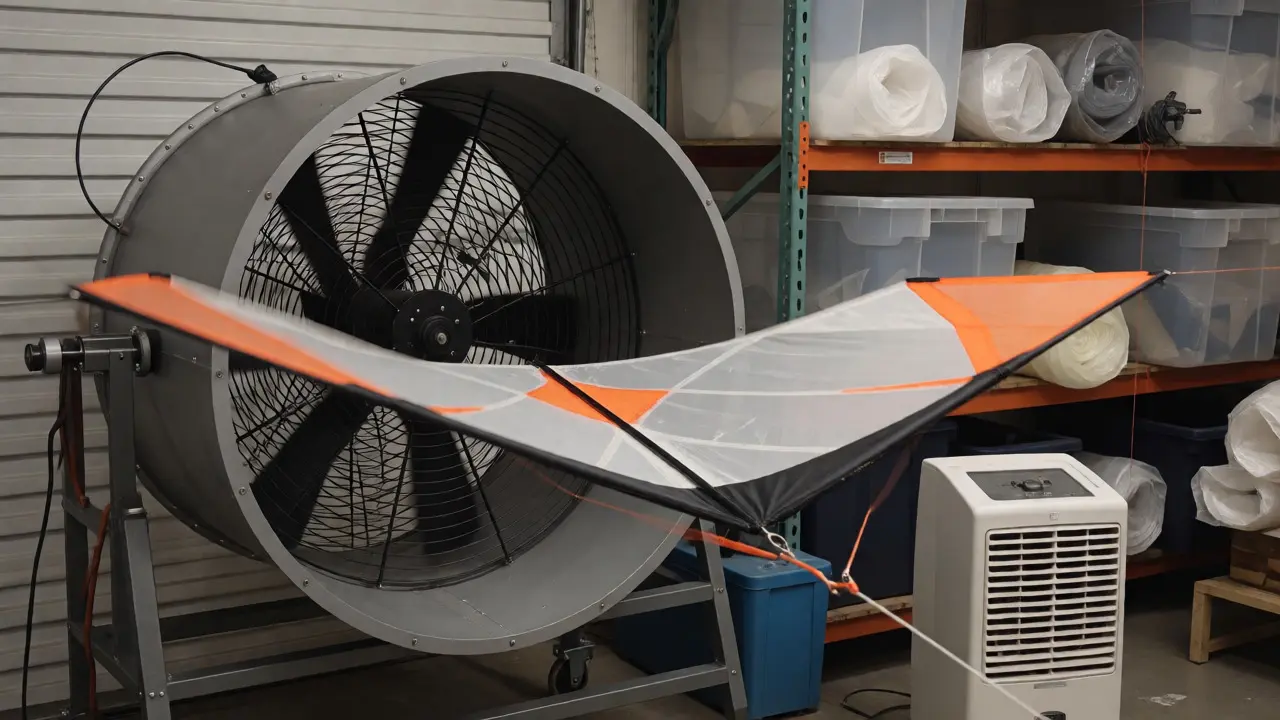
Your workshop isn’t complete without a way to test what you’ve built. While outdoor flying is the ultimate test, you need a controlled environment for tuning. Set up a small area with a strong industrial fan. This acts as a static wind tunnel. You can hold the kite’s bridle point and observe how the sail reacts to steady airflow. Look for fluttering, twisting, or uneven lift.
Use this station to adjust bridle lengths. Small changes in line length can drastically alter flight behavior. Having a fan nearby saves you trips outside, especially in bad weather. It allows you to iterate quickly: adjust, test, adjust, test. This rapid feedback loop is key to mastering kite dynamics.
Do I need a dedicated room for kitemaking?
No, a dedicated room isn't mandatory, but a dedicated zone is. You need a space large enough to lay out a 90-inch wingspan kite flat. A corner of a garage, a basement section, or even a large balcony can work if protected from wind and rain. The key is having a stable, flat surface and good lighting.
What is the safest mask for cutting carbon fiber?
Standard cloth masks offer little protection. You should use a NIOSH-approved N95 respirator minimum. Ideally, use a half-face respirator with P100 filters. Carbon fiber dust consists of tiny glass-like shards that can cause serious lung irritation and damage if inhaled regularly. Eye protection is also crucial as fibers can easily enter the eyes.
How do I store kite sails to prevent creases?
Roll sails loosely around a cardboard tube or PVC pipe rather than folding them. Store these rolls in opaque plastic bins to protect them from UV light, which degrades nylon and polyester over time. Keeping them dry is also essential to prevent mold and mildew, especially in humid environments.
Can I use a regular kitchen oven for heat shrinking?
It's risky. Kitchen ovens have poor temperature control and uneven heating. You risk melting the sail fabric or scorching the adhesive before the heat-shrink tubing fully contracts. A handheld heat gun offers precise control and targeted application, allowing you to shrink tubing on assembled kites without disassembling them or risking the rest of the sail.
Why is my epoxy not curing properly?
Humidity and temperature are the usual culprits. Most epoxies require temperatures above 60°F (15°C) to cure correctly. High humidity can inhibit the chemical reaction, leaving the bond tacky or weak. Ensure your workspace is warm and dry. Also, verify that you are mixing the resin and hardener in the exact ratio specified by the manufacturer; deviations affect cure time and strength.