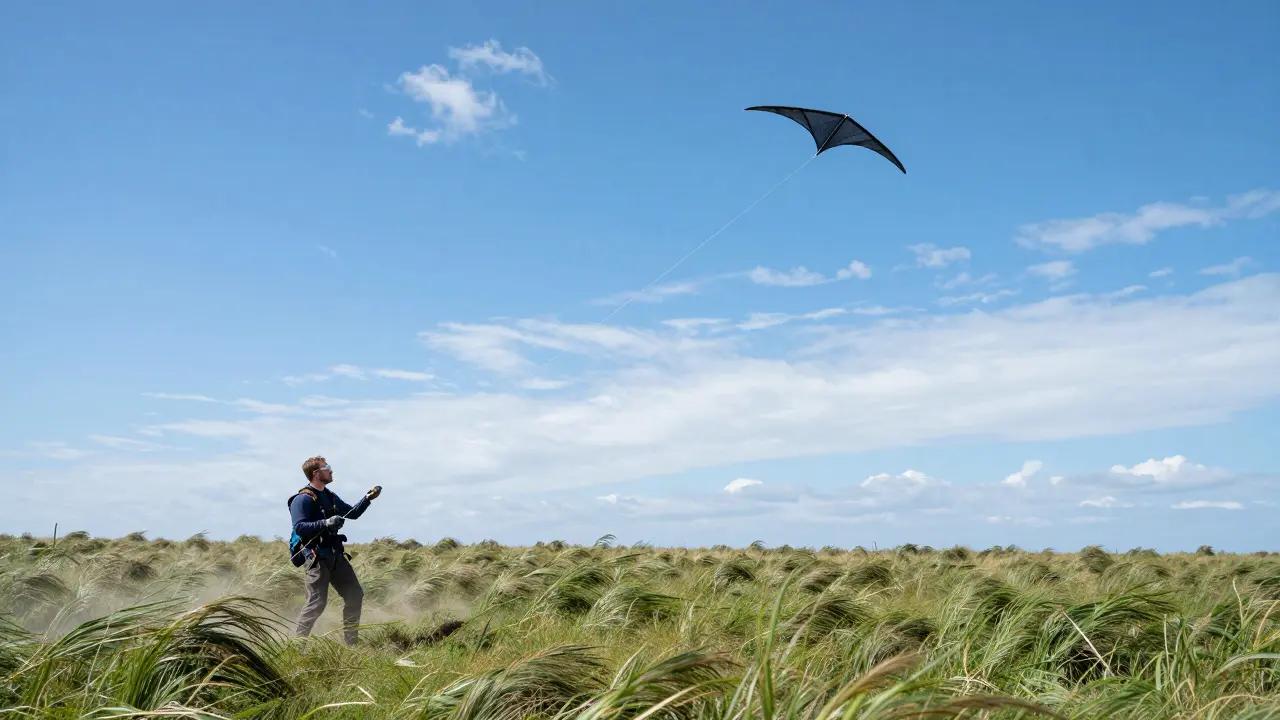
Ever watched your Kite Aerial Photography setup turn into a chaotic mess the moment the breeze picks up? You’re not alone. High winds are the bane of many KAP pilots’ existence, turning what should be a serene creative session into a fight for survival. But here’s the secret: high wind isn’t just a threat; it’s an opportunity if you know how to tame it. The difference between a lost camera and a stunning, dynamic shot often comes down to three specific tools: drogues, tails, and precise control over your angle of attack.
Most beginners think high wind means "stop flying." That’s a safe bet, but it leaves you missing out on some of the most dramatic lighting conditions available in aerial work. When the air is moving fast, the atmosphere is usually clearer, and the light is sharper. To harness this, you need to shift from passive flying to active aerodynamic management. This guide breaks down exactly how to use drag devices and flight geometry to keep your camera stable and your footage smooth, even when the gusts hit 25 mph or higher.
Understanding the Physics of High-Wind Flight
Before you reach for your gear, you need to understand why high wind destabilizes a KAP rig. In calm conditions, your kite acts as a steady anchor. In high wind, the forces become erratic. Gusts create sudden spikes in lift and drag, causing the kite to oscillate. These oscillations transfer directly to your payload, resulting in shaky video and blurred stills. The core problem is that standard kites are designed for efficiency, not damping. They want to fly fast and high. In a gusty environment, you need to introduce resistance to slow the system down and absorb energy.
This is where the concept of aerodynamic damping comes in. By adding surface area behind the center of gravity, you create a stabilizing force that opposes rapid movement. Think of it like adding a shock absorber to a car. Without it, every bump in the road jolts the passengers. With it, the ride stays smooth despite the rough terrain. Your goal in high-wind KAP is to make your rig feel "heavy" and sluggish rather than light and twitchy.
The Role of Drogues in Energy Absorption
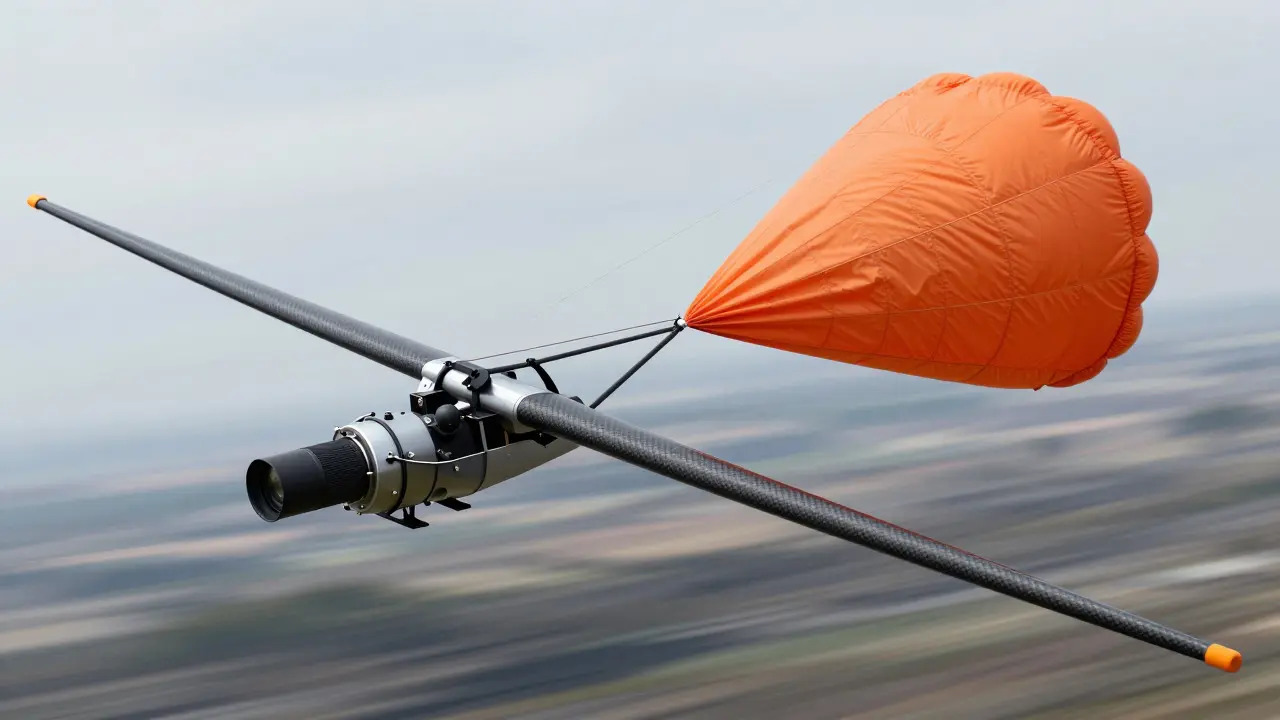
A Drogue Chute is essentially a small parachute attached to your kite line or directly to the payload. Its primary job is not to land the kite, but to act as a speed governor. When a gust hits, the kite tries to accelerate upward and outward. The drogue catches the air, creating immediate drag that pulls back against that acceleration. This prevents the kite from reaching its maximum altitude too quickly, which is often where it loses control or snaps the line.
Choosing the right size for your drogue is critical. If it’s too small, it won’t provide enough braking power. If it’s too large, it will stall the kite entirely, forcing you to reel it in constantly. A good rule of thumb is to start with a drogue that has a diameter roughly 10-15% of your main kite’s span. For example, if you’re flying a 3-meter delta wing, a 30-45 cm drogue is a solid starting point. You can adjust this based on wind speed. In winds above 20 mph, you might want to increase the size slightly to ensure the kite doesn’t climb out of the usable range.
There are two main types of drogues used in KAP: static and deployable. Static drogues are always attached and provide constant stabilization. Deployable drogues are stored in a pod and released only when needed, such as during launch or recovery. For high-wind sessions, static drogues are generally preferred because they provide continuous feedback. You can feel the tension changes through the line, giving you real-time data on how the kite is reacting to the air.
Tail Stability: The Counterbalance to Turbulence
If the drogue handles longitudinal stability (up and down), the Kite Tail handles lateral stability (side to side). In high winds, cross-gusts are common. These push the kite sideways, causing it to yaw or roll. A well-designed tail acts as a weather vane, keeping the nose pointed into the wind. The longer the tail, the more stable the kite becomes, but also the slower it flies. This trade-off is exactly what you want in high wind.
When selecting a tail for high-wind conditions, look for materials that are lightweight but durable. Nylon streamers are popular because they are cheap, easy to replace, and flexible. However, in very strong winds, rigid tails made from carbon fiber or fiberglass might be necessary to prevent them from snapping under tension. The length of the tail should be at least 1.5 times the wingspan of your kite. For instance, a 2-meter wing would benefit from a 3-meter tail. This ratio ensures that the tail creates enough drag to correct any deviation from the centerline.
One pro tip: attach the tail to the trailing edge of the kite, not the leading edge. Attaching it to the front creates a pendulum effect that can amplify oscillations instead of dampening them. By placing it at the rear, you ensure that any sideways movement causes the tail to swing back into alignment, naturally correcting the kite’s heading.
Mastering Angle-of-Attack Control
Angle of attack (AOA) is the angle between the chord line of the wing and the relative wind. In low wind, you can fly at a relatively high AOA to generate lift. In high wind, however, you need to reduce the AOA to prevent the kite from stalling or overheating. A high AOA in strong wind generates excessive lift, which can pull the kite into turbulent upper-air layers where the wind is faster and less predictable. By lowering the AOA, you flatten the flight path, reducing the vertical oscillations that ruin your photos.
You control AOA primarily through line tension and bridle adjustments. Increasing line tension effectively reduces the AOA, making the kite fly flatter and faster. Decreasing tension increases the AOA, slowing the kite down but making it more susceptible to stalls. In high wind, you want to maintain a moderate line tension that keeps the kite in its optimal efficiency range. This usually means reeling in more frequently than you would in calm conditions. Don’t be afraid to bring the kite down to eye level if the upper air is too choppy. Sometimes, the best shots come from lower altitudes where the wind is more consistent.
Another technique is to use a variable bridle system. Many modern KAP kites allow you to adjust the bridle length on the fly. Shortening the bridle reduces the AOA, while lengthening it increases it. Experiment with these adjustments before you head out to the field. Know exactly how much tension change corresponds to a degree of AOA shift. This knowledge allows you to react instantly to changing wind conditions without guessing.
Practical Setup Comparison
To help you visualize the differences, here is a comparison of three common setups for varying wind speeds. This table highlights how each component contributes to stability and image quality.
| Wind Speed (mph) | Drogue Size | Tail Length | Angle of Attack Strategy | Expected Image Quality |
|---|---|---|---|---|
| 10-15 | None or Small (Static) | 1x Wingspan | Moderate (Standard Bridle) | Smooth, minimal shake |
| 15-20 | Medium (10% Span) | 1.5x Wingspan | Reduced (Shortened Bridle) | Very stable, slight motion blur risk |
| 20-25+ | Large (15% Span) | 2x Wingspan or Rigid | Low (Max Line Tension) | Stable but requires frequent reeling |
Safety Protocols for Extreme Conditions
Flying in high wind is exciting, but it demands respect. The biggest risk isn’t losing the camera; it’s injury from a snapped line or a crashing kite. Always wear safety glasses and gloves. A high-tension line can slice skin like a razor. Before launching, check your knots and line integrity. Use double-line systems if possible, as they offer better control and redundancy. Keep a clear landing zone free of obstacles. In high wind, kites tend to crash harder and bounce unpredictably. Ensure your recovery team knows the protocol: signal clearly before reeling in, and keep bystanders at least 50 feet away from the flight path.
Also, monitor the barometric pressure. Sudden drops can indicate incoming storms, which bring unpredictable wind shifts. If the sky turns dark or the humidity spikes, consider packing up early. It’s better to miss a few shots than to lose a $2,000 camera to a lightning strike or a rogue gust.
Frequently Asked Questions
What is the maximum wind speed for safe KAP flying?
For most standard delta-wing kites, 25 mph is considered the upper limit for comfortable flying. Beyond this, turbulence increases significantly, and the risk of line snap rises. With proper drogues and tails, experienced pilots can push this to 30 mph, but it requires constant attention and a robust setup.
How do I choose the right material for my kite tail?
Nylon is the standard choice due to its flexibility and low cost. For winds above 20 mph, consider reinforced nylon or lightweight carbon fiber rods. Avoid cotton or paper, as they degrade quickly in wet or high-stress conditions. The key is durability; the tail must withstand repeated stretching without breaking.
Does a larger drogue always mean better stability?
No. A larger drogue increases drag, which slows the kite down. If the kite slows too much, it may stall and drop. The goal is to find the balance where the kite maintains forward momentum but resists vertical spikes. Start small and add size only if the kite climbs too high or shakes excessively.
Can I use a drone instead of a kite in high wind?
Drones are generally less stable in high wind than kites because they rely on electronic stabilization, which can lag behind sudden gusts. Kites, being passive aerodynamic devices, react instantly to wind changes. However, drones offer easier recovery. If you have experience, a hybrid approach-using a kite for stability and a drone for close-ups-can be effective.
How does angle of attack affect battery life on powered KAP rigs?
For powered kites, a lower angle of attack reduces drag, allowing the motor to operate more efficiently. This extends battery life. In high wind, maintaining a low AOA is crucial not just for stability, but for ensuring your power source lasts long enough to complete your shoot. Monitor voltage drops closely, as high wind increases mechanical load on the motor.