There’s something magical about watching a kite dance in the wind. It doesn’t take much-just a few sheets of paper, some string, and a breeze. But if you’ve ever tried building a kite from scratch, you know how frustrating it can be to get the shape right. That’s where DIY kite templates come in. Printable patterns turn kite building from guesswork into a simple, satisfying project anyone can do.
Why Use Printable Kite Templates?
Most people think kites need fancy materials or engineering skills. They don’t. The real secret is symmetry. A kite that flies well isn’t built with expensive carbon fiber-it’s built with balanced proportions. Printable templates give you exact measurements so you don’t have to measure, guess, or redraw. Just print, cut, and assemble. You can find hundreds of kite designs online, but most are cluttered with ads or require registration. The best templates are clean, labeled, and sized for standard paper. A good template includes:- Outline of the kite shape with clear dimensions
- Notches or fold lines for the spine and crossbar
- Markings for bridle attachment points
- Instructions for assembly
Print them on regular printer paper first, then trace them onto your final material. That way, you can test the shape before cutting your kite fabric.
Five Classic Kite Shapes You Can Build Today
Not all kites fly the same way. Some soar high in light winds. Others dart and spin in gusts. Here are five proven shapes that work for beginners-and why each one matters.1. Diamond Kite
The diamond is the classic kite shape you see in every children’s book. It’s simple, stable, and flies in almost any breeze. The classic design uses a single spine (vertical stick) and a crossbar (horizontal stick) forming an X. The fabric stretches between them, creating a diamond shape.
Why it works: The center of gravity sits right in the middle, so it doesn’t nose-dive. It’s perfect for windy days and kids’ first kites. Most printable templates for this shape include a tail length guide-usually 3 to 5 times the height of the kite. A long tail adds stability.
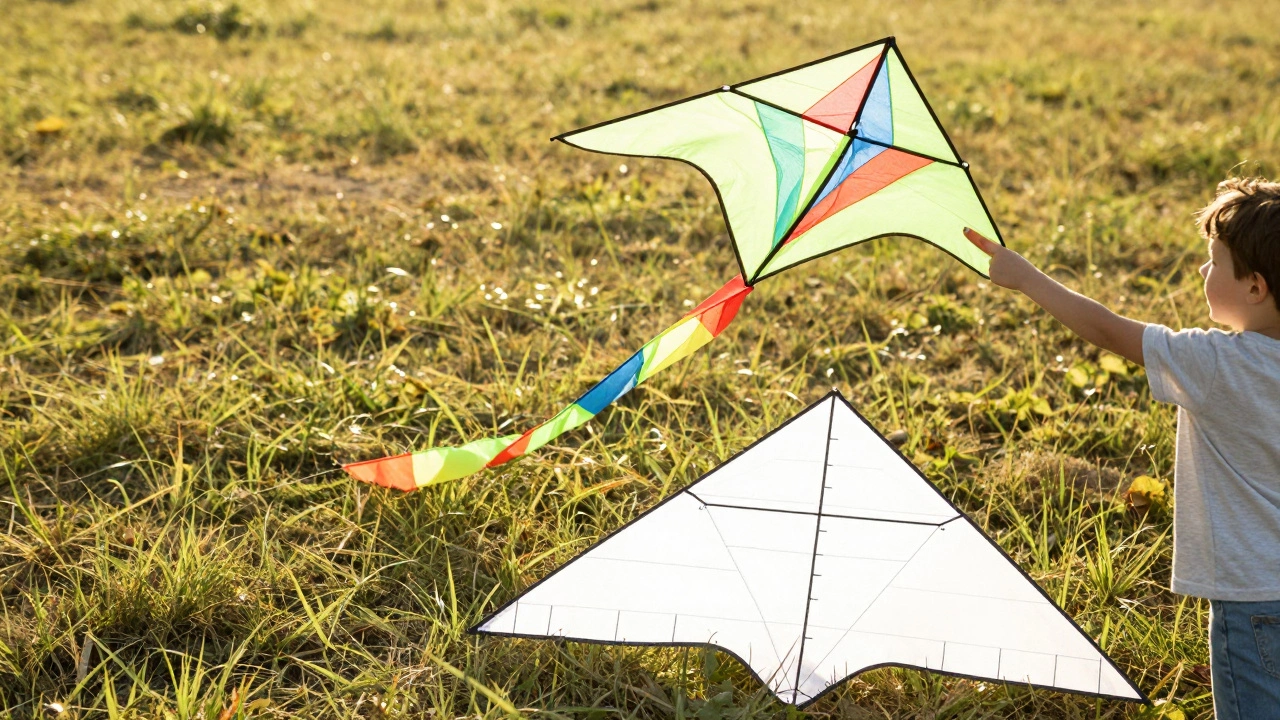
2. Delta Kite
The delta kite looks like a triangle with curved edges. It’s sleek, modern, and flies better in light winds than the diamond. It doesn’t need a tail. Instead, it uses a swept-back design that naturally balances in the air.
Why it works: The wide base catches more wind, and the narrow top reduces drag. It’s great for beach days or open fields with steady, gentle breezes. Most templates show a single spar (the spine) and two ribs (the curved sides). You’ll need flexible fiberglass rods or bamboo for the frame.
3. Box Kite
Box kites look like 3D rectangles or cubes made of sticks and fabric. They don’t look like traditional kites, but they fly higher and steadier than most. They need wind to flow through them, so they work best in consistent breezes-not gusty ones.
Why it works: The hollow structure acts like a wind tunnel, creating lift from both sides. It’s heavier than other kites, so it needs more wind to get airborne. But once it’s up, it stays put. Templates for box kites usually show four identical panels that connect with crossbars. You’ll need four sticks for the frame and a long bridle line.
4. Parafoil Kite
This one’s different-it has no frame. Parafoils are made of fabric with internal chambers that inflate with wind. They look like parachutes and fly like gliders. They’re the easiest to launch because you don’t need to assemble sticks.
Why it works: The air pressure inside keeps the shape rigid. They’re ideal for windy days and can carry small payloads, like cameras or lights. Printable templates for parafoils include seam lines and vent placements. You’ll need ripstop nylon or lightweight polyester. Sewing is required, but the pattern is forgiving.
5. Sled Kite
The sled kite looks like a flat, double-layered diamond with two separate wind chambers. It’s one of the most stable kites for beginners because it doesn’t need a tail or a rigid frame.
Why it works: The two layers create lift on both sides, and the curved shape lets it adjust to wind changes. It’s perfect for windy parks or urban spaces. Most templates show a simple rectangular outline with two bridle points. You can build this one using plastic bags or thin plastic sheeting.
What Materials to Use (And What to Avoid)
You don’t need to buy special kite paper. But some materials work better than others.- Best: Ripstop nylon (lightweight, wind-resistant), parchment paper (for testing), thin plastic sheeting (like from grocery bags), bamboo skewers or fiberglass rods
- Avoid: Cardstock (too heavy), wax paper (melts in sun), regular printer paper (tears easily), wooden dowels (too thick and rigid)
For string, use braided Dacron or cotton kite line. Avoid fishing line-it’s too thin and can cut your fingers. A 50-pound test line is strong enough for most DIY kites.
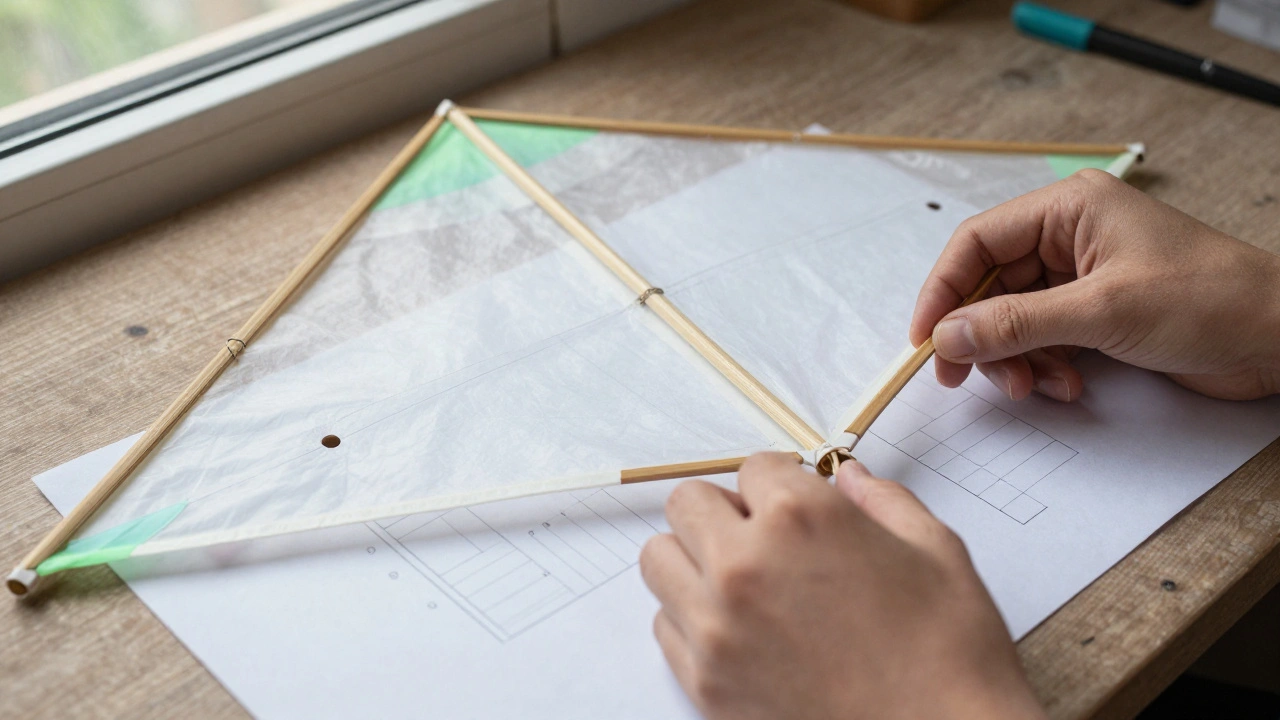
How to Assemble Your Kite (Step by Step)
Once you’ve printed your template, follow these steps:
- Trace the outline onto your chosen material using a pencil or chalk. Leave a 1-inch border around the edge for gluing or stitching.
- Cut the shape carefully. Use sharp scissors or a craft knife.
- For framed kites (diamond, delta, box, sled): Cut two sticks to match the spine and crossbar lengths. Sand the ends smooth.
- Attach the sticks using strong tape or thin string. For the diamond kite, cross the sticks at the center and tie them in a secure knot.
- Glue or stitch the fabric to the frame. Use white school glue or fabric glue-don’t use hot glue, it gets brittle.
- Attach the bridle: Tie two strings from the top and bottom of the kite to a single point below the center. This is where you’ll attach the flying line.
- Add a tail if needed (diamond kites). Use 1-inch-wide strips of fabric or plastic, tied every 6 inches.
Test your kite indoors first-hold it up in front of a fan. If it wobbles, adjust the bridle point. Move it slightly higher if it dives, lower if it spins.
Where to Fly Your Kite
Not every open space works. Here’s what to look for:
- Open fields: Grassy areas with no trees or power lines
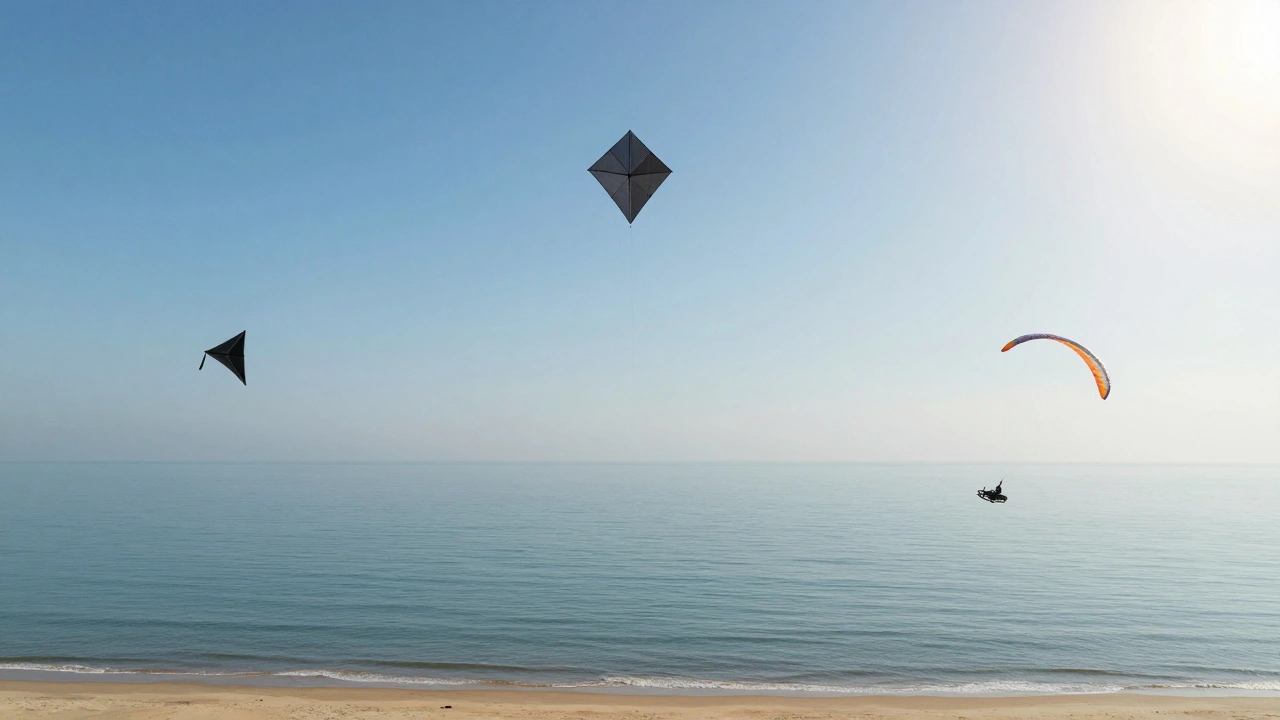
- Beaches: Great for delta and parafoil kites-wind is steady
- Parks: Avoid areas with trees, fences, or people walking
- Never fly: Near airports, power lines, or in thunderstorms
Wind speed matters too. If your leaves are rustling and flags are waving, it’s perfect. If you can’t feel the wind on your face, wait for a breezier day.
Common Mistakes and How to Fix Them
Even with templates, things can go wrong. Here are the top three issues:
- The kite spins in circles: Usually means the bridle is off-center. Adjust the knot so the line pulls evenly from both sides.
- The kite dives straight down: The tail is too short or the bridle is too high. Add a longer tail or lower the attachment point.
- The kite won’t lift: Too heavy, not enough wind, or the frame is warped. Try lighter material or a different shape.
Don’t get discouraged. Most first-time kites don’t fly perfectly. It’s part of the process. Keep tweaking, and soon you’ll have one that soars.
Printable Templates: Where to Find Them
Many websites offer free, printable kite templates. Look for sites that provide:
- PDF files (so they don’t stretch when printed)
- Dimensions in inches and centimeters
- Clear labels for each part
- No ads or pop-ups
Some reliable sources include kite clubs, museums, and educational sites like the Smithsonian or NASA’s educational pages. Avoid Pinterest links-they often lead to blurry images or broken downloads.
Bookmark one or two trusted sites. You’ll come back to them every spring.
What to Do After You Fly
Once your kite is up, enjoy it. But when it comes down, don’t just toss it in the garage. Clean it with a damp cloth. Let it dry flat. Store it in a dry, cool place-sunlight weakens fabric over time.
Next time, try modifying the design. Add a tail with colored streamers. Try a different shape. Build a twin-tailed kite. The more you make, the more you’ll learn.
DIY kites aren’t about perfection. They’re about wind, paper, and patience. And maybe, just maybe, about remembering what it felt like to run across a field as a kid, laughing as something simple lifted into the sky.
Can I use regular printer paper to make a kite?
Yes, but only for testing. Regular printer paper tears easily in wind and gets soggy if it’s damp. Use it to trace your template, then transfer the shape to a stronger material like ripstop nylon or plastic sheeting. For a one-time use or indoor demo, printer paper works fine.
What’s the easiest kite shape for beginners?
The diamond kite is the easiest. It needs only two sticks, a simple frame, and a tail. Most printable templates include clear instructions. It flies well in moderate wind and doesn’t require sewing or complex assembly. It’s the go-to choice for kids and first-time builders.
Do I need to sew to build a kite?
Not always. Diamond, sled, and delta kites can be glued or taped together. Only parafoil kites require sewing, because they’re made of multiple fabric panels that need sealed seams. If you don’t want to sew, stick to non-parafoil designs. Fabric glue or double-sided tape works well for most frames.
How long should a kite tail be?
For a diamond kite, the tail should be 3 to 5 times the height of the kite. For example, if your kite is 20 inches tall, use a tail between 60 and 100 inches long. Too short, and it spins. Too long, and it drags. Start with 4 times the height and adjust as needed.
Can I fly a kite in the rain?
No. Wet fabric becomes heavy and loses its shape. Water can also soak through paper or plastic, making the kite too heavy to fly. Plus, wet string can conduct electricity if lightning is nearby. Always wait for dry conditions. If you see rain clouds, pack it up.
If you’re ready to start, grab a printer, find a template, and head outside. The wind won’t wait.