There is a specific sound every kiter knows. It’s not the whoosh of the wind or the creak of the lines. It’s the subtle *pop* that happens when a seam gives way just below the leading edge. If you’ve ever felt your board lift unexpectedly during a jump, you know that moment isn’t about bad luck. It’s about a failure you could have seen coming days earlier.
Kitesurfing gear is engineered to handle extreme forces, but it is still made of fabric, plastic, and metal. These materials degrade. The problem isn't usually catastrophic failure out of nowhere; it’s the slow creep of minor issues that turn into expensive replacements. Learning to spot these signs early doesn’t just save money-it keeps you in the water longer and safer. Let’s look at the four critical areas where kites fail and how to catch them before they stop flying.
The Sail: Where Wear Starts
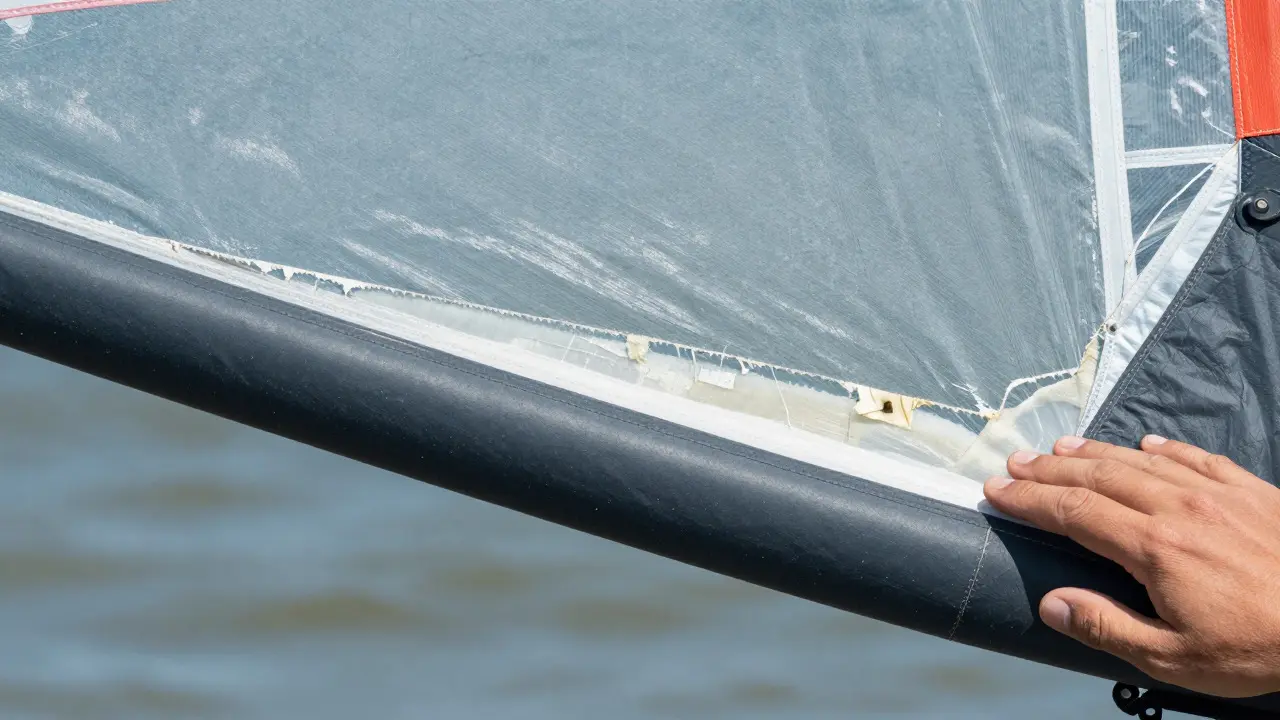
Sail fabric is the primary lifting surface of a kite, typically constructed from ripstop nylon or polyester with UV-resistant coatings. This material is tough, but it has a lifespan. The most common enemy here isn’t tearing-it’s delamination. When the clear film coating on the sail separates from the base fabric, you get bubbles or wrinkles. You might think this is cosmetic, but it changes the aerodynamic profile. A wrinkled sail stalls unpredictably in gusts.
Check the leading edge first. Run your hand along the tube where the canopy meets the strut. If you feel soft spots or see the fabric pulling away from the tube, the internal foam core may be rotting due to trapped moisture. Saltwater gets in through micro-tears in the seams. Once inside, it eats the foam. You’ll notice the kite feels heavier on one side or loses power in that section. Catching this early means replacing a small section of the leading edge rather than rebuilding the entire tube.
Also, watch for "ghost tears." These are tiny rips in the fabric that don’t show up as holes because the threads are still holding together under tension. Under load, they expand rapidly. Inspect the trailing edge and the tips after every session. If you see fraying threads, stitch them immediately. A few minutes with a needle and thread now prevents a full sail replacement later.
The Bridle System: The Hidden Stress Point
The Bridle system is a network of lines and loops that transfers force from the sail to the control bar and steering lines. Most riders ignore the bridle until it snaps. But the bridle takes more abuse than any other part of the rig because it flexes constantly with every gust and trim change.
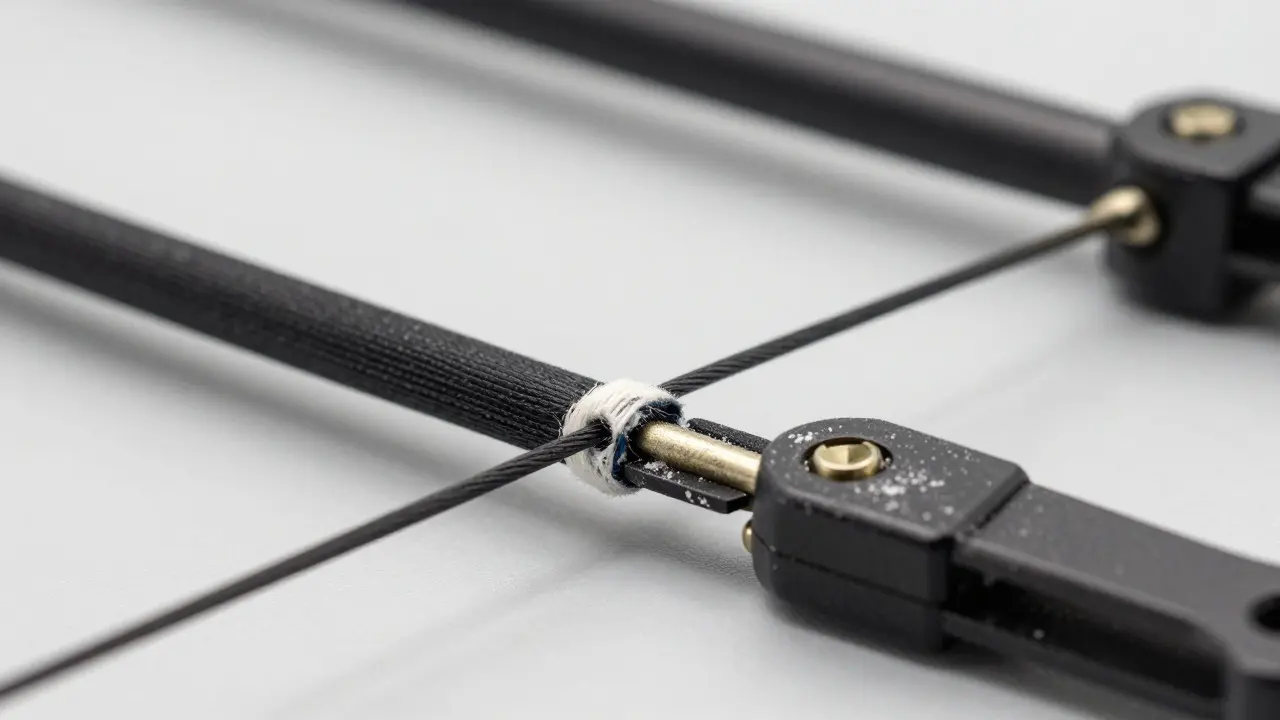
Start with the loop connections. Look for flattened or shiny spots on the line where it rubs against the sail attachment points. Friction wears down the outer sheath of the line, exposing the inner core. Once the core is exposed, the line strength drops by 50% or more. If you see white fuzz on a black line, replace that segment. Don’t wait for it to break mid-jump.
Check the camming blocks if your kite uses them. The grooves should be clean and sharp. If the groove is worn smooth, the line will slip under high load. This causes sudden loss of power or unexpected depower. Clean the blocks with a soft brush and inspect them for cracks. A cracked block is a safety hazard waiting to happen. Replace them in pairs to ensure even tension distribution.
Control Bar and Depower Line: Your Safety Net
Your Control bar is the primary interface between the rider and the kite, housing the steering lines, depower mechanism, and quick release system. It’s the part you hold, so it’s also the part you’re least likely to inspect closely. Yet, it’s where mechanical failures often start.
Focus on the depower line. This thin line runs from the bar to the kite’s center. If it stretches or develops kinks, your depower response becomes sluggish. In an emergency, you need instant power reduction. Test your depower regularly on land. Pull the handle and watch the kite. If it takes more than two seconds to fully depower, something is wrong. Check for line friction in the bar’s internal channels. Lubricate the pulleys with silicone spray-never oil, which attracts dirt and degrades the line.
Inspect the quick release (QR) system. The QR lever should move smoothly without sticking. If it feels gritty, clean it with fresh water and let it dry completely. Salt buildup can cause the QR to jam exactly when you need it to open. Also, check the carabiner gate. It should close securely with a distinct click. If the spring is weak, the gate may pop open accidentally. Replace the carabiner if the gate doesn’t snap shut firmly.
Leading Edge Tubes and Connectors
The Leading edge tubes are inflatable struts that provide structural shape and stiffness to the kite's front profile. These are the bones of the kite. If they lose pressure or develop leaks, the kite loses its shape and becomes unstable.
nLeaks are rarely obvious. They happen at the valve or the connector joints. After each session, inflate the tubes to full pressure and listen for hissing sounds. Use soapy water on the valves and connectors. Bubbles mean air is escaping. A slow leak at the valve can drain your kite overnight, leaving you unable to fly the next day. Keep a spare valve core in your bag. Replacing a valve core takes five minutes and costs almost nothing.
Check the connectors where the tubes meet the sail. These are often made of hard plastic. Over time, they crack from vibration and impact. A cracked connector can burst under pressure, causing a sudden deflation. Inspect them for hairline fractures. If you see any, replace the connector immediately. Don’t rely on tape or glue for structural repairs.
Maintenance Routine: Preventive Checks
You don’t need a workshop to keep your kite in top shape. You need a routine. Here’s a simple checklist you can do in 15 minutes after every ride:
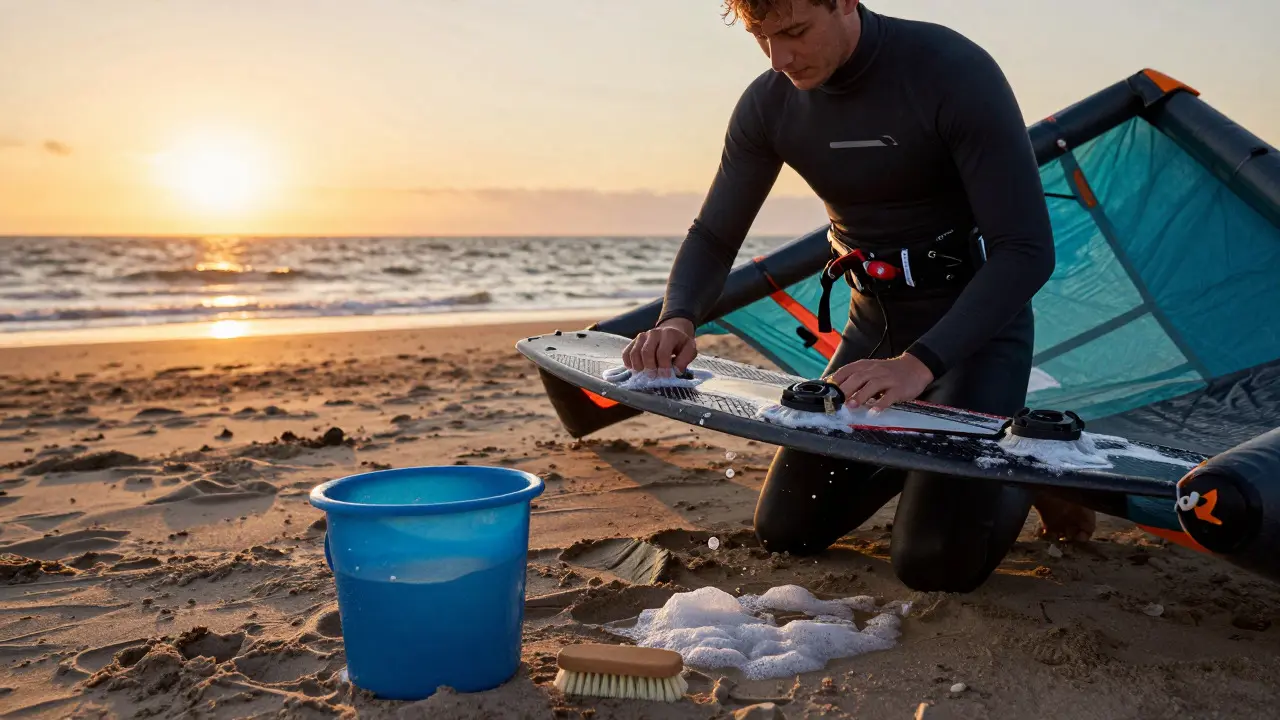
- Rinse everything: Use fresh water to wash off salt, sand, and sunscreen residue. Pay special attention to the control bar, QR system, and line attachments.
- Dry thoroughly: Hang the kite in a shaded, ventilated area. Avoid direct sun, which accelerates UV degradation. Ensure the sail is fully dry before packing it away.
- Inspect lines: Run your fingers along all lines. Look for fraying, flattening, or discoloration. Check the bridle loops for wear.
- Test the depower: On land, pull the depower handle and verify the kite responds instantly and fully.
- Check inflation: Inflate the tubes to recommended pressure. Listen for leaks. Verify the valves seal properly.
Doing this consistently catches 90% of potential failures before they become problems. It’s cheaper than a new kite and safer than relying on luck.
| Damage Type | Location | Severity | Repair Difficulty | Cost Estimate |
|---|---|---|---|---|
| Fabric Tear | Sail Surface | Low (if small) | Easy | $20-$50 |
| Delamination | Sail Coating | Medium | Hard | $100-$300 |
| Line Fraying | Bridle/System | High | Medium | $50-$150 |
| Valve Leak | Leading Edge | Medium | Easy | $10-$30 |
| Connector Crack | Tube Joint | High | Medium | $80-$200 |
| QR Jam | Control Bar | Critical | Easy | $5-$20 |
When to Call a Pro
Not every repair is DIY-friendly. If you’re comfortable with basic sewing and plumbing, you can handle most minor issues. But some jobs require specialized tools and expertise. Consider taking your kite to a professional repair shop if:
- The tear is larger than 6 inches or located near a structural seam.
- The leading edge tube has a large puncture or collapsed section.
- The bridle geometry is distorted, causing uneven steering.
- You’re unsure about the correct line tension or trim settings.
Professional shops have access to original manufacturer parts and experienced technicians. The cost is higher, but the result is reliable. For critical components like the control bar or main steering lines, always opt for professional service. Your safety depends on it.
Frequently Asked Questions
How often should I inspect my kite for damage?
Inspect your kite after every single session. A quick 15-minute check catches most issues early. Do a deeper inspection once a month or before long trips. Regular checks prevent minor wear from becoming major failures.
Can I use super glue to fix a kite line?
No. Super glue is brittle and doesn’t bond well with synthetic fibers. It can make the line stiffer and weaker. Instead, use heat-shrink tubing or replace the line segment entirely. For critical lines, always replace rather than repair.
What causes delamination on kite sails?
Delamination is caused by UV exposure, heat, and poor storage. Leaving your kite in direct sunlight for extended periods breaks down the adhesive between the fabric and coating. Store your kite in a cool, dark place when not in use. Avoid folding the sail tightly for long periods.
How do I know if my depower line needs replacement?
Replace the depower line if it shows visible fraying, stretching, or kinks. Test the response time: if the kite takes more than two seconds to fully depower, the line may be slipping or stretched. Depower lines are cheap, so replace them proactively every 2-3 years or if any doubt arises.
Is it safe to fly a kite with a small tear in the sail?
Only if the tear is very small (under 2 inches) and not near a structural seam. Tape it temporarily with strong cloth tape, but plan to sew it properly soon. Flying with a growing tear risks a complete sail failure, which can lead to loss of control. Always prioritize safety over convenience.