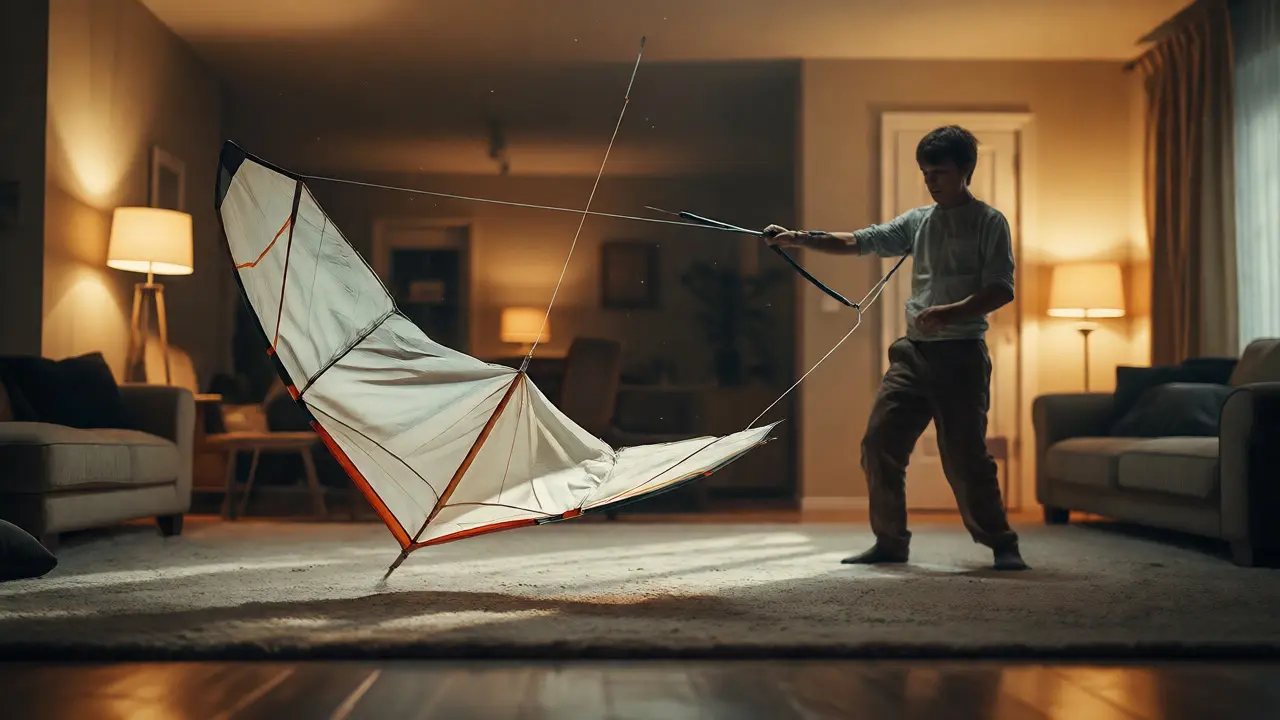
You launch your indoor kite with confidence, expecting it to hover gracefully like a dragonfly. Instead, it shoots up, stalls hard, or dives straight into the carpet before you can even blink. Sound familiar? You are not alone. Most beginners struggle with the unique physics of indoor flight, where there is no wind to help you out.
Indoor kites rely on relative airflow created by the pilot's movement rather than natural wind currents. This distinction changes everything about how you control them. If you treat an indoor kite like a beach kite, you will fight gravity every second. The good news? The two most common failures-nose drops and stalls-are easy to fix once you understand why they happen. Let’s break down exactly what goes wrong and how to correct it without frustration.
The Invisible Wind Problem
Here is the core issue: outdoor kites use static air mass moving past a stationary object. Indoor kites require the opposite dynamic. You create the "wind" by walking forward or turning quickly. When you stand still, the air around your kite becomes stagnant. Without that relative airflow over the wing surfaces, lift disappears instantly.
Think of it like riding a bicycle. If you stop pedaling, you fall. An indoor kite is similar; if you stop creating motion, it drops. Many beginners try to fly while standing in one spot, hoping the kite will magically stay up. It won’t. You must become the engine that generates the airflow. This requires constant, subtle body movement. Walking slowly forward creates the necessary pressure differential under the wings. Turning sharply adds speed to the outer wing, helping it catch air. Mastering this physical connection between your feet and the kite’s stability is step one.
Nose Drops: Why Your Kite Dives
A nose drop happens when the front of the kite pitches downward aggressively, often leading to a crash. In outdoor flying, strong wind usually pushes the tail back, keeping the nose up. Indoors, that stabilizing force is missing unless you actively create it.
The primary cause of nose drops is excessive line tension combined with slow forward speed. When you pull too hard on the lines, you tilt the kite’s angle of attack. If you aren’t moving forward fast enough to generate lift at that steep angle, the nose falls. It’s a simple trade-off: more tilt needs more speed. If you tilt but don’t move, gravity wins.
Another culprit is improper bridle adjustment. If the tow point (where the lines attach) is too high, the kite becomes unstable and prone to diving. Conversely, if it’s too low, the kite may feel sluggish and fail to climb. For most dual-line indoor kites, the bridle should be adjusted so the kite flies at a slight upward angle when held stationary against a light breeze from a fan. Test this before you take it outside. If it dives immediately, lower the tow point slightly. If it backs away from the wind, raise it.
Stalls: When Lift Vanishes
A stall looks different from a nose drop. The kite doesn’t dive; it just stops. It hangs in the air for a split second, then plummets straight down. This occurs when the angle of attack exceeds the critical limit. Essentially, the air separates from the top surface of the wing instead of flowing smoothly over it.
Beginners often stall because they turn too sharply. A sharp turn increases the load on the kite. To handle that load, the kite needs more speed. If you turn aggressively while moving slowly, the kite loses energy faster than you can replenish it. The result is a stall.
Recovering from a stall indoors is tricky because you lack the altitude buffer you have outdoors. You need to react instantly. The standard fix is to push the control bar forward to reduce the angle of attack, effectively flattening the wing. Simultaneously, you must accelerate your body movement. Walk faster or spin gently to generate immediate airflow. Think of it as unsticking the wing from the air. Push the bar, move your feet. Do not yank the bar backward, which will only deepen the stall.
Line Tension and Control Bar Mechanics
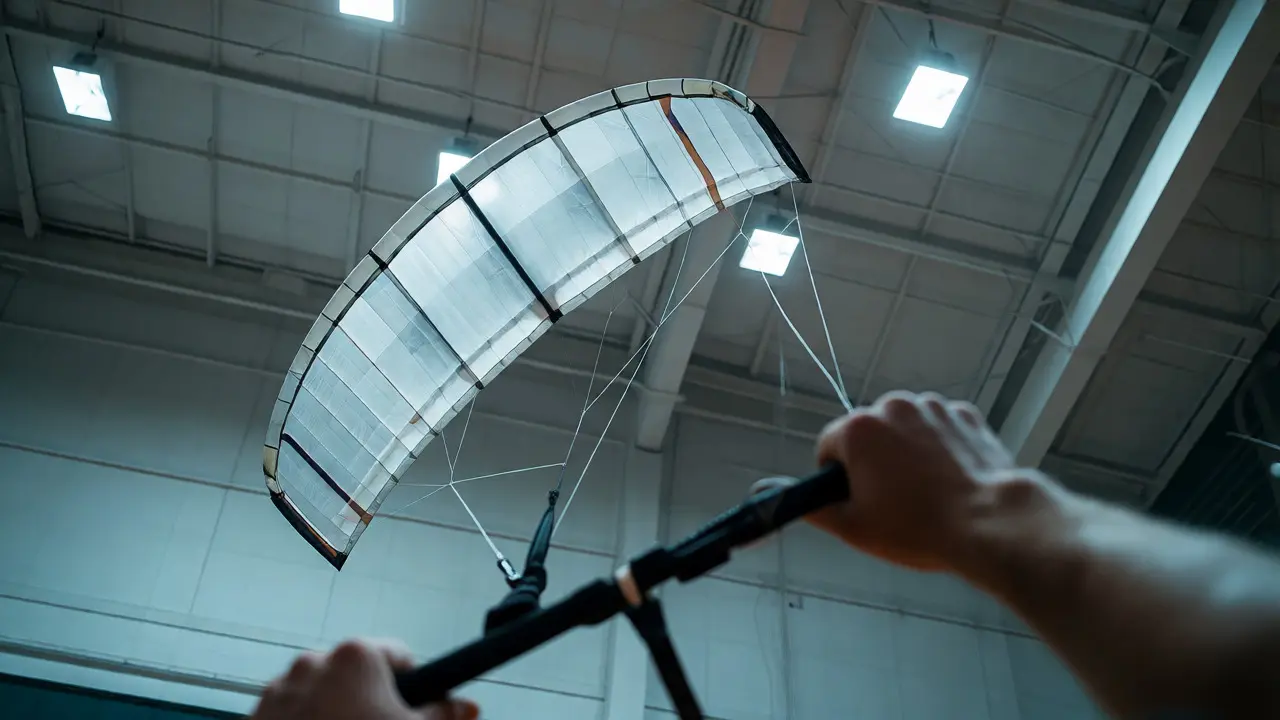
Understanding your control bar is vital. Most indoor kites use a four-line setup or a dual-line system with a spreader bar. The mechanics differ, but the principle remains: tension equals control.
With a dual-line kite, pulling both lines equally makes the kite go forward. Pulling one line turns it. But here is the nuance: pulling both lines hard tilts the kite up. If you do this while standing still, you invite a nose drop. You must coordinate tension with motion. Imagine your legs are the throttle and your hands are the steering wheel. They must work in sync.
Check your line length. Standard indoor kites often come with shorter lines (10-15 feet) compared to outdoor kites (60+ feet). Shorter lines make the kite respond faster but also amplify errors. A small hand movement translates to a large change in the kite’s position. Beginners tend to over-correct. Practice making tiny adjustments. Small nudges on the bar are better than big pulls. This smoothness prevents the sudden spikes in tension that cause crashes.
Environmental Factors You Can’t Ignore
Indoor spaces are not empty vacuums. Air conditioning vents, ceiling fans, and even people walking nearby create turbulence. These disturbances can disrupt your kite’s stable flight path unexpectedly.
Identify the "dead zones" and "turbulent zones" in your room. Fly away from direct AC blasts. Also, consider floor friction. Carpet absorbs energy from the kite’s shadow (the area of disturbed air below it), whereas hardwood floors reflect it differently. Some flyers report that kites fly more stably over hard surfaces due to ground effect variations, though this is subtle. Keep your flying area clear of obstacles. Curtains, lamps, and pets are enemies of precision flying. A single brush against a curtain string can send a lightweight indoor kite spiraling out of control.
Step-by-Step Recovery Drills
To fix these habits, you need deliberate practice. Here is a simple routine to build muscle memory:
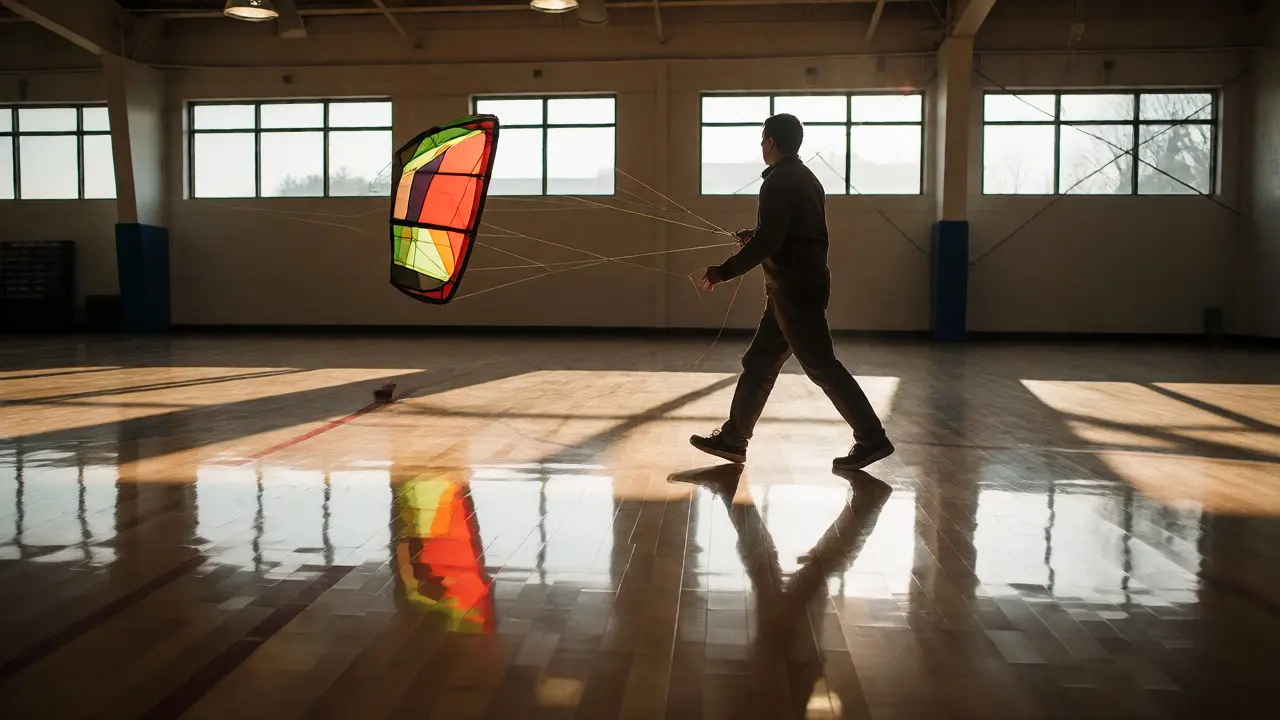
- The Hover Drill: Launch the kite and walk forward slowly. Aim to keep the kite stationary in your visual field while your body moves. If the kite drifts up, slow down. If it drops, speed up. This teaches you to match speed to lift.
- The Turn-and-Push: Initiate a gentle turn. As the kite begins to lose height, push the bar forward and increase your walking pace. Recover the height before completing the turn. Repeat until the motion feels automatic.
- The Figure-Eight: Fly a figure-eight pattern. Focus on maintaining consistent altitude through the curves. If the kite dips at the bottom of the loop, you turned too sharply or moved too slowly. Adjust next time.
Troubleshooting Common Scenarios
| Symptom | Likely Cause | Immediate Fix |
|---|---|---|
| Kite dives nose-first | Too much pull / Not enough speed | Push bar forward; walk faster |
| Kite stalls and drops | Angle of attack too high | Flatten wing (push bar); accelerate |
| Kite wobbles left/right | Uneven line tension | Center bar; check bridle symmetry |
| Kite flies backwards | Tow point too low | Raise tow point slightly |
Remember, patience pays off. Indoor flying is a skill that rewards finesse over force. Stop fighting the kite and start working with the air you create. Once you master the rhythm of walking and controlling, the crashes become rare, and the graceful hovering begins.
Why does my indoor kite crash when I stop walking?
Indoor kites rely on relative airflow generated by your movement. When you stop walking, the air becomes stagnant, lift decreases, and gravity pulls the kite down. You must keep moving slowly to maintain lift.
How do I prevent nose drops?
Nose drops are usually caused by excessive line tension without sufficient forward speed. Reduce tension by pushing the control bar forward and increase your walking pace to generate more airflow over the wings.
What causes a stall in indoor kite flying?
A stall occurs when the angle of attack is too high for the current speed. This often happens during sharp turns at low speeds. To fix it, flatten the wing by pushing the bar forward and accelerate your body movement.
Do I need special kites for indoor flying?
Yes, standard outdoor kites are too heavy and require too much wind. Indoor kites are made from lightweight materials like ripstop nylon or plastic film and have larger surface areas to generate lift from minimal airflow.
How does air conditioning affect indoor kite flying?
AC vents create unpredictable air currents and turbulence. This can destabilize lightweight kites. Try to fly away from direct vents or adjust your flight path to account for the airflow direction.