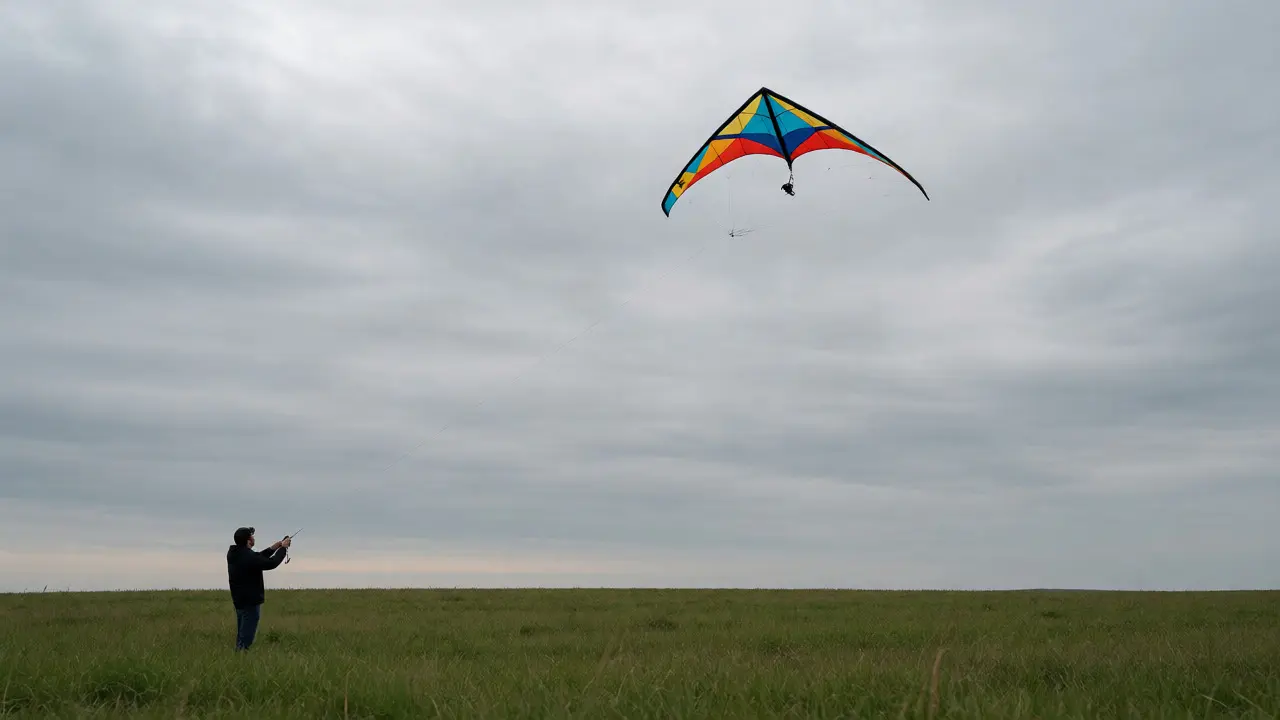
You’ve got the camera rig. You’ve got the line. But you’re standing in a field with barely enough breeze to rustle your jacket, wondering why your kite is refusing to leave the ground. This is the classic Kite Aerial Photography (KAP) struggle. Most recreational kites are built for fun, not function. They flutter, they dive, and they drop like stones when the wind dies down. If you want stable shots from 100 feet up without needing a gale-force storm, you need lifter kites. These aren't just toys; they are specialized aerodynamic tools designed to generate maximum lift at minimum wind speeds.
Think of a lifter kite as the engine of your aerial rig. Its only job is to hold weight steady against gravity. Whether you're hanging a lightweight action cam or a heavy DSLR setup, the right kite design changes everything. It’s the difference between getting a blurry mess because the kite was bobbing up and down, and capturing a crisp, horizon-level shot that looks like it came from a drone. Let’s break down which designs actually work, how to choose one for your specific gear, and the tricks pros use to keep them flying when the air feels dead.
What Makes a Lifter Different?
Not all kites lift equally. A standard diamond kite might fly fine on its own, but add a 500-gram camera rig to it, and it will likely crash. Lifter kites are engineered with a higher lift-to-drag ratio, meaning they produce more upward force while resisting forward motion less effectively than racing kites. In plain English? They grab the air harder and hold their position better.
The secret lies in the surface area and the bridle system. Lifters often have larger wingspans relative to their weight compared to sport kites. More importantly, they use complex bridles-networks of strings attached to the kite’s frame-that allow you to adjust the angle of attack. By tweaking these lines, you can make the kite "bite" into lighter winds. Without this adjustability, you’d be chasing the wind across the field every time it shifted direction.
Here’s the reality check: no kite flies in zero wind. But good lifters can operate in winds as low as 3-5 mph (approx. 5-8 km/h). For context, that’s a gentle breeze where leaves move slightly. Standard park kites usually need 8+ mph just to stay happy. If you live in a valley or fly during calm evenings, this capability isn’t a luxury; it’s a necessity.
Top High-Lift Designs for KAP
When you shop for KAP gear, you’ll see endless options. Ignore the flashy graphics. Focus on geometry. Three main types dominate the serious KAP community: Deltas, Box kites, and Parafoils. Each has distinct strengths depending on your payload and location.
Delta Kites: The All-Rounder
Delta kites are triangular single-line kites known for their stability and ease of launch. They are arguably the most popular choice for beginners moving into KAP because they don’t require a second person to help launch. You simply let out line, pull gently, and they climb. Their wide wingspan provides excellent lateral stability, which keeps your camera horizon level even if the wind gusts from the side.
However, deltas have a weakness: they struggle in turbulent air. If you’re flying near buildings or trees, the chaotic eddies can cause a delta to wobble excessively. To fix this, many KAP enthusiasts add a small tail or a drogue chute behind the kite to dampen oscillations. If you plan to fly in open fields or over water, a delta is a fantastic starting point.
Box Kites: The Heavy Lifters
If you’re carrying a full-frame mirrorless camera with a lens, look at box kites. These rectangular, cellular structures offer immense lifting power for their size. Unlike deltas, box kites don’t rely on wing shape alone; they trap air within their cells, creating a rigid, stable platform. This makes them incredibly resistant to yawing (spinning left or right), which is crucial for keeping your camera pointed exactly where you want it.
The trade-off? Complexity. Box kites often require two people to launch-one holds the kite, the other manages the line. They also take up more space in your car trunk due to their rigid frames. But for heavy payloads, nothing beats a well-tuned box kite. Brands like Prism Kites have long dominated this niche with durable, fiberglass-spined models that withstand rough handling.
Parafoils: The Soft Wing Solution
Parafoil kites lack a rigid frame entirely. Instead, they inflate with wind pressure, forming a soft wing similar to a parachute. Because they have no stiff parts, they pack down tiny. You can stuff a large parafoil into a backpack pocket. This portability makes them ideal for travel photographers who hike to remote spots.
But don’t let the soft structure fool you. Parafoils generate significant lift once inflated. The challenge is launching them. Since they start flat on the ground, they can get tangled in grass or debris before catching the wind. Many KAP users attach a small weight to the bottom center to help the leading edge stand up during launch. Once airborne, they are remarkably smooth flyers, though they can collapse suddenly if the wind drops completely.
| Kite Type | Lift Capacity | Wind Range | Stability | Packability |
|---|---|---|---|---|
| Delta | Moderate (up to 500g) | 3-15 mph | High (in laminar flow) | Foldable Frame |
| Box | High (up to 1kg+) | 4-20 mph | Very High | Bulky/Rigid |
| Parafoil | Variable (depends on size) | 2-12 mph | Moderate | Excellent (No Frame) |
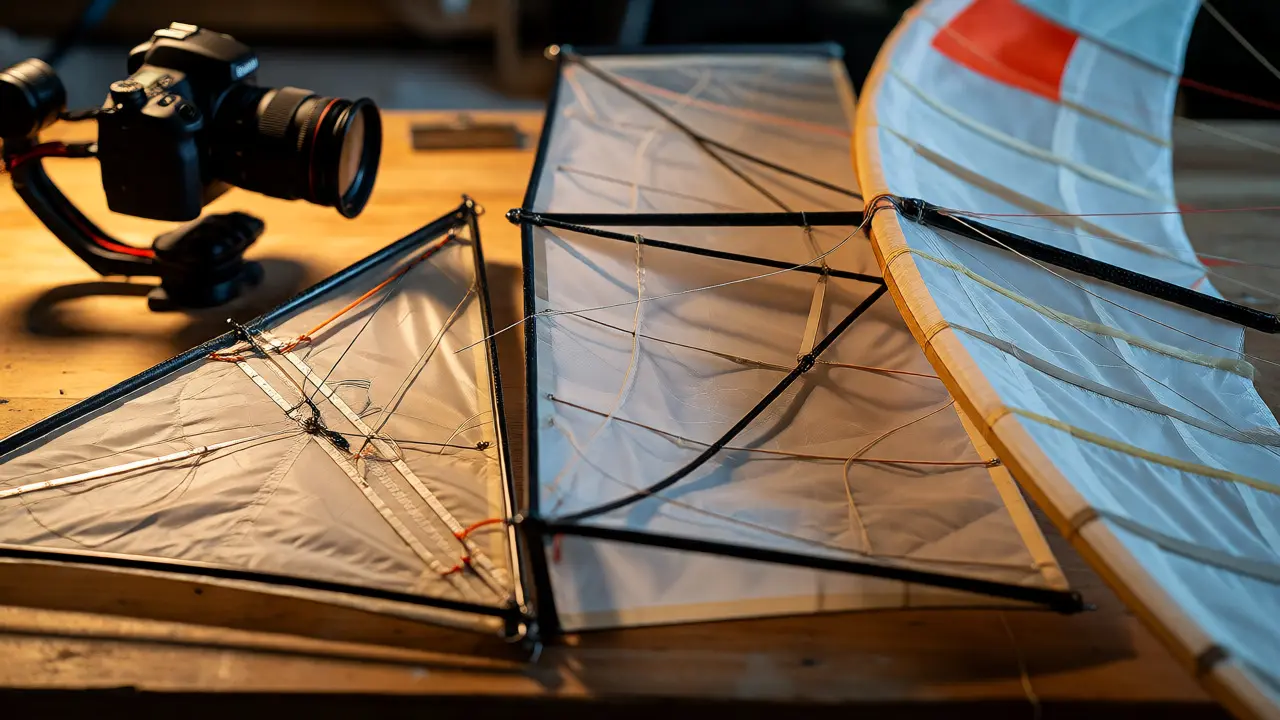
Matching Kite Size to Camera Weight
Buying the biggest kite you can find seems logical, but bigger isn’t always better. Oversized kites become uncontrollable in stronger winds, turning your camera into a dangerous projectile. Undersized kites won’t lift your gear at all. You need a match.
A simple rule of thumb used by experienced KAPers: aim for a kite with a surface area of approximately 1 square meter for every 200 grams of payload, assuming average wind conditions. So, if your camera, battery, and rig weigh 600 grams, look for a kite around 3 square meters. This gives you a safety margin for calmer days.
Always consider the total weight, not just the camera body. That includes:
- The camera itself
- The lens (if detachable)
- Batteries and memory cards
- The mounting bracket or gimbal
- The tether line attachment hardware
Pro tip: Weigh your entire rig on a kitchen scale before buying a kite. Guessing leads to frustration. If you’re close to the limit, buy the next size up. It’s easier to depower a large kite by shortening the line than to try and force a small kite to lift too much weight.
Essential Accessories for Stable Flights
The kite is only half the equation. How you connect it to the world matters just as much. Your line choice affects drag, stretch, and visibility.
Most beginners use braided polyester line. It’s affordable and has minimal stretch, which helps maintain tension. However, thicker lines create more drag, pulling the kite backward and reducing lift. For KAP, thinner lines are superior. Dyneema (Spectra) line is the gold standard here. It’s incredibly strong, nearly invisible, and has almost zero stretch. A 20-pound test Dyneema line is sufficient for most hobbyist rigs and cuts through the air cleanly.
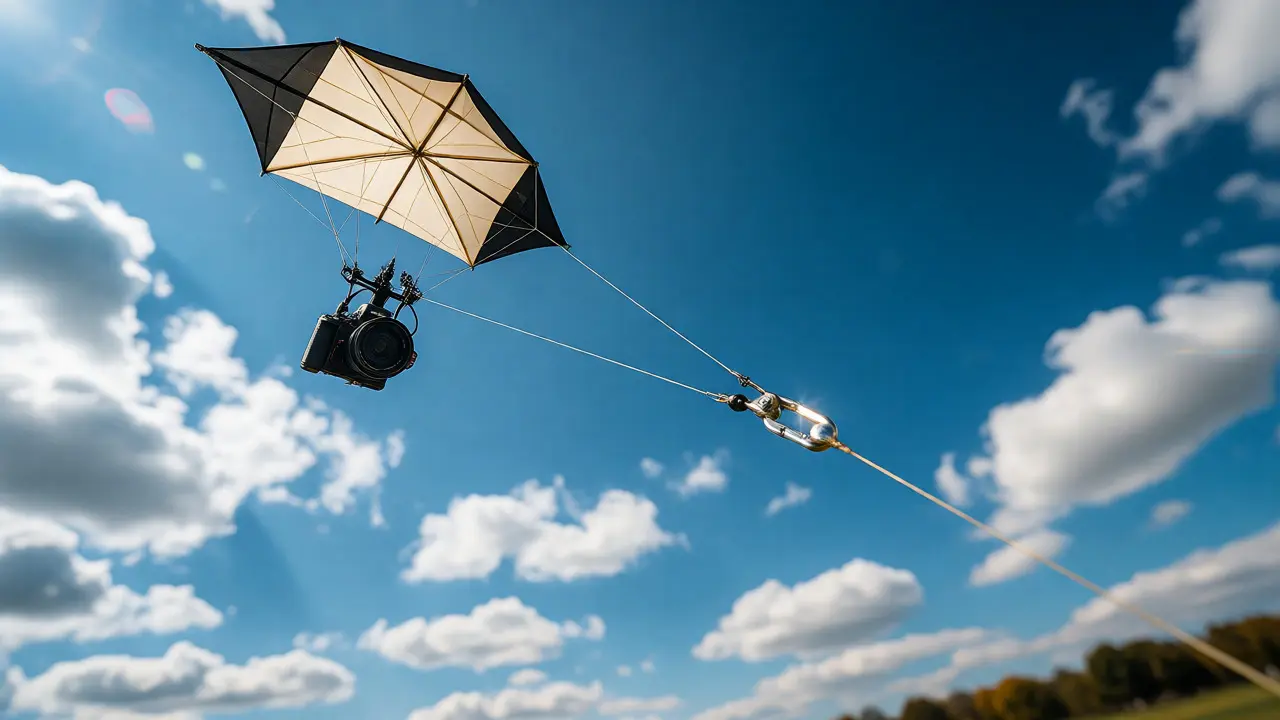
Don’t forget the swivel. Torsion builds up in the line as the kite spins or the camera rotates. Without a high-quality ball-bearing swivel, your line will twist until it forms a bird’s nest, killing your flight. Invest in a marine-grade swivel rated for at least twice your expected load. It’s a $10 part that saves hours of untangling.
Finally, consider a bridle adjustment tool. Many KAP setups involve changing cameras or lenses mid-session. Being able to tweak the bridle points quickly allows you to rebalance the kite’s angle of attack for the new weight distribution. Some modern kites come with adjustable bridle clips, making this process fast and intuitive.
Troubleshooting Common Flight Issues
Even with the perfect kite, things go wrong. Here’s how to diagnose the usual suspects.
The kite dives toward the ground: This usually means the nose is pitched too far down. Adjust the upper bridle lines to shorten them slightly, raising the nose. Alternatively, the wind might be too strong for your current line length. Shorten your line to reduce leverage and stabilize the kite.
The kite leans heavily to one side: Check for asymmetry. Is one side of the sail dirty or damaged? Are the bridle lines equal length? Sometimes, a slight bend in the spine caused by transport can throw off balance. Inspect the frame carefully. If the kite is a delta, ensure the spreader bar is centered.
The camera vibrates excessively: Vibration blurs photos. This often comes from the kite oscillating due to turbulence. Adding a small streamer or tail can dampen these movements. Also, check your camera mount. Loose screws amplify vibration. Use thread-locker on critical screws if necessary.
The kite won’t launch: If it drags along the ground, the wind is likely below the kite’s stall speed. Try launching from a hilltop or a place with cleaner airflow. Avoid launching directly downwind of obstacles like cars or hedges, which create chaotic air pockets.
Safety and Regulations
Flying kites with cameras looks harmless, but laws vary. In the US, the FAA regulates airspace above 400 feet. Most KAP flights stay well below this, but always check local ordinances. Some parks prohibit kites entirely. Others require you to keep the kite within visual line-of-sight and away from airports.
Never fly near power lines. Carbon fiber spines conduct electricity, and a tangled kite in a transformer can cause outages-or worse. Keep a safe distance from crowds, too. A falling camera rig hurts. Always have a spotter if you’re flying in populated areas, and never fly in rain unless your electronics are fully waterproofed.
Can I use any kite for aerial photography?
Technically yes, but performance varies wildly. Recreational kites often lack the stability and lift capacity needed for camera rigs. They tend to wobble, causing blurry images, or fail to lift heavier gear in light winds. Dedicated lifter kites are designed with specific bridle systems and surface areas to handle payloads steadily.
What is the best wind speed for KAP?
The sweet spot for most lifter kites is between 5 and 15 mph (8-24 km/h). Below 5 mph, even high-lift designs struggle to stay airborne with a payload. Above 15 mph, stability becomes difficult, and the risk of crashing increases. Always check wind forecasts and observe tree movement before launching.
How do I stop my kite from spinning?
Spinning, or yawing, is usually caused by an unbalanced bridle or asymmetric damage. First, inspect the kite for tears or bent spars. Then, check that both sides of the bridle are equal length. Adding a small tail or streamer can also help dampen rotational forces. Ensure your camera mount is perfectly centered on the kite’s vertical axis.
Do I need a special line for KAP?
Yes, low-stretch, thin line is recommended. Braided polyester is a budget-friendly option, but Dyneema (Spectra) is superior due to its strength-to-weight ratio and minimal drag. Thinner lines cut through the air better, allowing the kite to fly higher and more efficiently. Always use a swivel to prevent line twisting.
Can I fly a kite in the rain?
It depends on the materials. Nylon sails dry quickly, but paper or fabric sails may tear. More importantly, your camera electronics must be fully weather-sealed or housed in a waterproof case. Water ingress kills cameras instantly. Also, wet lines become heavier and stickier, affecting flight dynamics. Generally, avoid flying in rain unless you have specialized gear.