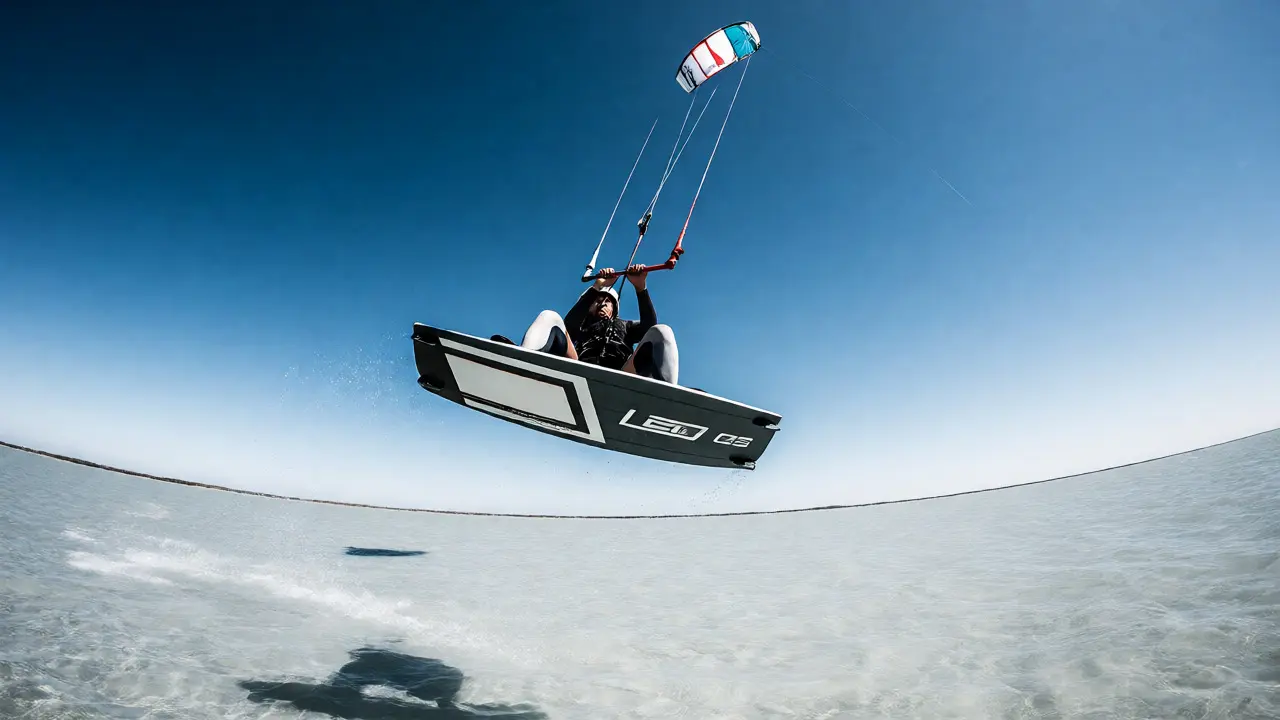
You’re gliding across the water, feeling that perfect tension in the lines, when a gust hits. Most riders panic or lean back. A freestyle rider? They laugh, let go of the bar, and launch into the air. Freestyle Kiteboarding is a discipline focused on performing technical maneuvers, jumps, and loops while maintaining full control of the kite without relying on the safety leash for power management. It’s not just about getting big air; it’s about style, precision, and the ability to manipulate the kite’s power zone with your body alone.
If you’ve ever watched pro riders like Carlos Mario or Matchu Lopes twist their bodies mid-air while the kite dances around them, you know this looks impossible. But here’s the secret: it’s all about unlearning what you learned as a beginner. In standard riding, you fight the pull. In freestyle, you dance with it. This guide breaks down exactly how to transition from basic jumping to throwing your first grabs, handle unhooked riding, and build a solid trick progression path.
The Core Mindset Shift: From Power to Control
Before you even think about letting go of the bar, you need to change how you view the kite. In wave riding or speed kiting, the goal is often to maximize lift or speed. You keep your weight back, arms locked, and trust the harness to take the load. Freestyle flips this script entirely. When you go unhooked, your harness is no longer your primary anchor for stability during the trick itself.
Instead, your core strength and board control become the stabilizers. If you rely on pulling hard on the bar to stay up, you’ll crash the moment you release one hand. The key is neutralizing the kite’s pull before you initiate the jump. This means flying the kite high and steady, then using an explosive edge against the water to pop off the surface. Think of it like a skateboard ollie: you don’t pull the board up with your hands; you snap the tail down to make it rise. In kiteboarding, you edge hard to make yourself rise, keeping the kite relatively passive until the apex of the jump.
| Feature | Hooked Riding (Standard) | Unhooked Riding (Freestyle) |
|---|---|---|
| Primary Power Source | Harness hook takes most load | Body weight and core manage load |
| Kite Position | High 10-11 o'clock or 1-2 o'clock | Dynamic movement through zenith |
| Bar Pressure | Constant tension required | Neutralized before release |
| Safety Mechanism | Chicken loop engaged | Quick release ready, leash optional |
| Learning Curve | Steep initial learning, easy maintenance | Requires solid basics, steep mastery |
Mastering the Unhooked Stance
Going unhooked sounds terrifying because if you lose the bar, you lose the kite. That fear is valid, but it’s also the biggest barrier to progress. To fix it, you need to practice the "neutral" position. This is where you stand with your weight centered over the board, knees bent, and the bar held loosely at waist height. Your arms shouldn’t be straight; they should be slightly bent, ready to absorb shock.
Start by practicing this on flat water in moderate wind (15-20 knots). Ride normally, then slowly slide the chicken loop off the hook. Do this while moving fast enough to maintain planing speed. If you slow down, the kite will drag you backward. Speed is your friend here. Once unhooked, try steering the kite left and right without changing your body position. Notice how small wrist movements have a massive impact now that there’s no harness absorbing the slack. This sensitivity is what allows for quick recovery when things go wrong.
A common mistake is leaning too far forward or backward. If you lean back, you’ll sink. If you lean forward, you’ll catch an edge and catapult. Keep your hips low and centered. Imagine you’re sitting on an invisible stool behind you. This stance lowers your center of gravity, making you more stable when the kite suddenly surges or dips.
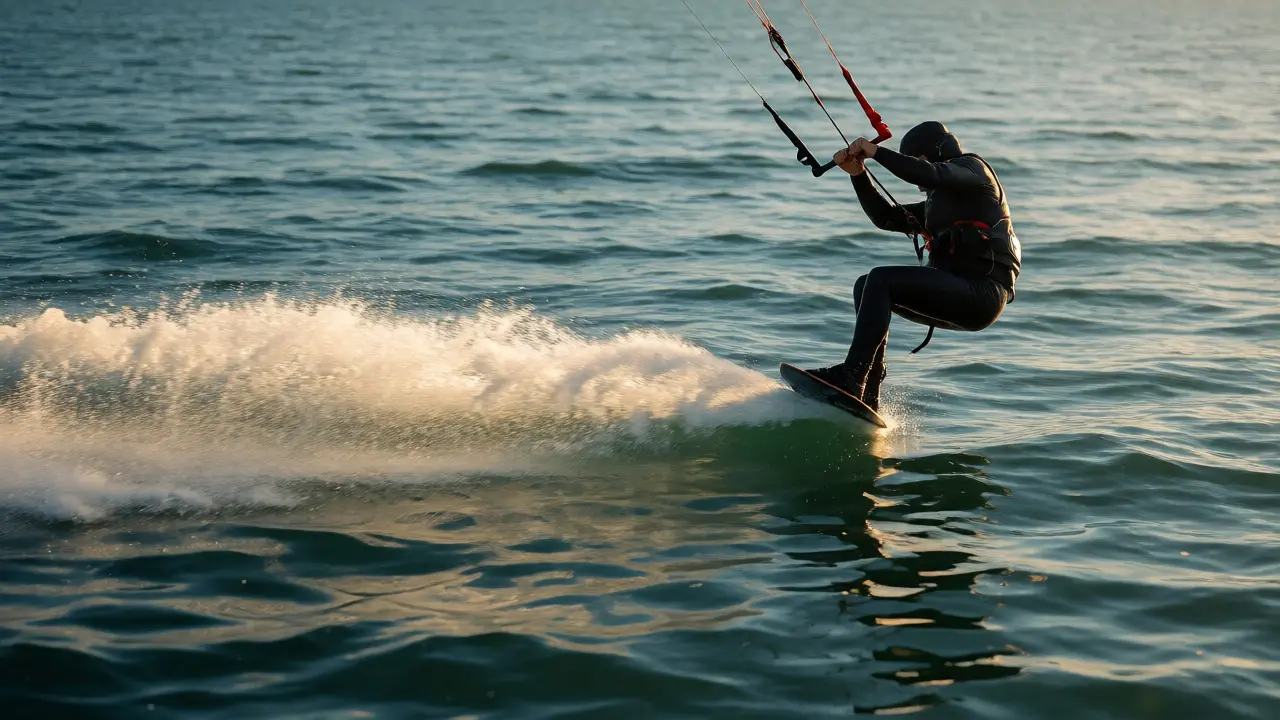
Technique Progression: Step-by-Step
Don’t rush into big loops. Build your skills in layers. Skipping steps leads to bad habits that are hard to break later. Here is the proven progression path used by many coaches:
- Controlled Jumps: Before going unhooked, master popping off the water. Focus on edging hard against the wind and lifting the front foot slightly. Land flat. Repeat until consistent.
- Unhooked Gliding: Unhook and ride for 10 seconds. Re-hook. Repeat. Get comfortable with the feeling of having no mechanical connection to the harness.
- Small Airs with Grabs: Jump unhooked. As you reach the peak, bring one knee up and grab the heel-side rail of the board. Hold for a split second, release, and land. Start with the "Tail Grab" or "Mute Grab."
- Raley Style Pop: Learn to use the kite’s lift rather than just your edge. Pull the bar down sharply to send the kite higher, creating upward force. This helps you get higher with less physical exertion.
- Board Off (Loops): Once grabs are consistent, try looping the kite. Send it high, then steer it down quickly. The goal is to keep the board under your feet while the kite circles. This requires precise timing between your body rotation and kite steering.
Notice that we didn’t mention "Kicker Loops" or "Megaloops" yet. Those come much later. Trying to learn complex rotations before mastering the basic grab sets you up for injury. Why? Because if you can’t stabilize your body in the air, adding rotation creates disorientation. You need spatial awareness first.
Equipment Considerations for Freestyle
Your gear matters, but don’t blame your board for lack of skill. Still, certain setups make life easier. For freestyle, you want a kite that has quick turning speed and good depower. Older C-kites were notorious for being difficult to relaunch if you crashed, which is a nightmare when you’re trying to string together tricks. Modern hybrid kites offer the best of both worlds: fast response and forgiving relaunch capabilities.
Board size is another factor. Many beginners think bigger boards are better for stability. In freestyle, a smaller board is actually advantageous once you have some skill. Why? Less surface area means less resistance when you’re rotating or grabbing. A 136cm board might feel sluggish for spins compared to a 132cm. However, if you’re still working on staying hooked, stick to a larger board (138-142cm) to help you plane easily in lighter winds.
Check your lines regularly. Uneven lines cause the kite to fly poorly, which ruins your timing. If one line stretches more than the others, the kite will drift toward one side, forcing you to correct constantly. Use a line checker tool or measure them manually every few sessions. Fresh lines provide predictable handling, which is critical when you’re executing precise maneuvers.
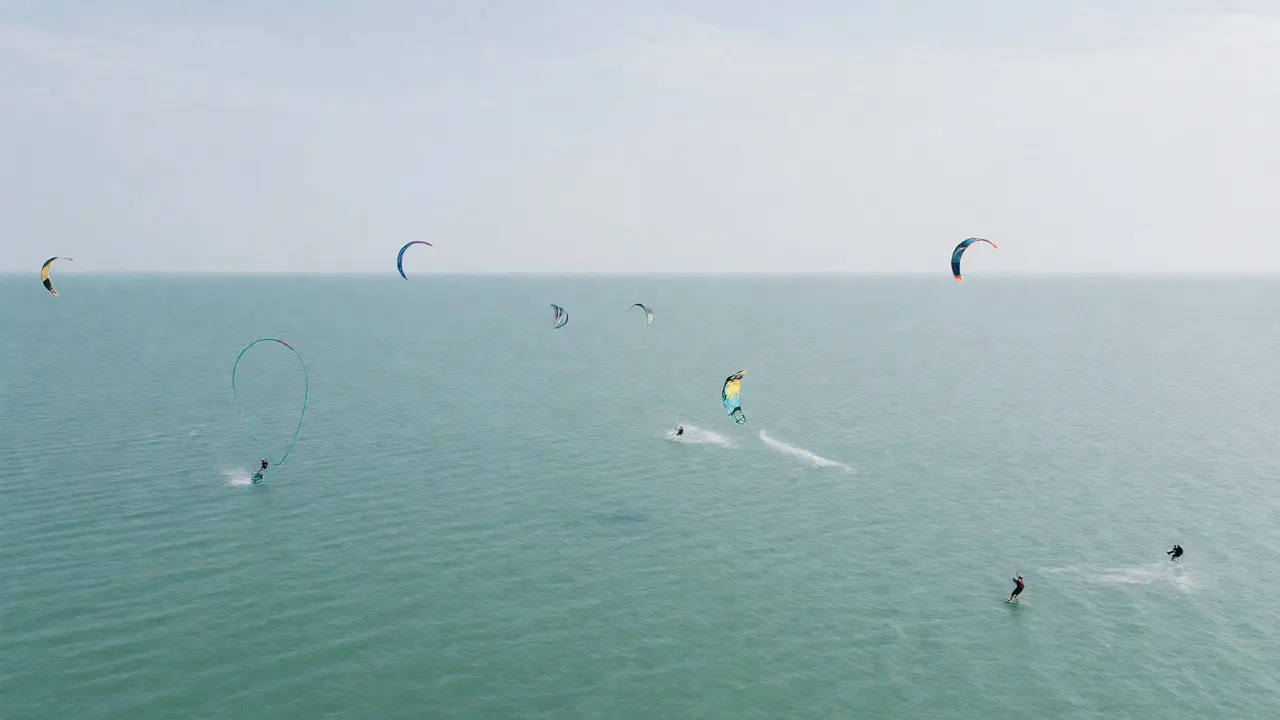
Troubleshooting Common Mistakes
Even experienced riders hit plateaus. Here are the most frequent issues and how to fix them:
- Catching an Edge: This happens when you’re too heavy on your heels. Fix: Shift weight slightly toward toes during the pop. Keep ankles flexible.
- Crashing on Landing: Usually caused by looking down at the water instead of the horizon. Fix: Keep your head up. Spot your landing early. Bend knees deeply upon impact to absorb shock.
- Losing the Bar: Fear causes you to let go too early or too late. Fix: Practice holding the bar with just two fingers on the spreader bars. This builds confidence in your grip strength and control.
- Stalling in the Air: You didn’t generate enough speed before the jump. Fix: Increase your approach speed. Don’t try to jump from a standstill.
Remember, falling is part of the process. In fact, if you aren’t crashing, you probably aren’t pushing your limits. Embrace the wipeouts. Analyze why you fell. Did you misjudge the wind? Did you forget to edge? Each crash is data for your next attempt.
Building Confidence in Variable Conditions
Freestyle thrives in steady, moderate wind. Gusty conditions make timing tricky. If you’re learning new tricks, choose days with consistent breeze. Save the stormy days for advanced riders who can read micro-gusts. Also, avoid shallow water with choppy waves when starting out. Flat water allows you to focus purely on technique without worrying about wave interference.
As you progress, start experimenting with different wind directions. Side-onshore is ideal because if you lose control, the wind pushes you back to shore. Offshore winds are dangerous for beginners because you might drift away. Always check local forecasts and tide charts. In places like Portland, Oregon, wind patterns can shift rapidly near the Columbia River Gorge, so always have an exit strategy.
Finally, film yourself. What feels smooth often looks messy on video. Watching playback reveals subtle errors in posture or kite positioning that you miss in real-time. Share clips with mentors or online communities for feedback. Sometimes, an outside perspective highlights issues you’ve become blind to.
Is freestyle kiteboarding harder than wave riding?
It depends on your strengths. Freestyle requires significant upper body endurance and precise kite control, whereas wave riding demands strong surfing skills and reading ocean swells. Many riders find freestyle technically demanding initially due to the complexity of unhooked mechanics, but wave riding becomes exponentially harder as wave size increases.
Do I need a special kite for freestyle?
While any modern kite can perform basic freestyle moves, dedicated freestyle kites typically feature faster turning speeds, a wider wind range, and quicker depower. These characteristics allow for tighter loops and more responsive handling during complex tricks. However, beginners should prioritize a forgiving, all-around kite before specializing.
How long does it take to learn unhooked riding?
For someone with solid intermediate skills (consistent jumps, good upwind ability), becoming comfortable unhooked can take anywhere from 5 to 15 sessions. Mastery of complex tricks like Raleys or Megaloops may take several seasons of consistent practice. Progress varies based on fitness, prior board sports experience, and frequency of riding.
What is the safest way to practice unhooked?
Always wear a helmet and impact vest. Start in waist-deep water if possible, or on very flat water close to shore. Ensure your safety system is functional and understand how to self-rescue if you lose the kite. Never practice unhooked in offshore winds or rough chop until you are confident in your ability to recover quickly.
Why do my jumps feel low?
Low jumps are usually caused by insufficient speed or poor edging technique. You need to build momentum before popping. Additionally, ensure you are sending the kite correctly-pulling down too early kills lift, while pulling too late misses the power window. Practice generating speed and timing your kite send with your body extension.