How To Make A Flying Kite With Plastic: Step-By-Step Guide
Kite making is an age-old practice. This ancient art may appear to be very difficult and out of reach for most people; however, the modern materials available now have made it very accessible for anyone to build a simple kite. Using a simple guide, making a plastic kite is easier than you may think.
Making a flying kite from plastic is easier than you may think. All you need is thick plastic bags, hard-wood dowels, tape, flying line, scissors, and a ruler. It takes about 30 minutes to build this kite, and it can be done by anyone. A plastic kite will fly well in moderate winds and at a good height.
A flying kite made from plastic is a good project that will not take up too much time but will also yield impressive results! Plastic kites are strong and fly well if they are built right; all it takes is some guidance. So, here is a step-by-step guide on how to make a plastic kite that flys well.
Plastic Kite Building Materials
There are multiple different types of kites that can be made from plastic, and each of them has different characteristics.
All plastic kites need to be light enough to be taken up by moderate breezes while being strong and sturdy enough to handle some more intense winds as well. A kite like this should also be held together securely to enable it to be rigid enough to withstand decent altitudes.
Plastic kites must have these attributes to fly well, which means that they must be made out of very carefully chosen materials in order to function as they should.
The building materials required to make a flying kite with plastic can be found at any hardware store or even some larger craft stores. They are inexpensive and easy to obtain, which makes this type of kite very accessible for everyone.
To build a flying kite out of plastic, you will need the following supplies:
- 2-Ply Plastic Bags – Any 2-ply plastic bags will do, but plastic garden bags are best if you can get them. The bags should be strong and not prone to stretching. The bags should be at least 1m (4 ft) long and 0.5m (2 ft) wide. These will form the sail and tail of the kite.
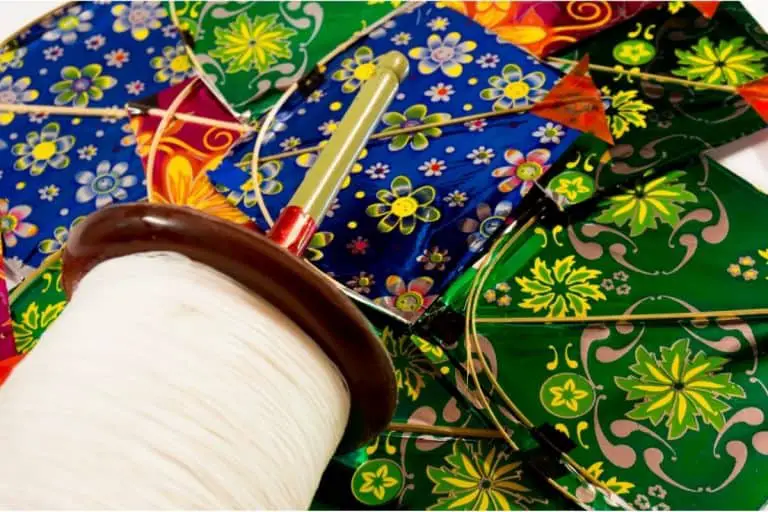
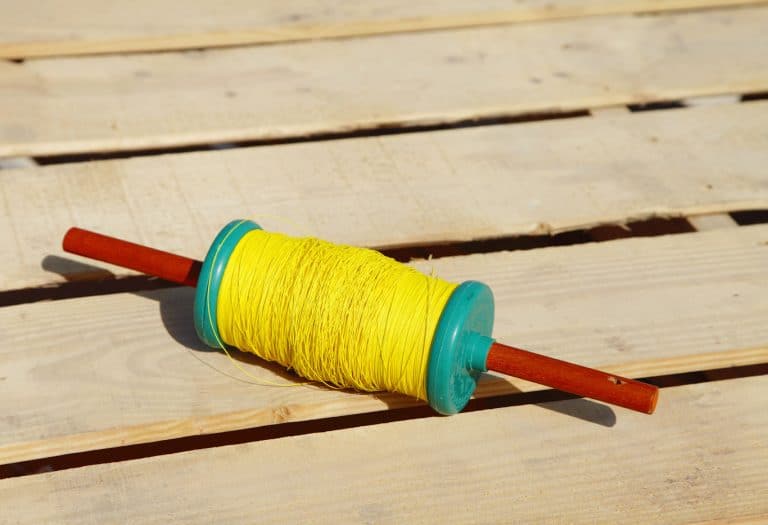
- Flying Line – Kite flying line is best, but any lightweight, strong thread will work well. Avoid fishing line, but acrylic knitting yarn or something similar will do well. Try to find the line that is as long as possible.
- Electrical Tape – This type of tape is important because it is very adhesive while being very strong and flexible. It is perfect for using plastic with making the plastic so rigid that it breaks. Any color electric tape will do.
- Hard-Wood Dowels – Soft wood will not do; the dowels must be as hard a wood as possible. The dowels should be 5mm (3/16”) in diameter. If no hard-wood dowels are available, use thicker dowels. These will form the spars, making up the structure of the kite.
- Scissors – Sharp kitchen scissors are best, as they must be able to cut cleanly through the plastic without tearing it or leaving any ragged edges.
- A Ruler – A standard plastic ruler will work well. This is for making measurements and drawing straight lines when designing and constructing the kite.
- A Marker – A permanent marker such as a Sharpie id ideal. It must be able to make clear marks on the plastic bags and the dowels in order to cut the kite components to the correct dimensions.
- A Hacksaw / Fine-Toothed Wood saw – This will be used to trim the wooden dowels to size. Be sure to use a sharp saw, or the dowels may be left with jagged ends that may damage your kite during construction.
How To Make A Plastic Kite: Step By Step
To make a plastic kite that flys well is relatively simple, but it does take some time and careful effort. It may take a few attempts to construct a kite that flies as well as you hope. Just keep practicing your kite-making skills until you build the perfect kite.
Take your time following the steps, and be sure to make all measurements and cuts as accurately and sharply as possible. If you put in the time to make the kite well from the beginning, it is more likely to succeed and do well in the air.
Making this plastic kite should take about 30 minutes in total once all of the materials are laid out and prepared, but it may take longer depending on how careful and precise you are when constructing the kite.
Below is the step-by-step guide for making a flying kite with plastic:
Step 1: Measure The Kite Sail
For this step, you will need one of the large 2-ply plastic bags, the ruler, marker, and scissors.
- Place the plastic bag out flat on the floor or on a large flat surface to prepare for making it into the kite sail. Be sure that the open end of the bag points down toward you and the closed end of the bag points away from you.
- Once the bag is laid flat, use the marker and the ruler to make some connecting marks on the bag. Make one mark on the left edge of the bag, 25cm (10”) down from the top left-hand corner. Make a second mark on the left edge of the bag 75cm (30”) from the top of the bag. Make a third mark 50cm (20”) to the right of the first mark, toward the center-line of the bag.
- Once these three marks have been made, use the ruler and marker to draw a line to connect each mark. After this is completed, draw one more straight line from the point on the right to the top left-hand corner of the bag. The result should be a shape drawn on the bag that resembles half a “diamond” shape, with a horizontal line across to the right-hand point.
- Once all of these lines have been made, turn the bag over and make an exact mirror image of the marks on the other side of the bag.
- Cut the bag open on the opposite side of the marks and at the top, and open the bag to reveal the diamond shape drawn on the bag.
- Use the scissors to cut the shape out of the plastic bag. This is the sail of the kite.
Step 2: Construct The Kite Spars
For this step, you will require two of the hard-wood dowels, the electrical tape, and the saw for trimming the dowels.
- Lay the sail down on the flat surface with the top of the kite pointing up and away from you.
- Lay one wooden dowel flat on the sail, with one end of the dowel touching the top corner of the diamond shape. Keep the dowel in the center of the kite, and make a mark where the dowel meets the bottom corner of the diamond.
- Trim the dowel at the mark to make it match the length of the kite said.
- Place a second wooden dowel on the horizontal corners of the sail, and trim it to match that length.
- Place the vertical dowel down on the sail, and tape the dowel down onto the top corner of the sail. Use only two pieces of tape, one verticle and one horizontal, in order to save weight.
- Tape down the bottom end of the dowel to the bottom end of the kite, in the same way, and repeat the process with the horizontal dowel, laying it over the top of the verticle dowel and taping it into the horizontal corners of the sail.
Step 3: Tie The Kite Bridle
For this step, you will need a long length of your flying line.
- Start by firmly tying the two dowels together where they meet in the center.
- Next, poke two small holes in the kite on either side of the verticle dowel, just above where the two dowels meet. Be sure that the holes are only big enough to allow the thread through and leave a small amount of space between each hole and the verticle dowel.
- Next, feed a decent length of the flying line through one of the holes and out through the other one, wrapping over the crossed dowels. Thread the line through the hole a few times, and tie it off in the center of the kite.
- Once this is complete, use another length of twine and tie it into a loop, then tie that loop to the section of line which is tied around the sail and the dowels. The loop should be strong and tight, as this is where the flying line of the kite will be attached. This loop is known as the kite bridle.
Step 4: Attach The Flying Line
The final step of the kite construction is to attach the final flying line of the kite. For this, you will simply need the rest of the spool of your thread or kite flying line.
- Tie the loose end of the thread or kite flying line to the center of the bridle loop that you made in the previous step. Be sure that the flying line does not slip around on the bridle, or this will prevent any control over the kite while flying.
- The flying line should be tied exactly in the middle of the bridle to ensure the best possible anchor point for the kite in flight, making it as easy to control as possible.
- Be sure that there is enough flying line on the spool to allow the kite to fly at a good height. It will need longer to reach its optimum flight height, or else it will never fly well.
Step 5: Make And Attach The Kite Tail
The tail of the kite is more important than you may think. The tail provides stability when in the air, and without it, the kite is very unlikely to remain airborne for long.
The tail of this plastic flying kite is made from the same plastic bags that the sail is made from. You can use a new plastic bag to make the tail, or you can use the remaining offcuts from the bag that you made the sail from.
The tail of the kite should be a minimum of five times as long as the kite itself. If your kite is 1m (4ft) long, the tail of the kite should be at least 5m (20ft) long.
- To make the tail of the kite, cut a plastic bag into strips that are 5cm (2”) wide. Try to keep the strips as straight as possible. Cut as many strips as you need to add up to five times the length of the mainsail of the kite.
- Using the electrical tape, join the strips of plastic together until they are the correct length. Be sure to tape the strips together firmly, or the tail may come apart mid-flight, ending the kite flying fun.
- Once the tail is put together, simply tie or tape the tail securely to the bottom end of the verticle kite spar. Do not use too much tape when making and attaching the tail to keep the kite as light as possible.
After constructing and attaching the tail to the kite, your plastic kite is now ready to fly!
Step 6: Flying The Plastic Kite
Once complete, your kite is ready for flying! Take the kite outside, and get ready to let it take off!
To send your plastic kite into the air, moderate to strong winds are required. If there is no wind or not enough wind, try jogging forward with the kite and tossing it up into the air. Keep jogging and tow the kite behind you. This will work best if you let out a long trail of line and keep your pace up!
If there is enough wind to get the kite up into the air, let out a section of flying line, wait for the wind to pick up, stand with the kite in front of you and the wind at your back, and toss the kite vertically up into the air.
The wind should catch the kite and keep tension on the flying line. Once the wind has the kite, you can slowly let the line out and let the kite climb as high as you would like and as high as the wind allows!
Conclusion
Making a flying plastic kite like this is far more simple than many realize. These kites make the experience and joy of flying a kite accessible to everyone.
The simple materials and tools that are required to construct this plastic kite are easily found at any hardware store and can be bought for very little money if you do not already have them around your house or garage.
Be sure to take your time when constructing the kite, and remember that it does not need to be perfect. All it has to do is catch the wind and be sturdy enough to stay in the air when it does!
There are many various types of plastic kites that can be built in a similar way, so explore and experiment with kite designs and building guides.
Remember that whenever you construct a kite, make it your own! Decorate it, make it unique, and let it fly as high you dare!
References