How To Make A Flying Kite With Nylon: Step-By-Step Guide
Getting into kite flying does not need to be expensive, and you don’t have to buy a kite either. There is nothing preventing you from choosing to make your own kite to start out with; in fact, many kite flyers start out by building their own. Building a kite is not that difficult as long as you choose the right material and follow a few kite-making principles. Nylon is one material that you can use to make a kite, and here is a guide on how to do that.
Steps To make a flying kite with nylon.
- Gather the frame material.
- Source your nylon for the sail
- Source your line material
- Find material for the tail.
- Gather tools needed.
- Build the frame.
- Cut out the sail and fix it to the frame.
- Build the kite tail.
- Add the line to the kite.
Kites can be made from a variety of materials, even from items that you can find around your house that no longer have any use or value. Of course, there are some materials that will work better than others and ways of making a kite that will actually work if you understand the principles around kites and kite-making.
How To Make A Kite From Nylon
A kite has relatively few materials that go into its construction, but your choice of materials may influence how well your kite will fly after it has been built.
There are essentially 4 main components in a kite that each require a different kind of material.
- The frame of the kite. The frame of the kite can be any lightweight, rigid material that you can affix the sail to. The most common material used and the one that is probably the easiest to source are some wood dowels. Carbon fiber or composite materials can also be used, but they are generally more expensive had harder to source.
- The sail of the kite. The sail of the kite is the material of the kite, and it is the part of the kite that catches the wind and provides lift for the kite.
- The line used to fly the kite. The line used to fly a kite is more important to the success of the kite than most people realize. The best option is to get a kite-line from a local kite shop or online that is specifically made for kite flying. Many people use fishing line for their kites, but this is not ideal and can be dangerous in some circumstances.
- The tail of the kite. The tail of the kite is to provides stability and balance to the kite. It does not need to be heavy but rather long enough to provide the right amount of drag to keep the kite oriented correctly. A kite tail that is too long or too heavy can cause your kite as many problems as if it were too short or missing altogether. You also may have to adjust the length of the tail depending on the flying conditions.
1. Gather The Frame Material
Building the kite at home, you will probably not want to spend too much money in getting the kite built. The cheapest option for building the frame of the kite will be to use wooden dowels.
If you can source rods that are a quarter-inch in diameter that are made from a composite or carbon fiber material, it would make the kite lighter. While this would benefit the build, it is not an absolute necessity.
You will be able to build a flying kite using wooden dowels. The size dowels that you need can be based on the following measurements.
- 1 x quarter-inch diameter wooden dowel that is 20-inches in length. This will be for the cross-piece.
- 1 x quarter-inch diameter wooden dowel that is 24-inches in length. This will be for the vertical structure of the kite.
Wooden dowels are usually quite cheap and can be purchased at any local hardware store. If you cannot source wooden dowels, you can use twigs of small branches from a tree that are of similar dimensions.
2. Source Nylon Material For The Sail
Nylon comes in a variety of types, some of which may be suitable for kite making and some may not. The most crucial aspect of the nylon fabric to consider is the weight, and the second is the durability.
The weight of the material will have a bearing on how easily the kite will be able to lift off and the strength of the wind it would need to fly in.
The durability of the material will influence how the kite will handle different strengths of wind. Material that will easily rip or tear is not suitable for making a kite. The winds that keep the kite aloft could rip the material and cause your kite to fail.
The sail of your kite can be constructed from any material that meets the criteria of being lightweight and durable.
This makes the choice of nylon as a material an ideal candidate for kite-making material; it certainly matches these two prerequisites. But will any nylon work?
The Best Nylon For Kite Making
There are nylon fabrics that are made for different purposes, so not just any nylon material will work. Some nylon materials that are lightweight may not be easy to work with since they may fray or not work well with adhesives.
The best nylon to use as the material for your kite sail is ripstop nylon. This is the same type of nylon that is used to make tents and some sports bags, and similar equipment.
Ripstop nylon has all the properties that make for a great kite-making material; it is very light and is resistant to wear, and it is durable. It can also easily be glued or even stitched to make for a very strong kite.
Many of the commercially made kites are made from the same material, which is evidence that it will work well as a kite material choice.
If you cannot find any ripstop nylon to buy, you can repurpose an old kit bag, backpack, or tent that is made out of this material.
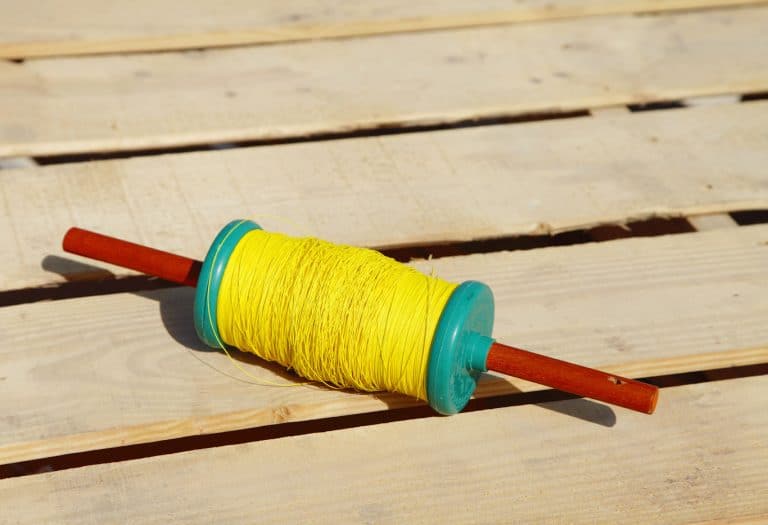
3. Source Your Line Material
The line that is used to fly a kite also needs to have certain characteristics to qualify it as suitable for kite flying.
A braided cotton line or a synthetic braided line are the preferred line types for kite flying. However, you may not be able to source these easily if you do not have a kite shop in your location. Acrylic knitting yarn can be used as an alternative, but it is quite thick and heavy and may reduce the height at which you can fly your kite.
A lightweight cotton string can also serve as an alternative tether for your kite should you not be able to source line specific for kite flying.
4. Materials For The Tail
The tail does not need to be fancy and can be as simple as some of the excess material you used for the sail tied in a sequence of knots on a length of string.
The tail must not be too heavy as it will result in too much drag, which will pull the kite down and make it struggle to get airborne.
If the tail is not heavy enough, the kite will be unstable and will not fly with the top of the kite pointing up.
We will get onto the details of the tail once we get to the construction part of the sequence. Just know that you need some additional material for the tail.
5. Gather Tools Needed To Build The Kite
There are a few basic tools need to complete the construction of the kite, but they are items that you should be able to find around the house or in the garage of most homes.
Here are the items you will need to gather to complete your nylon kite build.
- A craft knife or other sharp knife
- A pair of scissors
- Contact adhesive.
- Superglue, or CA glue
- A ruler
- Felt tip marker
These items should be available in your home already, but if they are not, they will not be expensive acquisitions from your local hardware store.
6. Build The Kite Frame
Now we get to the construction part of the process of building your nylon kite. This step will form the basic framework of the kite from which all the other components will be supported.
The longer of the two dowels will be the vertical axis of the kite, and the shorter dowel will be the horizontal axis.
Join The Dowels
Place the longer dowel vertically on the floor in front of you, and place the shorter dowel across it horizontally, about one-third down from the top of the longer, vertical dowel stick.
There are two ways you can join the dowels together. You can simply put a drop of CA glue or super glue to glue them together in this position and then use string to wrap the join.
Alternatively, if you want a more secure, snug fit, you can carve a small slot in the vertical dowel wide enough to accommodate the horizontal dowel. Then glue in place and wrap the join with string.
Make sure the dowels are 90-degrees from each other when you glue them in place. You can wrap the string around the join in a cross-type pattern or double figure-8 pattern about 7 or 8 times and then tie the string off in a knot. This will help to strengthen the joint and keep the dowels together and stop them from moving.
Make The Sail Frame
Use the sharp knife or box cutter to carve a groove on both sides of each of the four dowel ends. The grooves should be about half an inch from the end of each of the four dowel ends.
This groove is to hold the string in place that will form the frame for the sail. Starting at the top or vertical piece of the kite, tie the end of a piece of string to the dowel, securing it in the notch you have just cut.
Take the string down to the horizontal dowel on the right and wind the string twice around the dowel in the groove that war cut.
Take the string to the bottom of the vertical dowel and do the same, winding the string twice in the groove. Take the string up to the left-hand side of the horizontal dowel and wind it around that end too.
To finish off the diamond shape, take the string back up to the top of the vertical dowel where you started and tie the string off at this point, and cut the loose ends off.
This completes the diamond shape of your nylon kite. Next, we will get on to cutting the nylon to shape and attaching it to the frame.
7. Cut Out The Kite Sail And Fix To The Frame
Lay the nylon fabric that you have chosen flat out on the floor and place the frame of the kite on top of the nylon.
With the kite on the material, place a mark on the nylon at the end of each dowel. Move the kite frame out of the way, and using your ruler, measure out 2-inches away from each dot on the same axis.
Draw a line joining the extended dots to each other to form a diamond shape that is 2-inches larger than the frame of the kite.
Using the scissors, cut along this line to cut out the sail material for the kite. Once the shape has been cut out, lay the frame back on top of the material. Fold the excess nylon material over the string that makes the sail frame. You can secure the material in place by gluing it with the contact adhesive, or you can tape the sides down with masking tape or duct tape, or if you have a sewing machine, you can stitch it down.
Using tape to hold the material on can be done, but it adds weight to the kite, and it may come loose during the flight.
Keep any excess nylon material left over for use on the tail of the kite.
8. Build The Kite Tail
The second to last step is to create the tail of the kite. The length of tail that you will need on your kite will depend on how windy the conditions are in which you are flying your kite.
For light wind conditions, you will need a shorter tail, and in stronger wind conditions, you will need a longer tail.
You can either make two tails, a shorter one and a longer one, and attach the different tails depending on the conditions, or you can build one tail and simply extend it as needed.
If you are going to build two tails for the kite, make one that is 2.5 times the length of the kite and one that is 5 times the length of the kite. That is the length of the vertical dowel of the kite.
If you are only going to make one tail and add to it as the need arises, make a tail that is 2.5 times the length of the kite.
To make the tail, cut a piece of string to the required length. Then cut strips of the nylon leftover material into strips that are 3-inches long and about 1-inch wide.
Tie the nylon strips down the length of the string at about 1-foot intervals. Keep some of the nylon strips loose so you can add to the tail at a later date should you need to.
Tie the string from the tail to the bottom of the kite by tying it to the bottom of the kite. Make it as secure as possible since if the tail comes off during flight, the kite will crash.
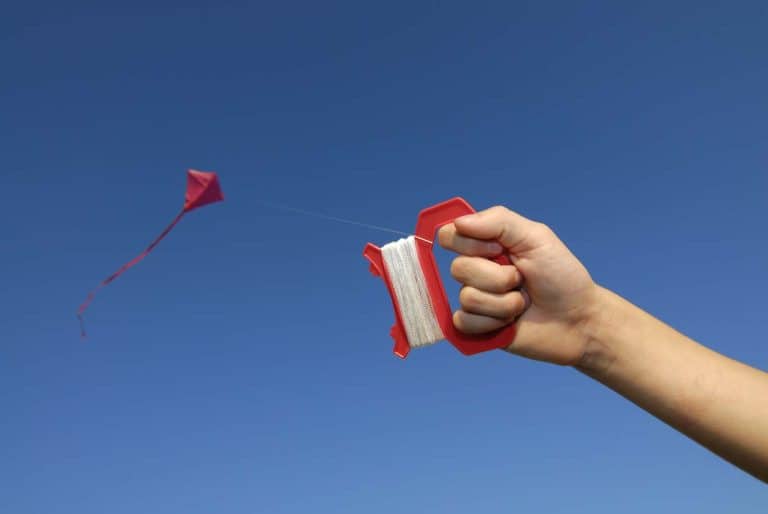
9. Add The Line To The Kite
The final construction of the kite is to attach the line that you will use to fly and control the kite. There are a few alternative methods that you can use to attach the flying line to your new nylon kite.
The best way to attach the line is by attaching leader lines to the top of the vertical dowel and the left and right ends of the horizontal dowel, and one that fixes to the center of the frame.
Measure 2 lengths of string, one from the right edge of the horizontal dowel to the center of the frame and another from the left edge to the center of the frame. Do the same from the dowel at the top of the frame to the center of the frame.
From the sail side of the kite, pierce a hole in the sail at each of the attachment points; one at the left, the right, the top, and the center.
Pass the lengths of string through the holes and tie them to the dowels. All loose ends of the lengths of string should be long enough to meet at the center of the frame. Tie all of these loose string ends together and then finally attach the main line to the knot where all of these lines meet.
Your nylon kite is finally complete and ready for its maiden flight!
Conclusion
Making a kite is not difficult, but it is important to use good materials that will not cause the kite to fail while you are flying it.
The key to remember when selecting materials is that they are as lightweight and strong as possible, which is why nylon is a great material for the sail of the kite!