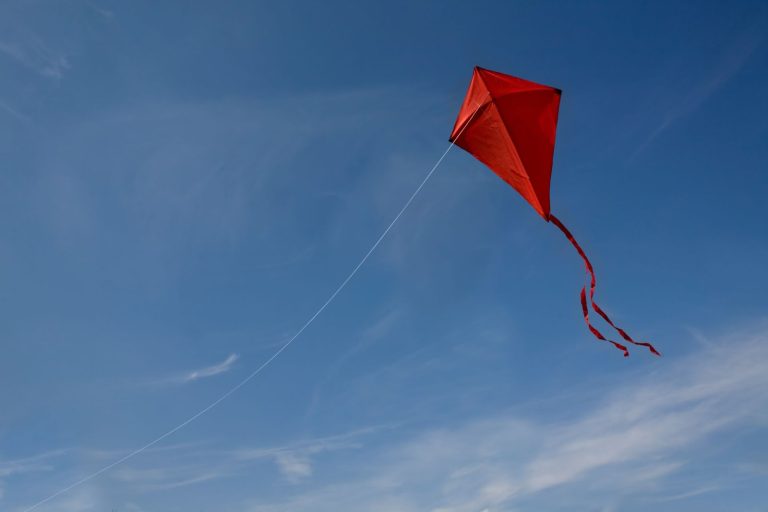
Guide To Controlling A Kite (7 Easy Steps)
Are you looking for a comprehensive guide to controlling your kite? Then, you arrived in the right place. There are many different kites and many phases involved in flying a kite. For example, getting the kite in the air and keeping it there, steering, preventing spinning, landing it, and more.
The complexity of a kite requires more expertise on the part of a flier. However, even a simple, single-line kite can be difficult to maneuver for a beginner.
This article will provide a complete guide and the best tips for controlling a kite.
How To Fly And Control A Kite
Although the steps involved in flying and controlling a kite are not many, each phase has to be performed correctly to avoid incidents, prevent the kite from crashing, and above all, enjoy the experience.
Beginners flying a kite or parents teaching kids to fly their first kite should follow the following steps:
1. Locate A Suitable Space To Fly Your Kite
A proper place to fly a kite is instrumental for the flier to control a kite. A location filled with obstacles, trees, power lines can only make it difficult if not impossible to operate a kite, and it can even be dangerous.
A suitable space that allows a kite operator to control a kite properly is ample open space. The area should be free of houses, power lines, and trees, holes.
2. Fly The Kite In Suitable Weather Conditions
Flying a kite in lousy weather reduces the chances of controlling a kite. Before flying a kite, fliers have to verify that the weather is right, which means that the wind should not be too strong for the kite used.
A strong wind can damage the kite, and it will become uncontrollable. The wind should not be higher than 20mph; most kites can fly and easily control under this value. It would be best if you always avoided rain and lightning.
3. Get The Kite In The Air Successfully
With a single line kite, or another type, you have to hold the kite by the bridle point and let the line out; the kite will go up in the sky and fly with sufficient wind. To control your kite and make it go up further, you should let the kite move away from you a little bit and then pull on the line.
This way, the kite will point up and climb. However, it is difficult to make the kite fly with low wind. In this case, another person needs to help you by holding the kite up about 50-100 feet away and releasing it while you pull the line to make the kite gain altitude.
If you can’t control the kite and it ends up sinking on its tail, it means that the wind is insufficient to hold it up.
On the other hand, if there is too much wind, it may fall on its head. To control the situation and prevent both instances, do the following:
- Use adjustable bridle
- Add tails to your kite
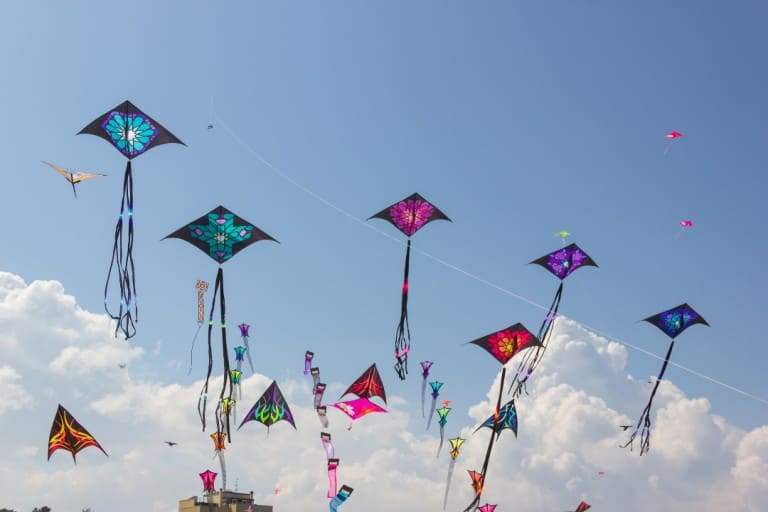
An adjustable bridle can help you control the kite in both high and lower wind. You have to move it higher near the top in high wind and lower it toward the tail when you fly in lower wind. While adding a tail to the kite helps increase stability even in higher wind.
4. Steering Your Kite
With a single-line kite, your control is limited. Nevertheless, you can maneuver it through the flying line. For example, tugging on the kite line make the kite move forward; loosening the kite line can make the kite drift backward or move to the left or right.
It can take a while for someone to learn how to make a kite go to the right or the left, using only the line, but you can master it with practice.
It is possible to steer the kite in all directions with a simple hand movement with a dual-line kite. For example, pulling the line on the right hand will make the kite go to the right, and vice versa.
To steer a dual line kite is possible to push on the line (left or right) instead of pulling, but if you wish to use this method, you will push with the right hand to turn the kite left and vice versa. You can steer power kites by pulling on the lines too.
Pulling left will make a power kite turn left and vice versa. In addition, those kites have a brake line that you can use to improve steering controls. For example, pulling on the break line and the top lines will make the kite turn very fast.
5. Forward And Reverse Flight
Most kites typically fly forward almost automatically. Single-line and dual-line kites move forward without any particular action required. The only condition necessary is to have enough wind, and both kites will move forward on their own.
If you have a qual line kite and want it to move forward, you have to make sure that it has a positive angle of attack.
Reverse flight can be harrowing at first. For example, single-line kites will not fly in reverse unless you put excessive slack in the line to stall the kite.
Similarly, with dual kite lines, if you want to achieve reverse flight, you have to stall it first and move toward the kite very fast to prevent it from gaining forward motion.
Quad line kites are easy to control when it comes to reverse flight. It is necessary only to change the angle of attack. Instead of positioning the kite with a positive slope, you have to change it into a negative slant.
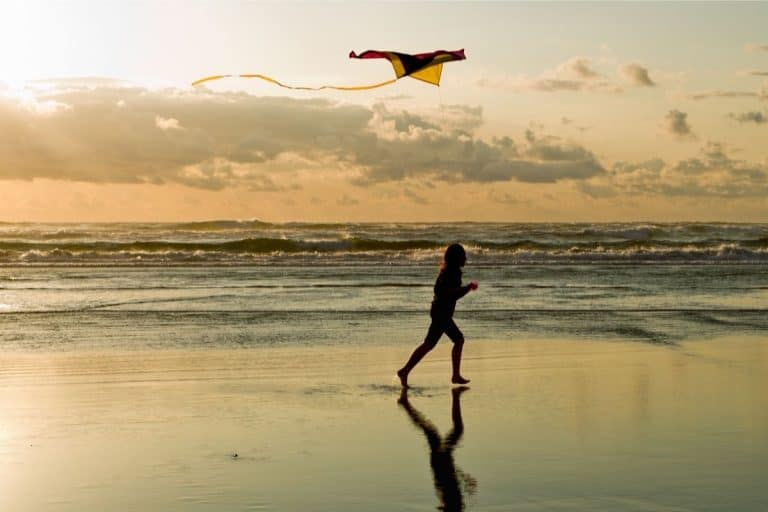
6. Landing The Kite
In general, landing the kite is a simple operation. It is necessary to reel the line, ensuring that it is taut with a bit of give while reeling in. Then, it would be best if you started walking slowly toward the kite while reeling in until it reaches the ground.
If the kite goes into a spin, then loosen up the line by letting it up slowly. On the other hand, you may need to bring the kite down very fast in certain circumstances. For example, if a storm is about to arrive, it starts raining, or you see lightning.
To bring the kite down very fast, it is best to place the reel on the ground and pull in the kite hand-over-hand. Gloves can be helpful in such circumstances to protect your hand from cuts.
7. Bring Necessary Supplies
Controlling a kite properly has a lot to do with the setup and the equipment of the person flying it. The right tools and supplies can make your job easy and effective. For example, sunglasses can help you see your kite and control it properly if it is a sunny day.
Here are some tools you could bring with you that can help you control your kite:
- Hats
- Sunglasses
- Gloves
- First aid kit
- Sunscreen
Sometimes handling kite lines can create hand injuries and diminish the ability to control a kite. Therefore, it is better to have gloves on or ready for use.
Frequently Asked Questions
Can you fly a kite in your backyard?
It is possible to fly a kite in your backyard, providing you are respectful of safety rules and state regulations regarding how high a kite can fly. Small or low wind kites are more suitable to fly in a backyard than more giant and complex kites.
Why is my kite spinning?
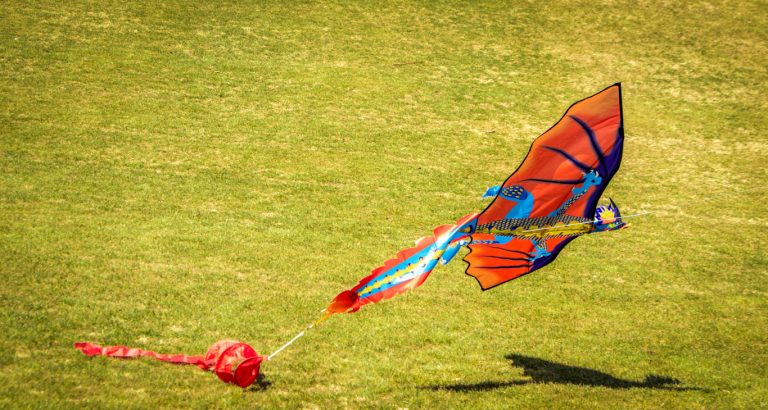
Your kite is spinning because it is unbalanced. To resolve a potential spinning problem, you should attach a tail to your kite. A tail can prevent spinning, swooping, crashing, and uncontrolled movements on the side.
How high can kites go?
A kite can reach a maximum of 150 feet above ground level in the US. However, kites can fly much higher and get above 200-300 feet. The highest kite is known to have reached 4900 meters ( single line kite), in 2014, in Australia.